- Synchronous playback settings to temporarily add external audio tracks.
- Optimization of the sampling rate and use of exclusive mode to avoid loss of sound fidelity.
- Advanced settings in VLC to disable resampling and peak protection in high-resolution files.
- Software alternatives for permanent audio and video merging or for Mac users.

If you're someone who refuses to settle for mediocre sound and wants your movies to sound like they're in a theater, you'll know that configuring external audio in VLC can be a real headache if you don't have the right tools. Whether you want to add an audio track in another language, sync a separate file, or simply get the most out of your Hi-Fi sound system, the VLC player is an incredibly powerful tool, even if it sometimes seems to speak a foreign language.
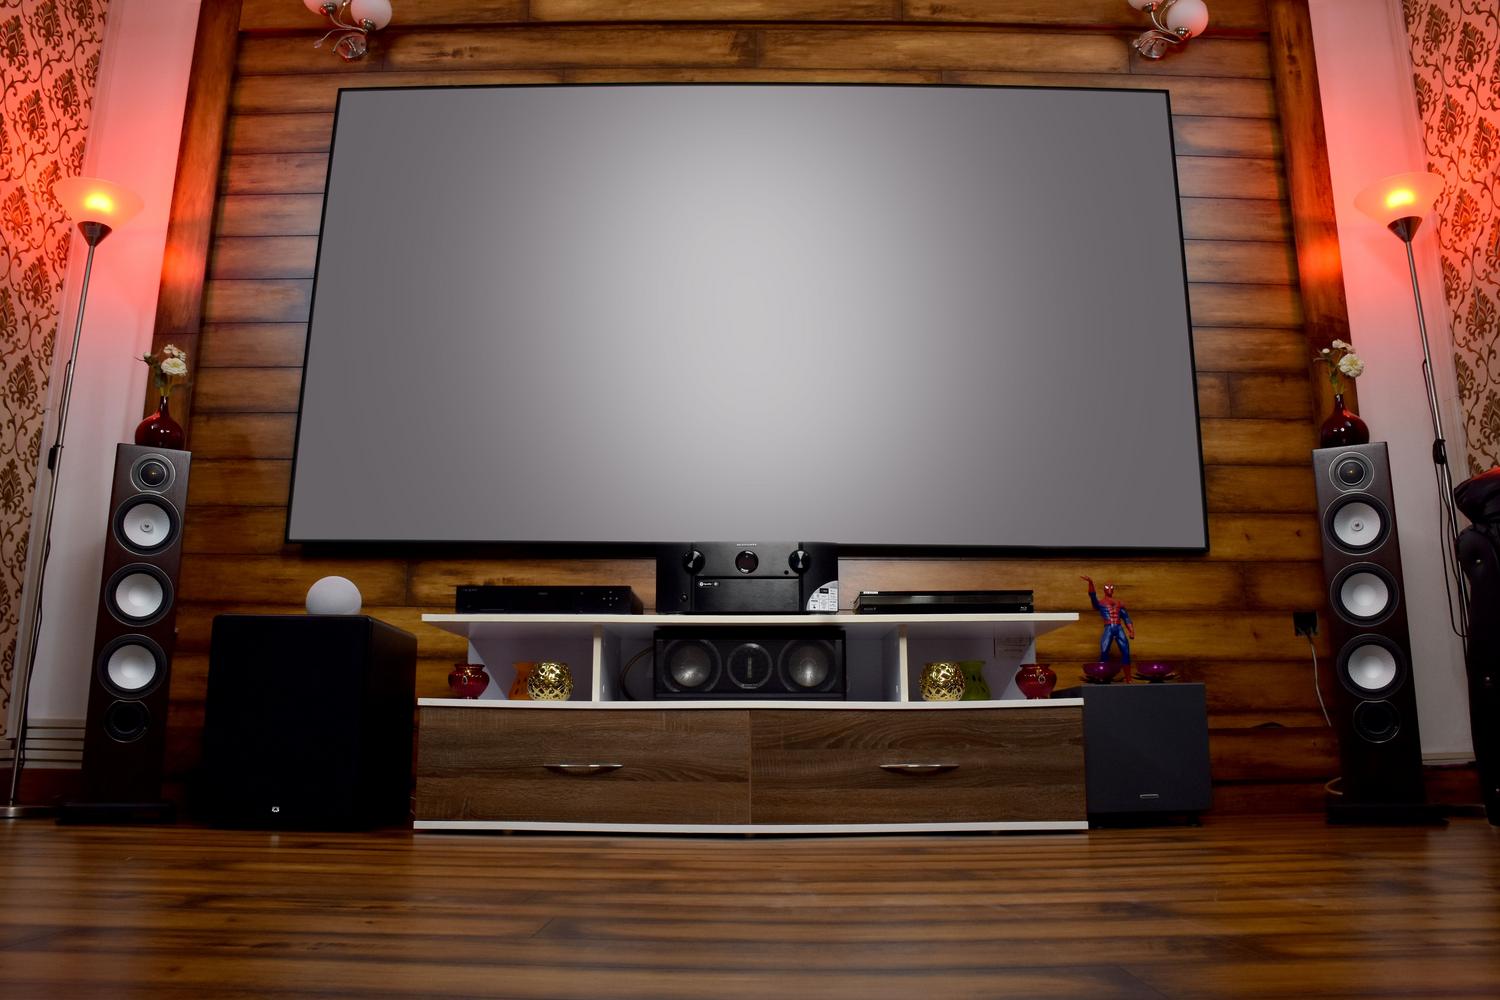
The truth is, although it's free and incredibly versatile software, achieving absolute sound fidelity requires delving a little deeper than the basic settings. From preventing the program from resampling the sound to managing the output to external receivers, there are several tricks and configurations that can completely transform your audiovisual experience, eliminating those annoying clicks or audio-video synchronization errors that pull you out of the movie.

How to add external audio tracks for temporary playback
Sometimes we encounter videos without sound or want to use a different audio track than the default one. To do this quickly and without editing the original file, VLC allows synchronous playback of multiple media files . The process is simple: first, go to the Media menu and select the option to open multiple files.
Once you're in the open window, add the main video. Here's the trick: you need to check the box to show more options and enable the function to play other media synchronously. By clicking "Browse," you can choose the external audio file (which can even be another video). After accepting and clicking "Play," all that's left is to go to the Audio menu, enter Audio Track, and select track 2 so that the external sound replaces the original. And that's it, you now have your movie with the audio you wanted!

Permanent fusion of audio and video
If you're not looking for a temporary fix, but rather want to create a new file that already includes the embedded audio track, there are tools that simplify the process. While VLC allows for some basic management, for a professional and permanent merge , many users turn to specialized software like AnyMP4 Video Converter Ultimate. This type of program allows you to import the video, add the audio track using an edit button, and, most importantly, correct out-of-sync audio down to the millisecond so that lip-sync and voice are perfectly synchronized before exporting the final result in the desired format.
Optimizing sound quality and avoiding resampling
This is where we enter audiophile territory. A common problem is that VLC, by default, may be resampling the audio to the frequency set by your sound card in Windows, causing a high-resolution file (like a 96 kHz FLAC) to lose quality. To prevent the system from inventing or removing digital samples , it's vital that your sound card and operating system are aligned with the original source.
- On Windows, access your device's sound properties and, in the tab of Advanced OptionsChoose the highest sampling frequency (e.g., 24 bits and 96 kHz).
- It's fundamental disable sound enhancements and spatial audio so as not to alter the original signal.
- Activate exclusive mode so that VLC can take full control of the hardware without interference from the operating system.
Once Windows is configured, we need to adjust VLC itself. Go to Tools, Preferences, and select "Show settings (all) ," then navigate to the Audio section. It's crucial to disable peak protection and audio time stretching, as these features can alter the volume or tone of the mastered track. Similarly, in VLC's Filters section , no filters should be active to avoid intermediaries that degrade the signal.
The final and most crucial step is to disable audio upsampling . Doing this will stop VLC from converting the sound in real time. This means that if you play a 96 kHz file while your sound card is set to 44,1 kHz, there will be silence; this proves that the program is no longer manipulating the signal. This is especially critical in formats like Dolby Atmos or DTS , where resampling six channels simultaneously can cause noticeable degradation of the sound wave.
Alternatives for Mac users
For macOS users, there's a very capable alternative called Elmedia Player. This software is especially useful because it handles the synchronization of corrupted files differently than VLC, successfully aligning clips that cause problems in other programs. Furthermore, it facilitates streaming to devices like Chromecast or AirPlay and allows for intuitive audio latency management, eliminating the need to deal with complicated codecs for playing native Windows formats.
Properly configuring audio output and track management transforms simple playback into a high-fidelity experience . Whether through time-synchronized files in VLC, continuous merging with external tools, or meticulous adjustment of sample rates and exclusive mode in Windows, the goal is always the same: to deliver sound to our ears without alteration or loss of quality, making the most of the external sound hardware.


Passionate writer about the world of bytes and technology in general. I love sharing my knowledge through writing, and that's what I'll do on this blog, show you all the most interesting things about gadgets, software, hardware, tech trends, and more. My goal is to help you navigate the digital world in a simple and entertaining way.