- The Registry (Uninstall keys) is the most reliable source for what “Add or Remove Programs” displays.
- Win32_Product works for MSIs, but it's slow and can cause repairs; use with caution.
- Get-Package lists PackageManagement (PowerShellGet/NuGet) packages, not all system software.
- Export and compare with TXT/CSV and Compare-Object; Geek Uninstaller and UninstallView streamline reporting.
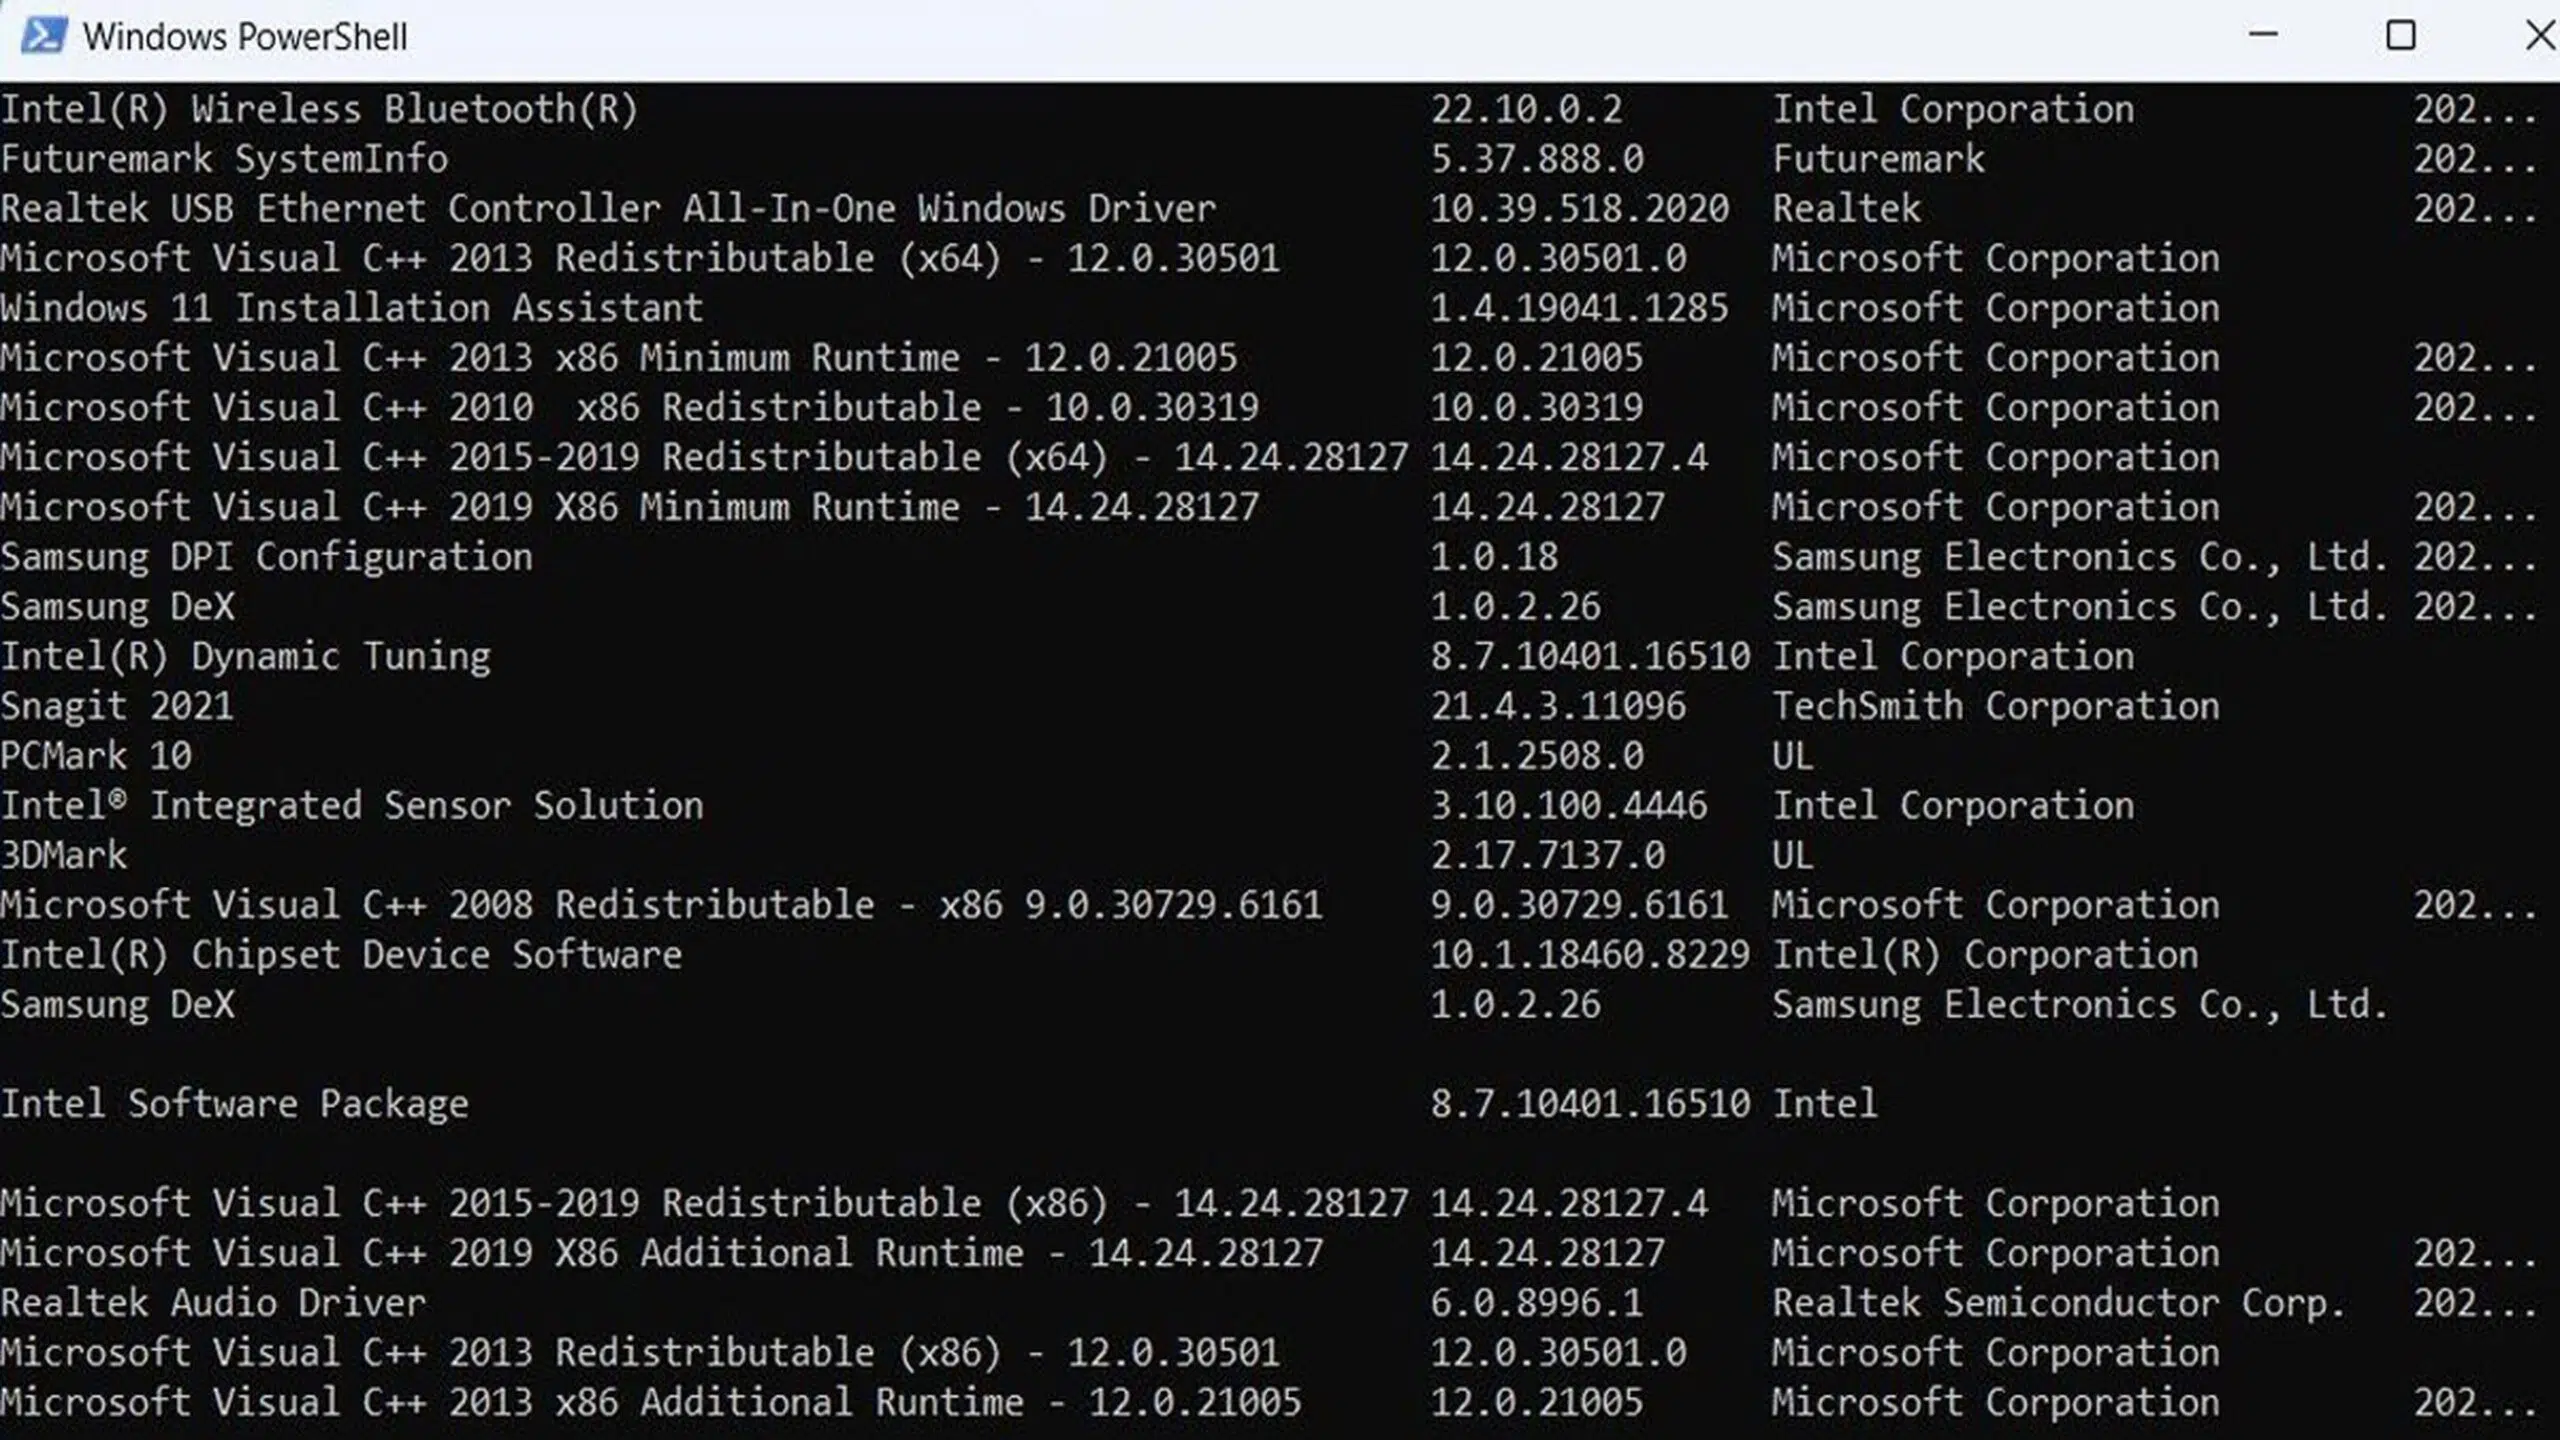
If you've ever needed to quickly find out what programs are installed on a Windows computer , whether because you manage servers without a graphical interface or because you're about to reinstall the system, you'll want a reliable inventory. This article will explain, in detail and step by step, all the ways to list and export installed software using PowerShell , WMI, the Registry, and third-party tools.
We'll integrate several proven techniques, discussing their pros and cons, and you'll see everything from direct commands to advanced options like Get-Package with PackageManagement, Registry queries (Uninstall), remote execution, and even comparisons between listings before and after formatting . We'll also add export options to TXT/CSV/HTML and, for those who prefer, third-party utilities that handle this in just a couple of clicks.
Why it's worth listing your programs
Having a clear inventory prevents forgetting to reinstall and helps identify software you no longer use. Many computers accumulate applications that are never tried, then forgotten and take up space, and even worse, some remain running in the background consuming resources without you even noticing.
A list lets you review everything at a glance, which is better than scrolling through the "Apps & features" interface. It also simplifies support, auditing, and compliance tasks, and saves you time if you manage multiple PCs or Windows Core servers where there's no GUI and everything is done via the command line.
These techniques work on multiple versions of Windows, including Windows Server 2012 R2, 2016, 2019 and Windows 7/10/11 , with nuances that we will discuss as needed.
Later you will see that not all methods show the same thing: PowerShell, WMI, the Registry and PackageManagement query different sources, so it is important to know what each technique covers and its limitations in order to choose the appropriate one in each case.
Quick PowerShell methods to view installed programs
PowerShell offers direct ways to generate a list. Let's start with the most immediate: checking the Registry uninstallation keys , which is what actually powers the classic "Add or Remove Programs" view.
The alias `gp` (Get-ItemProperty) allows you to quickly read properties. You can combine two paths (64 and 32 bits) and filter items with visible names.
gp HKLM:\Software\Microsoft\Windows\CurrentVersion\Uninstall\*, HKLM:\SOFTWARE\Wow6432Node\Microsoft\Windows\CurrentVersion\Uninstall\* | Where-Object { -not ::IsNullOrWhiteSpace($_.DisplayName) } | Select-Object DisplayNameIf you prefer something more structured (name, version, publisher, date), separate by architecture and format it in a compact table for on-screen review; it works very well for quick reading.
# 64 bits
Get-ItemProperty HKLM:\Software\Microsoft\Windows\CurrentVersion\Uninstall\* | Select-Object DisplayName, DisplayVersion, Publisher, InstallDate | Format-Table -AutoSize

# 32 bits
Get-ItemProperty HKLM:\Software\Wow6432Node\Microsoft\Windows\CurrentVersion\Uninstall\* | Select-Object DisplayName, DisplayVersion, Publisher, InstallDate | Format-Table -AutoSize
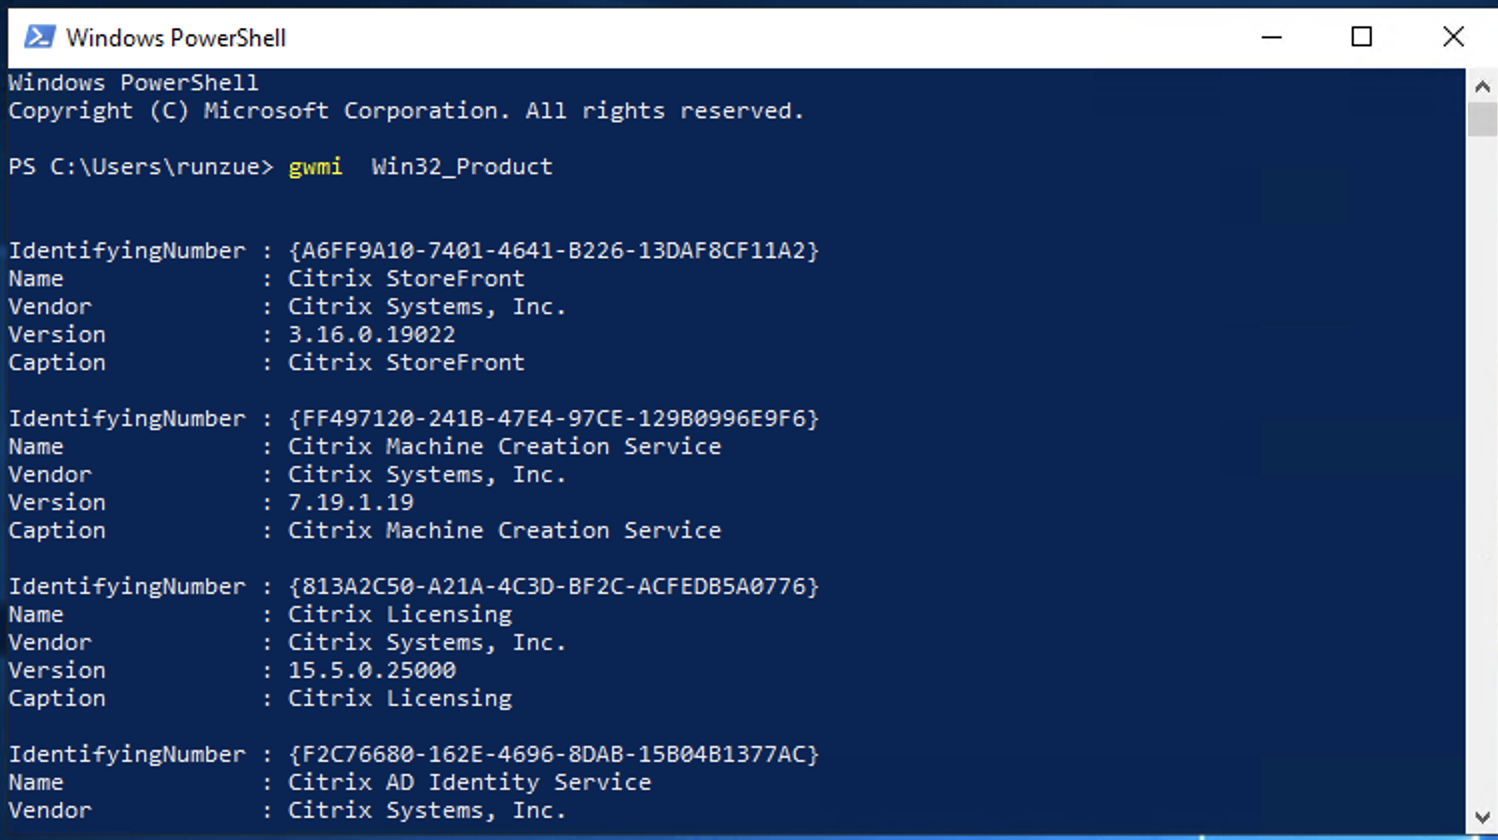
There's also the WMI/WMIC method for locating software installed via Windows Installer. The typical commands are these two, although you'll see their warnings below: they can be slow and cause MSI repairs.
# Win32_Product (WMI)
Get-WmiObject -Class Win32_Product | Select-Object -Property Name

# Alias rápido
gwmi Win32_Product

# WMIC clásico
wmic product get name,version
Finally, many people try using Get-Package. Note: Get-Package only lists packages installed through PackageManagement (NuGet/PowerShellGet and similar) , not all traditional system software. Even so, it's useful for modules and scripts installed from repositories.
# Paquetes gestionados por PackageManagement
Get-Package

# Todas las versiones de un proveedor concreto
Get-Package -ProviderName PowerShellGet -AllVersions

# Versión concreta de un paquete
Get-Package -Name PackageManagement -ProviderName PowerShellGet -RequiredVersion 1.3.1
If you manage multiple machines, you can use PowerShell Remoting to query managed packages remotely. For example, you run Get-Package on Server01 with valid credentials:
Invoke-Command -ComputerName Server01 -Credential CONTOSO\TestUser -ScriptBlock { Get-Package }Export the list to TXT or CSV and compare before/after
Viewing the output on screen is fine, but saving it to a file is more practical. With PowerShell, you can send the output to a TXT file sorted by program name for later review or sharing.
# 32 bits en TXT
Get-ItemProperty HKLM:\Software\Wow6432Node\Microsoft\Windows\CurrentVersion\Uninstall\* |
  Select-Object DisplayName, DisplayVersion, Publisher, InstallDate |
  Sort-Object DisplayName |
  Out-File -FilePath "C:\Users\TuUsuario\Documents\InstalledPrograms.txt"
If you prefer a CSV file that's readable in Excel/LibreOffice, you can export both branches (64-bit and 32-bit) to a single file. The classic example uses Out-File to export to a .csv extension; however, for a true CSV file, it's better to use Export-Csv -NoTypeInformation.
# 64 bits a CSV
Get-ItemProperty HKLM:\Software\Microsoft\Windows\CurrentVersion\Uninstall\* |
  Select-Object DisplayName, DisplayVersion, Publisher, InstallDate |
  Sort-Object DisplayName |
  Export-Csv -NoTypeInformation -Encoding UTF8 -Path "C:\Ruta\De\Tu\Archivo\Programas.csv"

# 32 bits al mismo CSV (añadiendo)
Get-ItemProperty HKLM:\Software\Wow6432Node\Microsoft\Windows\CurrentVersion\Uninstall\* |
  Select-Object DisplayName, DisplayVersion, Publisher, InstallDate |
  Sort-Object DisplayName |
  Export-Csv -NoTypeInformation -Encoding UTF8 -Append -Path "C:\Ruta\De\Tu\Archivo\Programas.csv"
When the goal is to reinstall the system without losing anything, a useful technique is to generate a "before" and an "after" list and compare them. With Compare-Object, you can quickly see what's missing or what's unnecessary ; you can also combine it with guides to automate the installation of software and drivers after formatting.
Compare-Object -ReferenceObject (Get-Content C:\Users\TuUsuario\Documents\InstalledPrograms.txt) \
               -DifferenceObject (Get-Content C:\Users\TuUsuario\Documents\InstalledPrograms2.txt)
Look at the SideIndicator column: the symbol => indicates that it's in the second file and not the first, while <= means the opposite. If = appears, it means the item is in both listings without any differences.
Check the Registry: Uninstall keys, count, and properties
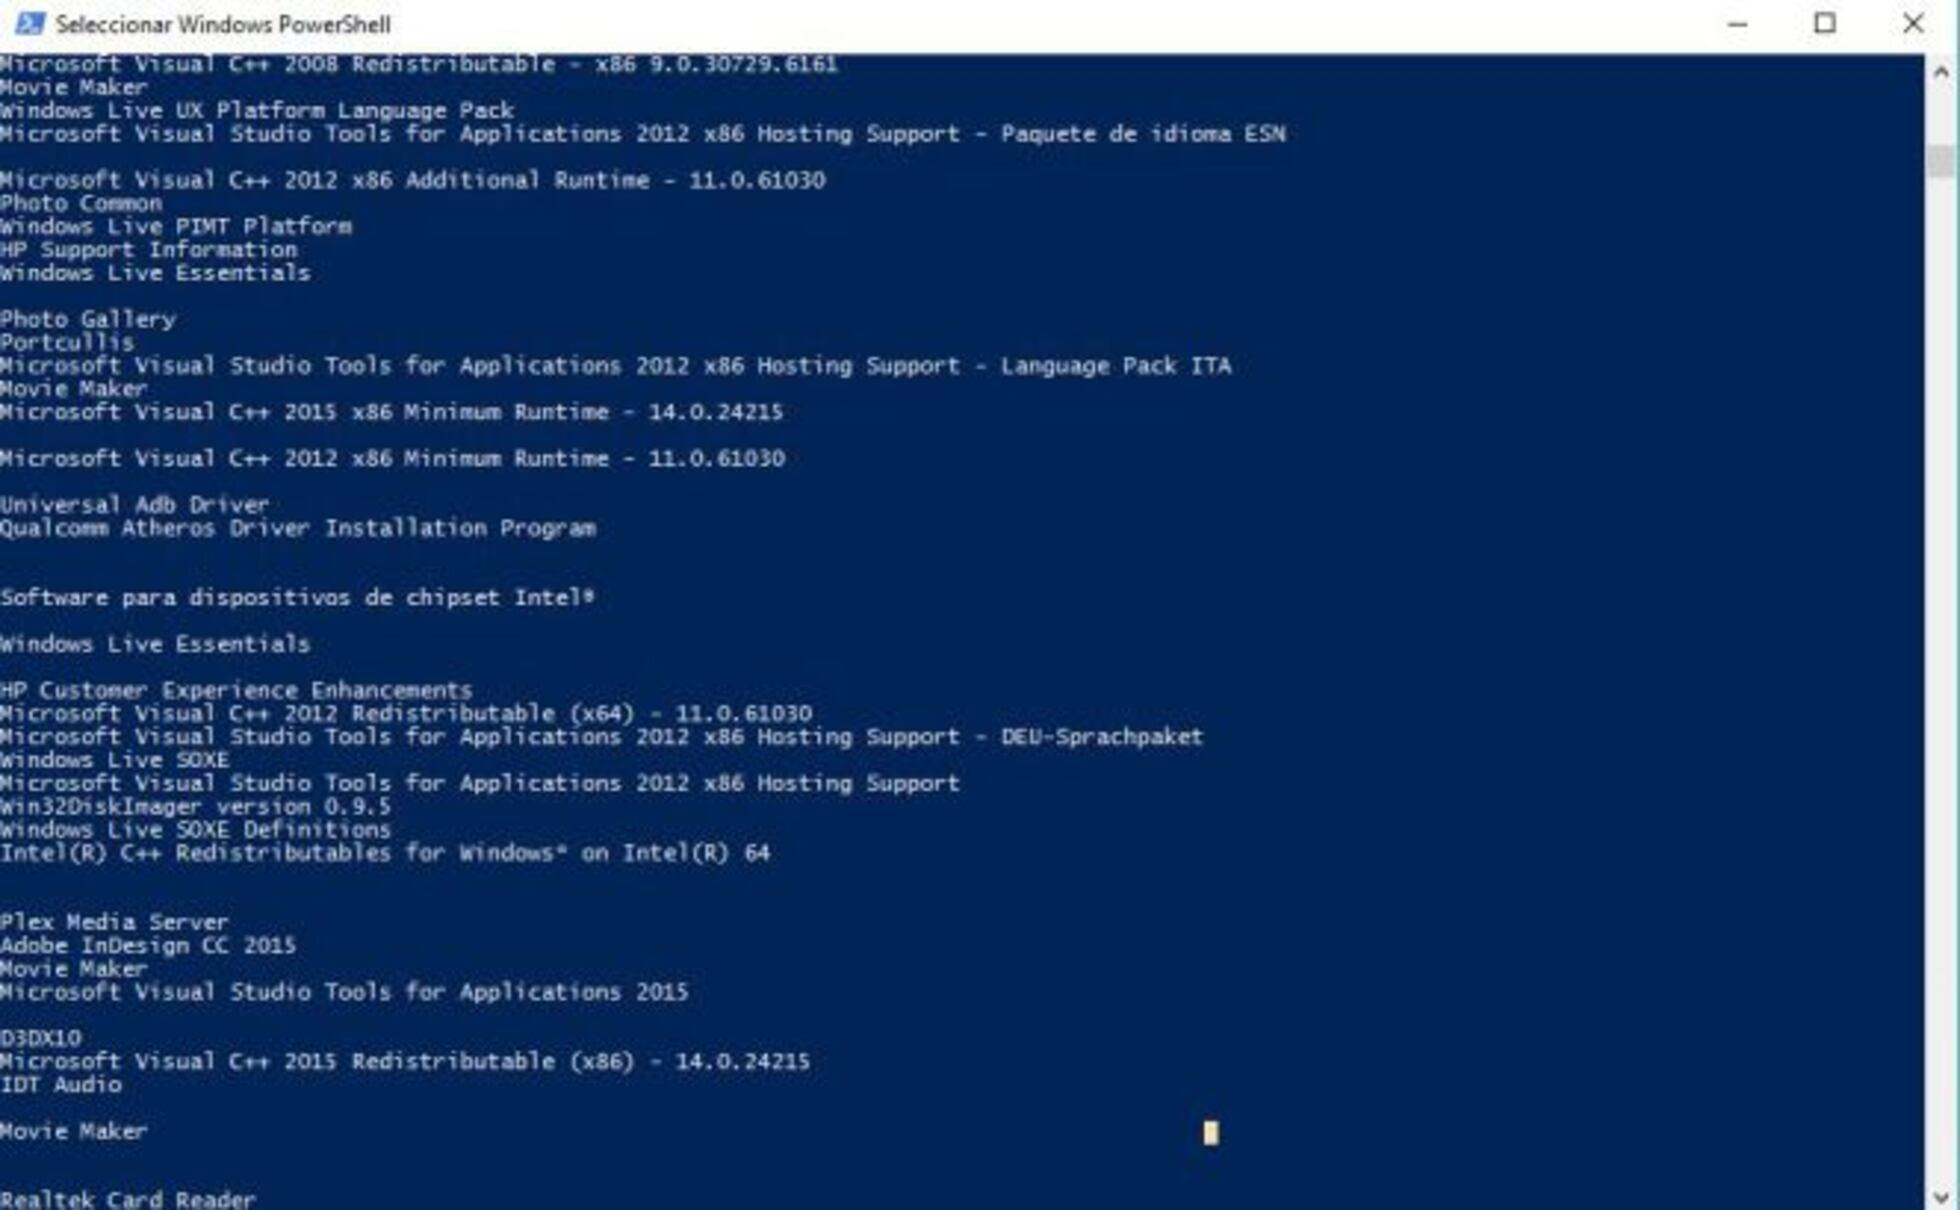
Most standard installers log uninstallation information in the Registry. Therefore, if you need a list similar to the one in "Add or Remove Programs," the most reliable source is the computer's Uninstall key .
The main path is: HKLM:\Software\Microsoft\Windows\CurrentVersion\Uninstall, and for 32-bit applications on 64-bit systems you also have the branch: HKLM:\Software\Wow6432Node\Microsoft\Windows\CurrentVersion\Uninstall.
To count how many applications are registered in a specific branch, you can use Get-ChildItem and get the number of subkeys:
$UninstallPath = 'HKLM:\Software\Microsoft\Windows\CurrentVersion\Uninstall'
(Get-ChildItem -Path $UninstallPath).Count
If you're looking to extract specific properties (for example, just the display name), you can retrieve the Registry values with GetValue('DisplayName') and sort them for easier reading:
Get-ChildItem -Path $UninstallPath |
  ForEach-Object { $_.GetValue('DisplayName') } |
  Sort-Object
To compose objects with multiple properties (similar to what you would see with SCCM's Win32Reg_AddRemovePrograms), you can build a small pipeline that adds an identifier, publisher, version, and installation date; this gives you a more complete inventory :
Get-ChildItem $UninstallPath |
  ForEach-Object {
    $ProdID = ($_.Name -split '\\')
    Get-ItemProperty -Path "$UninstallPath\$ProdID" -ErrorAction SilentlyContinue |
      Select-Object DisplayName, InstallDate, @{n='ProdID'; e={$ProdID}}, Publisher, DisplayVersion
  } | Select-Object -First 10
This approach avoids the drawbacks of Win32_Product (slow and with MSI side effects) and does not depend on SCCM like the Win32Reg_AddRemovePrograms class , making it very useful for local audits without additional infrastructure.
WMI/WMIC: When to Use and What Are the Risks?
WMI classes related to Windows Installer (such as Win32_Product) only return software installed with MSI, excluding installers that use other engines. Furthermore, querying Win32_Product can trigger repairs of MSI products and take a considerable amount of time, which is far from ideal on production servers.
Even so, there are environments where you'll want to extract exactly what Windows Installer "knows." That's what the following are for:
Get-WmiObject -Class Win32_Product | Select-Object -Property Name

gwmi Win32_Product

wmic product get name,version
If you use these commands, do so with full awareness and during maintenance windows. For general inventories, the Registry method is usually safer and faster , and it also covers a wider range of applications.
Get-Package in depth: what it actually lists and useful parameters
Get-Package belongs to PackageManagement (OneGet) and returns packages installed by its providers (PowerShellGet, NuGet, etc.), related to the most popular software package installers.
The base syntax supports filtering by name and version. You can force provider initialization if needed (Bootstrap), list all versions, and filter by provider (PowerShellGet, NuGet) or type (modules, scripts):
Get-Package  <String[]>]
               >]
Relevant parameters to know (some are dynamic and depend on the provider): here's the essential overview :
- -Name: one or more names (wildcards supported). Useful for finding specific packages.
- -ProviderName: Filter by vendor; typical values: Bootstrap, NuGet, PowerShellGet. Best combined with -AllVersions.
- -AllVersions: Returns all installed versions, not just the most recent.
- -RequiredVersion, -MinimumVersion, -MaximumVersion: limit the exact version or range of versions to return.
- -Scope: CurrentUser or AllUsers, depending on where the package is installed.
- -Strength: Avoid confirmations and force the command when appropriate.
- -ForceBootstrap: Automatically installs the required provider if not present.
- -AllowPrereleaseVersions: includes preliminary versions in the results.
- -InstallUpdate: For scenarios where Get-Package can install updates with providers that support it.
- -Type (PowerShellGet): Module, Script or All.
- -ExcludeVersion and -Destination (NuGet): affect the folder name and extraction directory when applicable.
- -SkipDependencies (NuGet): Skip dependency lookup.
- -SkipPublisherCheck (PowerShellGet): Ignore publisher checks in certain cases.
- -PackageManagementProvider: Specifies the package management provider.
- -NoPathUpdate: Install-Script dynamic parameter; does not actually apply to Get-Package.
- CommonParameters: Verbose, Debug, ErrorAction, WarningAction, OutVariable, etc.
Typical practical examples include listing everything installed with PowerShellGet, searching for a specific version, and even uninstalling by chaining with Uninstall-Package via the pipeline:
# Todo lo de PowerShellGet, con todas las versiones
Get-Package -ProviderName PowerShellGet -AllVersions

# Versión exacta de PackageManagement
Get-Package -Name PackageManagement -ProviderName PowerShellGet -RequiredVersion 1.3.1

# Desinstalar una versión concreta de un paquete
Get-Package -Name posh-git -RequiredVersion 0.7.3 | Uninstall-Package
Note that Get-Package supports remote access (Invoke-Command or Enter-PSSession) and that providers can add dynamic parameters. The output is a Microsoft.PackageManagement.Packaging.SoftwareIdentity object , containing package metadata.
What about “manually installed” software? Limitations to keep in mind
Some applications deploy by copying folders and don't register an uninstaller. These won't appear in Uninstall, Win32_Product, or PackageManagement. In these cases, manage them as files and folders, using manual program installation techniques with scripts that search for specific paths, executables, or signatures.
For the same reason, two computers with the same software may show different results if one was installed using MSI and the other with a different installer without registering the uninstallation . The ideal inventory combines several techniques depending on the environment.
Remote Execution and Windows Version Compatibility
For servers and PC fleets, PowerShell Remoting is the way to go. With a remote session (Enter-PSSession) or Command Invocation (Invoke-Command), you can collect data using the same commands you've seen before, centralizing the inventory from your machine.
Basic example to query Get-Package on a remote server with valid domain credentials, ideal if you already have WinRM configured:
Invoke-Command -ComputerName Server01 -Credential CONTOSO\TestUser -ScriptBlock { Get-Package }Registry techniques (Uninstall) work on Windows 7/10/11 and Windows Server 2012 R2/2016/2019, while Get-Package requires having PackageManagement and the appropriate providers present or self-installing (ForceBootstrap helps).


Passionate writer about the world of bytes and technology in general. I love sharing my knowledge through writing, and that's what I'll do on this blog, show you all the most interesting things about gadgets, software, hardware, tech trends, and more. My goal is to help you navigate the digital world in a simple and entertaining way.