- Learn how to disable automatic icon alignment in Windows 11.
- Learn how to prevent icons from rearranging after restarting your PC.
- Learn about external tools to manage icon positions.
- Prevents topics or the malware alter the location of your icons.
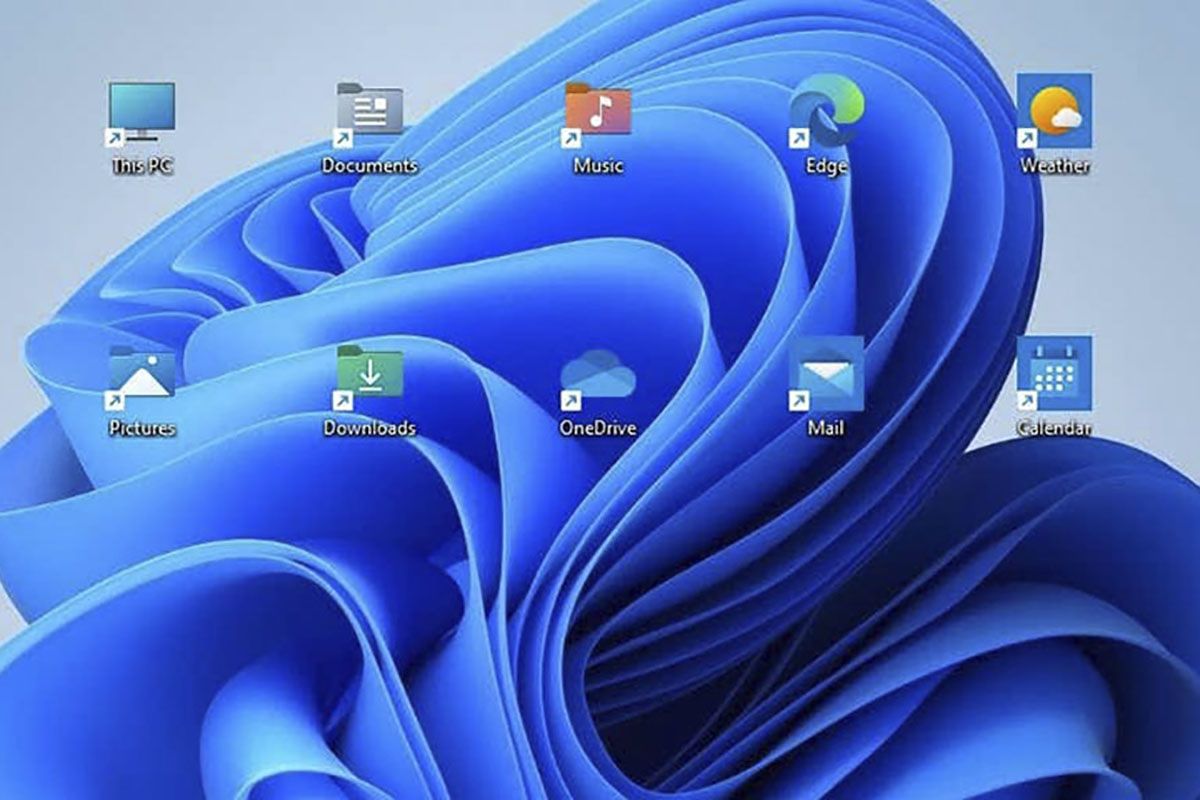
The aesthetics and functionality of the Windows 11 desktop is one of the first things many users want to customize. One of the most important aspects in this regard is the arrangement of the icons . However, we often encounter a limitation imposed by default in the operating system: the icons are automatically aligned to an invisible grid, preventing them from being moved freely.
The good news is that we can easily disable this feature to have complete control over the order of our shortcuts. In addition, there are other settings worth reviewing to avoid surprises after restarting, changing the resolution, or even applying a new theme. In this article, we explain all the possible ways to freely move desktop icons in Windows 11 , maintaining their position even after restarting your computer.
Disable automatic grid alignment
One of the features that most interferes with the freedom of icon movement is the "Align icons to grid" function . This option forces icons to be aligned to an invisible grid, preventing them from being freely placed anywhere on the desktop.
To disable it, simply right-click on an empty area of the desktop, go to the "View" menu, and then uncheck the "Align icons to grid" box . Once you've done this, you can drag the icons and place them wherever you want without the system automatically aligning them.
This setting is ideal if you want to organize access by color, by theme area, or simply distribute them in a personalized way according to your visual preferences.
Prevents automatic icon arrangement
Another setting that prevents you from moving icons freely is the automatic arrangement option . When enabled, Windows rearranges all icons alphabetically or by type after every restart or visual change.
To disable it, repeat the previous process: right-click on the desktop, go to "View," and make sure to also uncheck "Automatically arrange icons . " This option forces icons to be placed automatically and in an orderly fashion , so it must be disabled to allow for custom organization.
It's also recommended to disable grid alignment along with auto-arrangement to have complete freedom of placement. You'll be able to move shortcuts to any point and maintain that structure until you decide to change it.
Icons get jumbled up on reboot? Try this.
One of the most common problems users encounter is that after restarting their computer or changing the screen resolution, the icons revert to their original positions. If this happens to you, there are several steps you can take to fix it.
1. Check the visual configuration
Double-check that the auto-sort and grid alignment options are actually disabled. Sometimes, after a system update, Windows re-enables these features.
2. Delete the IconCache.db file
This file stores the system icon cache and, when corrupted, can cause icons to constantly change location. To delete it:
- Balance Windows + R and writes % userprofile%.
- Enter the folder AppData → Local. Make sure you turn on the visibility of hidden files.
- Find the file IconCache.db and delete it.
After deleting this file, restart your PC and rearrange the icons. Hopefully, they should stay in their desired positions this time.
3. Update your graphics card drivers
Another reason that can alter the icon order is a graphics incompatibility with the monitor's resolution. If your graphics card drivers are outdated, they could cause visual mismatches.
To update drivers:
- Balance Windows + X and select Device administrator.
- Expand the section Display adapters, right click on your graphics card and select Update.
- You can also use tools like GeForce Experience or applications like Driver Booster to automate the process.
4. Prevent Windows themes from modifying icons
Sometimes, when you apply a new desktop theme, the visual settings and icon layout are also changed . To avoid this:
- Right click on the desktop and select Customize now.
- Enter the option Themes → Desktop Icon Settings.
- Uncheck the box “Allow themes to change desktop icons”.
This will ensure that even if you install new visual themes, the position of your icons remains intact.
Back up your setup with external programs
If you're still having problems after following all the steps above, it's best to use third-party applications that allow you to save, restore, and lock the position of icons.
DesktopOK
It's a lightweight tool that lets you save the location of icons and restore it at any time . It's portable, so it doesn't require installation . You can create different profiles and restore the order with a single click.
ICU (Icon Configuration Utility)
This utility lets you create different profiles depending on how you use your PC : work, gaming, studying, etc. You can save the current order and quickly restore it from within the app or using keyboard shortcuts.
icon
Another free application that saves your icon layout and restores it when you change your screen resolution or connect an external monitor. It's also portable and very easy to use.
Desktop Restore
A tried-and-tested solution compatible even with older versions of Windows. Its design isn't its strongest point, but its effectiveness in maintaining order despite visual system changes is remarkable.
What if the problem is a virus or malware?
Although uncommon, some types of malware can affect desktop behavior , including the continuous modification of icons. Some threats manipulate the registry or system permissions, leading to these symptoms.
If you notice icons rearranging themselves even without intervention, or behaving erratically, you may be facing a security threat. The best course of action in these cases is to:
- Run a deep scan with your antivirus.
- Use external tools like Malwarebytes.
- Check the Task Manager looking for suspicious processes.
- Disconnect your computer from the Internet until you are sure it is clean.
Once clean, rearrange the icons and reapply the recommended settings to make sure everything is correct.
Customizing the Windows 11 desktop may seem like a simple task, but when we get into details like the exact position of the icons, things get complicated. Fortunately, by following the steps outlined, you can have complete control over how and where your icons appear, preventing them from becoming cluttered or automatically aligning. Whether using the system's native settings or relying on external applications, you can achieve a completely customized and stable layout every time you use it. The trick is to fine-tune the system, disable automatic functions, and, if necessary, save your preferred layout to restore it at any time.


Passionate writer about the world of bytes and technology in general. I love sharing my knowledge through writing, and that's what I'll do on this blog, show you all the most interesting things about gadgets, software, hardware, tech trends, and more. My goal is to help you navigate the digital world in a simple and entertaining way.