- Windows degradation can come from both software problems (corrupted files, malware, junk accumulation) and hardware problems (disks, RAM, power supply, temperature).
- Windows includes useful tools such as Device Performance and Health, Resource Monitor, and Memory Diagnostics to locate bottlenecks and critical errors.
- Third-party programs such as HWiNFO, CrystalDiskInfo, MemTest86 or stress tests help diagnose overheating, degraded disks and faulty RAM modules.
- When the deterioration is severe, a clean installation of Windows on a disk in good condition, with good ventilation and a stable power supply, usually restores much of the original performance.
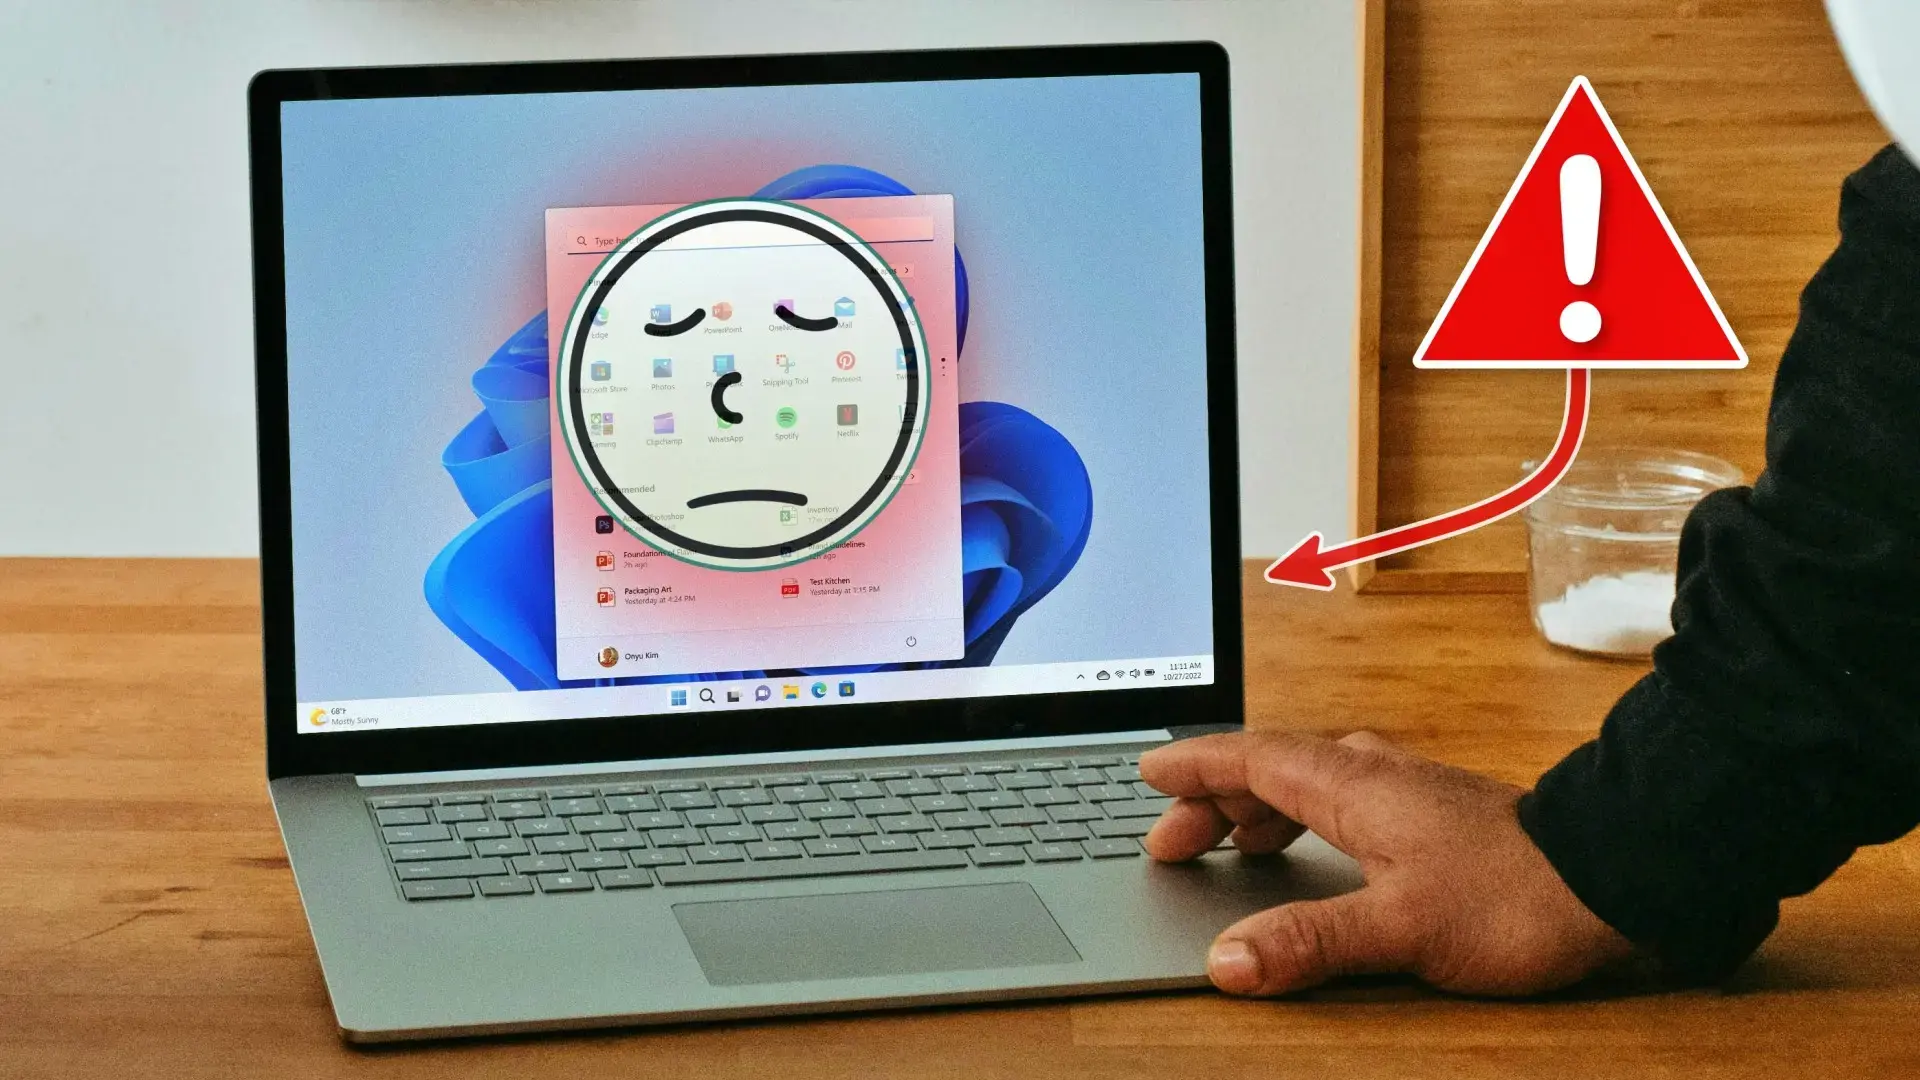
If you notice your Windows computer is getting slower, freezing unexpectedly, or experiencing strange errors, it's quite likely you're suffering from some kind of Windows system or hardware degradation . It's not always easy to pinpoint the problem, and often you get frustrated trying miracle programs that promise to fix everything with a single click.
The good news is that Windows and the PC's hardware itself offer plenty of clues to help you figure out what's going on. With the right tools and some logical checks, you can determine if the problem originates from the operating system, the hard drive, the RAM, the graphics card, the power supply, or even the cooling system . Let's take a look at this calmly, but without unnecessary technical jargon.
Windows system degradation: what it is and why it occurs
When we talk about system degradation in Windows, we're referring to a combination of performance loss, increased errors, instability, and intermittent failures that accumulate over time. Sometimes the cause is the software itself (Windows, drivers, installed programs), and other times it's the hardware (hard drive, RAM, power supply, etc.).
With continued use, it's normal for temporary files, remnants of uninstalled applications , background processes, and outdated drivers to accumulate . All of this causes the system to load more at startup, take longer to respond, and be more prone to crashing or displaying blue screens.
Furthermore, as the years go by, the hardware also suffers. A mechanical hard drive can start to fail, a power supply can become unstable, or a cooling system can stop dissipating heat effectively, forcing the processor or graphics card to reduce its frequency to avoid overheating. This directly translates into a feeling of sluggishness or random errors.
Finally, another major factor in the degradation of Windows systems is viruses, malware, and unwanted programs that sneak in through downloads, browser extensions, or "surprise" installers. These hidden processes consume resources, interfere with the system, and sometimes even corrupt files.
Windows tools for detecting performance problems
Before rushing to format your hard drive or buy new hardware, it's worth exploring the built-in utilities of Windows. The system has several tools designed to check your computer's health, monitor resources, and locate bottlenecks without needing to install anything additional.
One of the most practical is the Device performance and health section , accessible from the Start menu or the Security Center. This screen checks several critical points (storage, applications, antivirus, etc.) and shows you an overall status with color-coded icons: if everything is green, there's generally nothing serious; if yellow or red warnings appear, it's worth investigating.
From each notification, you can go directly to the problematic section: for example, a notification about problematic applications, storage errors, or security issues . Windows usually provides basic instructions for fixing the problem or at least for locating the root cause.
Another very powerful utility is Resource Monitor , which offers a more detailed view than Task Manager itself. Here you can see, in real time, which processes are using the most CPU, memory, disk, and network resources . If your PC is running very slowly, it's the perfect place to detect if a resource-guzzling program is saturating the disk or if a process is consuming all the RAM.
On the right, you'll see resource usage graphs, and you can filter by process, service, or even file in use. If you notice something unusual (for example, an unfamiliar process consuming 90% of the disk), you can terminate it from there and investigate which application is causing it.
RAM memory diagnostics and critical system errors
RAM is one of the components that can cause the most silent problems. A damaged or unstable module can manifest as random blue screens, crashes, freezes, or files becoming corrupted for no apparent reason . It's not always easy to identify at a glance.
Windows includes the Windows Memory Diagnostic tool , which you can launch by opening the Run dialog box (Windows key+R) and typing "mdsched.exe" . When you run it, the system prompts you to restart to perform a memory test at startup. The computer restarts and performs a basic scan for errors.
If you want a more thorough scan, during the restart you can press F1 to enter Advanced Options and choose Extended Test , which takes longer but checks the RAM more thoroughly. Once the scan is complete, Windows will start normally, and you can view the results in the Event Viewer, under Windows Logs > System , by searching for the MemoryDiagnostics-Results entry with Ctrl+F.
When the problem is more serious and the Windows tool isn't enough, it's recommended to use specialized utilities like MemTest86 , which runs from a USB drive and tests each memory module with different patterns. If you find that the same module keeps failing, you'll usually need to remove or replace that RAM module.
Keep in mind that sometimes RAM doesn't fail because it's "broken," but because it's improperly seated. After cleaning or hardware upgrades, it's very common for a module to become slightly misaligned in its slot, causing erratic boot times, beeps on startup, or the system recognizing less memory than is installed . Properly reseating all the modules can save you a lot of trouble.
Check and repair corrupted system files
A significant part of Windows system degradation is related to the corruption of internal operating system files . This can be caused by abrupt shutdowns, disk failures, malware, or even faulty updates. When this happens, it's common for some functions to stop working correctly, for strange errors to appear, or for applications to crash for no apparent reason.
Windows has command-line tools (such as SFC and DISM ) that scan and replace critical files, but sometimes they fall short if the damage is very specific. In those cases, it's possible to locate the corrupted file in the system registry and manually replace it with a healthy copy.
The procedure consists of three basic steps within a Command Prompt window with administrator privileges. First, you must take ownership of the corrupted file , because by default it belongs to the system account and you won't be able to modify it. To do this, use a command like this:
takeown /f
For example, if the affected file were C:\Windows\System32\jscript.dll , the command would be:
takeown /f C:\Windows\System32\jscript.dll
The second step is to grant full permissions to administrators on that file using the icacls utility. The general command would be:
icacls /grant administrators:F
Following the previous example, it would look like this:
icacls C:\Windows\System32\jscript.dll /grant administrators:F
Finally, once you have full control over the file, replace it with a correct copy located in another path on the computer (for example, from another working installation or the installation media). Use the copy command, specifying the source first and then the destination:
copy E:\temp\jscript.dll C:\Windows\System32\jscript.dll
After this change, it's recommended to restart your system and run another system file check to ensure everything is in place. If the problems persist, the damage may be more extensive, and you may need to consider a complete Windows reinstallation using the recovery options.
Hardware diagnostics: locating the component that is degrading
When the problem lies not so much with Windows as with the hardware itself, things get a bit more complicated. There's no magic formula that can definitively tell you "it's the motherboard's fault," but there are a series of logical tests to eliminate components and find the one causing the system degradation.
The most sensible approach is to divide the analysis into parts: processor, motherboard, RAM, graphics card, storage drives, power supply, and cooling system . Each has quite characteristic symptoms and specific tools for testing it.
It's important to keep in mind that many faults are detected more through elimination than through direct diagnosis. Sometimes the problem manifests as system freezes, spontaneous restarts, or general performance drops, and it could be due to the power supply, the processor, the motherboard, or even the operating system itself. Therefore, it's advisable to note the symptoms, when they occur, and under what load to narrow down the problem.
Throughout this process, monitoring programs like HWiNFO are very useful , allowing you to view real-time temperatures, voltages, CPU and GPU frequencies, motherboard VRM status, disk sensors, and more. Observing how these parameters behave under stress greatly helps in detecting whether the degradation is due to heat, insufficient voltage, throttling, or unstable components.
Processor (CPU): Overheating and Stability
The most curious thing about the processor is that, contrary to popular belief, it's relatively rare for it to "break down" on its own. Most of the problems attributed to it actually originate from insufficient heatsinks, dried-out thermal paste, dirty fans, or motherboards with overheated VRMs . Even so, it's useful to know how to recognize the symptoms of a CPU in trouble.
If the processor is truly damaged, the system will usually fail to boot . On motherboards with a Q-code display, a 00 error code is typically shown. In this scenario, after ruling out RAM, graphics card, and power supply issues, the most practical solution is usually to replace the CPU with one compatible with the same socket.
When the problem is one of stability under load, it manifests most often as slowdowns, freezes, crashes of demanding programs, or blue screens when the processor is working at 100% . To check this, stress tests such as RealBench, AIDA64 (especially the FPU and cache tests), or Prime95 in Blend mode are used. These tools load the CPU to its maximum and reveal whether the system remains stable.
While performing these tests, it's crucial to monitor the CPU temperature and voltage using HWiNFO . If the temperature spikes significantly above recommended levels, the heatsink is likely inadequate, improperly seated, or the thermal paste is depleted. In many cases, simply cleaning the heatsink, applying fresh thermal paste, and ensuring the mounting isn't deforming the motherboard is sufficient.
Don't forget that, for safety reasons, when the processor overheats, the system itself lowers its frequency or even shuts down the PC. This protects the chip, but you experience it as sudden shutdowns, stuttering, or performance drops that give the impression of a general system degradation.
Motherboard: VRM, socket and warping
The motherboard is often overlooked, yet it's one of the components that causes the most headaches when it degrades. A very common problem lies with the VRMs (voltage regulation modules) , which overheat, especially in low-end motherboards used with powerful processors or overclocked.
If the VRMs overheat, the motherboard may start to experience instability, frequency drops, crashes during heavy tasks, or even sudden restarts . To check this, you can use HWiNFO to read the temperatures while stressing the CPU with Prime95 x64 or a similar tool. If those temperatures spike, you have a clear indication of a problem.
Another source of problems is the processor socket itself. Improper installation can bend pins (in sockets with pins on the motherboard) or slightly deform the area. This causes poor contact between the CPU and socket, strange errors, inability to boot, or erratic behavior depending on how the heatsink is pressed . Sometimes a pin can be straightened with a wooden stick or card, but this isn't always successful.
It's also worth mentioning motherboard bending , which occurs when there's excessive pressure on the processor's mounting system or a heavy graphics card. Over time and with repeated heating and cooling cycles, the motherboard warps, and microcracks or power leaks may appear on the PCB.
This type of damage is very difficult to repair. In theory, controlled heat could be applied to try and straighten the board, but the internal microscopic damage is already done, and stability issues will likely continue to appear intermittently . That's why it's advisable to install heatsinks and heavy graphics cards with the appropriate support from the start.
RAM memory: blue screens, corruption, and specific tests
We've already seen how to use Windows Memory Diagnostic, but RAM deserves its own section because it's a prime cause of random failures. Faulty memory can lead to unexpected restarts, errors when decompressing files, failed program installations, or blue screens with various error codes.
One of the simplest and most common problems is that, after working inside the PC, a module isn't properly seated. Sometimes all it takes is removing all the modules, gently cleaning the contacts, and reinserting them until you hear the "click" of the latches . This can resolve issues such as unreliable startups or the computer not recognizing all the RAM.
When you suspect a faulty module, the best approach is to use utilities like MemTest86 . It boots from a USB drive and performs multiple test runs. If errors occur, it's advisable to test each module individually to see if the failure is consistent across the same module. If all modules fail at the same point, the problem may lie with the motherboard itself.
Historically, RAM has been a major culprit behind the infamous Windows blue screens of death . While it's true that with modern versions like Windows 11 the frequency of these screens has decreased considerably, they can still occur when there are incompatibilities, faulty modules, or even drivers that mismanage memory.
Don't forget that RAM also affects the overall feeling of smoothness. If you have little memory and open many programs or resource-intensive applications, the system is forced to draw from the disk's page file, causing everything to run erratically, especially if the disk is a traditional HDD . Upgrading RAM in these cases can make a huge difference.
Graphics card: performance drops and overheating
In systems designed for gaming, video editing, or 3D design, the graphics card is a critical component. A degraded GPU can cause symptoms such as sudden FPS drops, on-screen artifacts, system shutdowns while gaming, or simply the monitor not receiving a signal upon startup.
When the system stops detecting the graphics card upon startup, there's little hope: if you've checked that the power cables are fine, the power supply is sufficient, and the motherboard recognizes other cards, you'll most likely have to assume the affected GPU is dead . It's usually not repairable at home.
On the other hand, if the problem is a performance drop when the graphics card gets hot, it's most likely throttling due to excessive temperature . To check this, you can use HWiNFO or the manufacturer's own dashboard (NVIDIA, AMD) while running a test like Unigine Heaven or Unigine Valley in a loop for a while.
If you notice the temperature spiking and the frequencies dropping significantly, it's time for maintenance: thoroughly clean the graphics card heatsink, remove the dust, replace the thermal paste, and check that the fans are spinning at the correct speed . If the original heatsink has failed or no longer cools properly, you might consider installing a compatible third-party heatsink.
Keep in mind that, just like with the CPU, many graphics cards have protection mechanisms that cause crashes, game closures, or complete PC shutdowns when the temperature exceeds certain limits . If you only experience problems while gaming or with 3D applications, the graphics card is the prime suspect.
Storage units: HDD, SSD and signs of wear
A faulty hard drive is another classic cause of Windows system degradation. In mechanical hard drives (HDDs), signs of failure can range from severe slowdowns, extremely long loading times, or strange "clicking, clicking" noises, to the system simply failing to boot.
Most of these drives implement the SMART protocol , which records internal parameters (reallocated sectors, power-on time, read errors, etc.). Programs like CrystalDiskInfo read this information and show you the drive's status (Good, Caution, Bad) along with all those values.
If CrystalDiskInfo flags a disk in yellow or red, it indicates clear degradation. The wisest course of action is to immediately copy all important data to another drive and stop relying on that disk for daily use. In some extreme cases, tools like HDD Regenerator can be used to attempt to recover data from bad sectors, but it's not advisable to continue using that hardware.
With SSDs, things are a bit different. They're silent and have no moving parts, but they do wear out. A typical symptom that something is wrong is a sudden drop in read and write performance , momentary freezes when accessing files, or even random blue screens when the computer resumes from sleep.
Once again, CrystalDiskInfo can read the SMART data of many SSDs and alert you to excessive wear or recurring errors. If you see any alerts, it's advisable to move your data to a healthy SSD and consider replacing the drive . Furthermore, replacing an HDD with an SSD in older computers is one of the best ways to revitalize Windows and reduce the feeling of stagnation.
Power supply: restarts and unstable voltages
The power supply is the heart of the computer, and when it starts to fail, the typical symptoms are sudden restarts, shutdowns under load, or components that fail to power on correctly (for example, a graphics card that does not give a signal despite being properly installed).
For reference, you can use HWiNFO to check the voltages of the main rails: +12V, +5V, and +3,3V . The specifications allow for an approximate tolerance of ±5%. If you see readings significantly different from these values, there's reason to suspect the power supply.
However, software readings are not as accurate as those from a multimeter or clamp meter. In professional settings, advanced measuring equipment is used to check amperage, voltage ripple, and stability under load , but at home we usually have to settle for rough estimates.
Some high-end motherboards include direct voltage measurement points for use with a multimeter, but even then it's difficult to pinpoint the specific internal component that's failing within the power supply. In practice, when the power supply shows signs of instability, the wisest course of action to protect the rest of the system is to remove it and install a new one of suitable quality.
Ventilation and cooling system: the silent enemy
Many people overlook fans and cooling in general, but they are key to preventing system degradation. If air doesn't circulate properly or the heatsinks are clogged with dust, all components will be forced to reduce their performance to avoid overheating , resulting in a sluggish and noisy PC.
When fans fail, or spin much slower than they should, components protect themselves by reducing their frequency. This affects the processor, graphics card, RAM modules with heatsinks, and even some high-speed M.2 SSDs , which also have temperature control.
To check fan behavior, you can use utilities like SpeedFan (on compatible systems) or the solutions provided by your motherboard manufacturer. These tools allow you to create custom fan speed curves so that the fans react better to temperature increases.
On a physical level, you should check that the fans are not loose, misaligned, rubbing against the frame, or blocked by a layer of dirt . A fan with damaged bearings can vibrate, make noise, and move very little air, causing high temperatures without being noticeable to the naked eye.
It's also important to consider the overall airflow within the case. If the tower is too small or poorly ventilated, heat will build up inside and the overall temperature will rise. Choosing a case with well-designed front, rear, and top vents , and positioning the fans correctly (cool air intake and hot air exhaust), makes a significant difference in long-term stability.
Windows operating system degradation and garbage accumulation
Even if the hardware is perfect, over time Windows accumulates "clutter." Installations and uninstallations, updates, program testing, browsers full of extensions... All of this causes the system to generate temporary files, background services, and registry entries that no longer serve any purpose.
One of the main causes of slow Windows is having too many programs starting up at boot . Each one uses memory, consumes CPU in the background, and lengthens the time it takes for everything to be ready after logging in. To check what loads at startup, simply go to Settings > Apps > Startup and disable the ones you don't need.
Another source of performance degradation is the accumulation of temporary files and unnecessary data on the system disk . If the main drive (usually C:) is almost full, Windows has less space for its page file, updates, and temporary files, resulting in a noticeable drop in performance.
To fix this, you can go to Settings > System > Storage and use the Temporary Files option or tools like TreeSize Free . From there, Windows shows you what types of data you can delete (cache, old installations, log files, etc.) and how much space you would recover. Ideally, carefully review each category and only delete what you know you don't need.
If, even after checking hardware, viruses, and system files, the system still feels sluggish and erratic, and you can't identify the cause, there may come a point where the most practical solution is to format the system drive and perform a clean installation of Windows . It's a clean slate that usually restores a lot of speed to the computer, provided the hardware isn't damaged.
Malware, viruses and unwanted programs
Malware is another major factor in the degradation of Windows systems. You don't need a "major" virus to notice negative effects: adware, browser toolbars, hidden miners, or Trojans working in the background consuming resources without your knowledge are enough.
The first step is to take advantage of Windows' built-in antivirus (Windows Security) . From the Virus & threat protection section, you can run a full scan, not just a quick one. This scan checks all files and processes for suspicious behavior and neutralizes it.
As an added precaution, it's highly recommended to use dedicated anti-malware tools , such as Malwarebytes . Once installed, it can perform a full system scan that detects types of threats that standard antivirus software sometimes misses. If it finds anything, follow the instructions to quarantine or remove it.
After cleaning up infections, you'll notice that the system reduces CPU and memory usage at idle, boots up faster, and behaves more predictably . Even so, if the malware has been on your computer for a long time, it's not uncommon for it to have left behind corrupted files or modified settings, so you might want to check the integrity of system files or consider a reinstallation if the problems persist.
Reinstallations, OEM partitions, and Windows activation
When system degradation is very advanced, many users choose to reinstall Windows from scratch using a USB drive with the media creation tool . During this process, it is common to delete all disk partitions, including those labeled OEM or created by manufacturer applications (such as MYASUS on some laptops).
Deleting these OEM partitions doesn't usually physically damage your computer, but it does cause you to lose the manufacturer's specific recovery tools (for example, a factory image with proprietary drivers and utilities). In return, you gain a clean disk free of bloatware. If you don't need those manufacturer tools, deleting them isn't a big deal.
Something that confuses many people is that, after a clean installation in which all partitions are deleted, Windows 10 or 11 automatically reactivates without asking for a product key or selecting an edition . This happens because the digital license for many modern computers is linked to the motherboard itself or stored in the firmware (BIOS/UEFI).
In these cases, the system detects this information during installation and activates automatically once it connects to the internet, provided you install the same edition (Home, Pro, etc.) for which the device is licensed. Therefore, deleting the SSD partitions does not break the activation and does not cause physical damage to the computer.
The important thing, after a clean reinstall, is to install all the correct drivers, update Windows, protect the system with antivirus software, and maintain good software hygiene to delay further degradation as much as possible.
Keeping Windows system degradation under control involves a combination of software and hardware maintenance: checking the status of disks, RAM, CPU, graphics card, and power supply; monitoring temperatures and ventilation; cleaning temporary files and malware; and, when necessary, not being afraid to reinstall the system from scratch. With these practices, a PC can continue to run smoothly for many years, without slowness and errors turning its daily use into a nightmare.


Passionate writer about the world of bytes and technology in general. I love sharing my knowledge through writing, and that's what I'll do on this blog, show you all the most interesting things about gadgets, software, hardware, tech trends, and more. My goal is to help you navigate the digital world in a simple and entertaining way.