
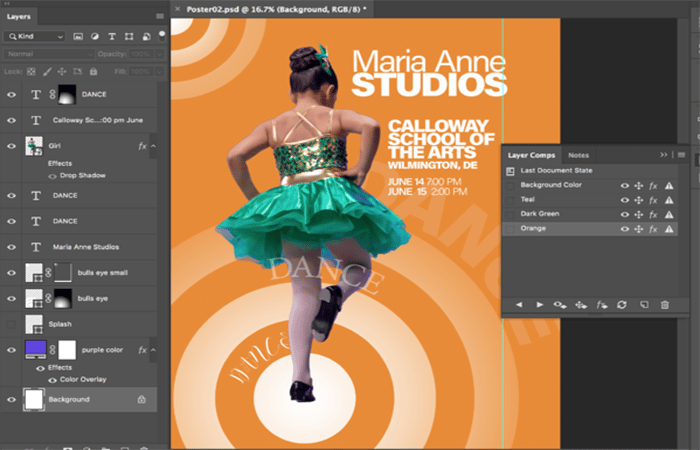
Would you like to know how to create a life-size poster in Photoshop ? Poster creation can be done in Photoshop, Illustrator, InDesign, or even all three. These days, with paragraph and character styles, there's little reason to leave Photoshop behind.
The parts of the design remain the same in Photoshop, the difference is that you won't need to learn how to navigate through a lot of additional applications to create a fun and engaging poster.
Parts to create a poster with Photoshop
Follow this tutorial Part by Part on how to create a poster with Photoshop!
image
Here you can learn about: How to Create Text in a Circle in Photoshop
Part 1: Find out the size, color mode, and resolution to create a poster with Photoshop
Canvases come in all sizes, resolutions, and color modes, but determining your ideal canvas depends on the project you're starting. It's important that the poster is the size and resolution you need for printing.
- Most posters come in these sizes: 22" x 28", 24" x 36", 36" x 48".
Photos for printing should have a minimum resolution of 300 dpi for high-quality print jobs. For lower-end printing (Office PostScript printers), the resolution can be as low as 150 dpi . Resolution is based on the printer's LPI (lines per inch), so check before starting your project.
If you are not sure if 300 DPI is what you need. Our color mode will always start in RGB with usually a working color profile of sRGB.
Sometimes, depending on the printing process, it may be necessary to convert the RGB color mode to a CMYK color mode at the end, but we can always start in RGB and convert the color modes later.
Part 2: Start with a preset to create a poster with Photoshop
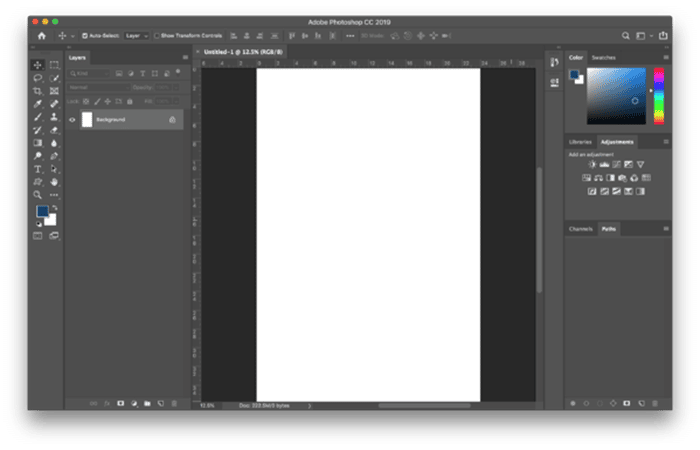
- Step 1:: Let’s create our canvas! The canvas size for this project will be 22”x28”, RGB at 300 dpi.
NOTE : We can use the Poster preset in Art & Illustration, which will set most of these properties. You only need to change the dimensions, as the preset size for the poster is 18" x 24". Change the dimensions to 22" x 28". Before creating the canvas, it's also a good idea to save a preset for future use.
- Step 2:: Click the button Save preset and call the preset «Poster 22×28«.
- Step 3:: Once the preset is created, click the Create button.
- Step 4:: Save it and call it Poster.
Part 3: Open an image and add it to create a poster with Photoshop
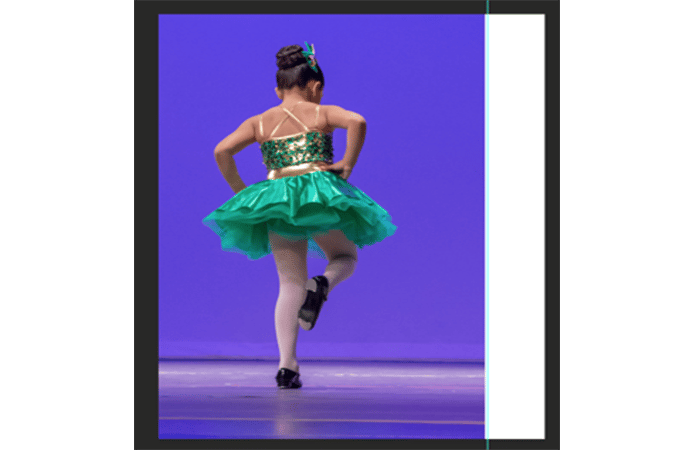
- Step 1:: Let's open the image in Photoshop, so that when the smart object is created, the smart object will be correct.
NOTE : The flexibility of a Photoshop smart object layer is needed compared to a limited JPG smart object layer. If the image is placed directly as a smart object, the layer would be a JPG smart object.
This distinction is important because JPGs cannot have alpha channels or layers, which limits our ability to edit the image.
- Step 2:: Once the image is open, right click on the layer and Duplicate layer.
- Step 3:: In the As field: write Girl in the field Destination document and choose the file Poster with the psd extension
Part 4: Create a smart object and resize it if necessary when creating a poster with Photoshop
- Step 1:: Once we have our duplicate image in our project file, right click on the new layer called Girl y Convert to smart object.
NOTE : This will convert the image into a Photoshop smart object.
- Step 2:: We can resize as needed, but please be careful not to enlarge the image too much as the resolution may distort the printed image.
If you really need a larger image, look for one taken at a higher resolution to keep the image quality sharp.
Part 5: Add a solid background layer when creating a poster with Photoshop
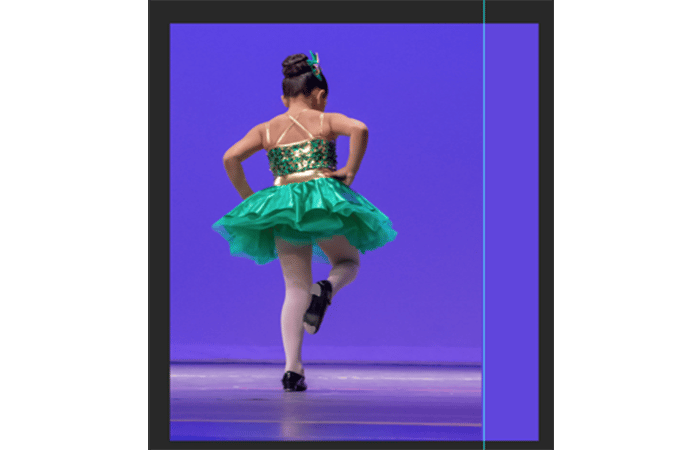
- Step 1:: Now, to create a background for our poster, choose the layer of the background canvas and then click the icon Create new fill or adjustment layer.
- Step 2:: From the menu, select Solid color. Move your mouse to the canvas area to choose a color from the image.
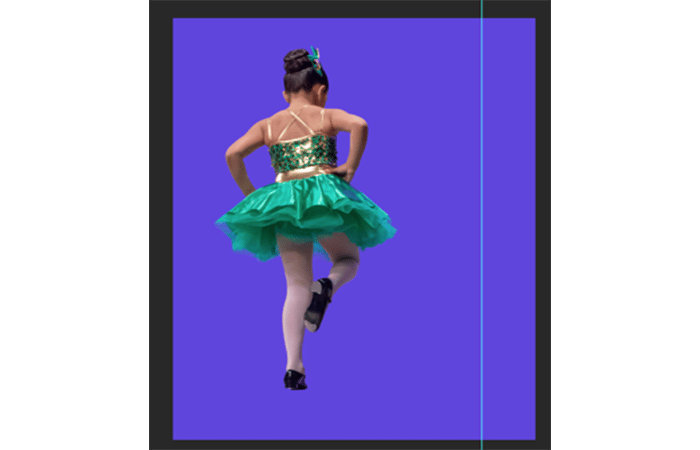
- Step 3:: At this stage, the Solid layer will be hidden from view by the Girl's cape, but this will change once the girl's background is cut out.
Part 6: Trim Out
- Step 1:: To cut out the background in the Girl's cape, double click on the Inteligent object from the Girl's cape.
NOTE : This action will open a Photoshop smart object.
- Step 2:: Within this project file, choose the Quick Selection Tool, then use Select topic at the Options panel.
- Step 3:: This option will select too much background, but we can refine it!
- Step 4:: Clear the selection through Select and Mask that is find in the Options panel.
- Step 5:: Use the Polygonal tool and choose Subtract from selection in the options bar.
- Step 6: Selects the highlighted parts in the background that should not be part of the selection.
Use the Refine Edge Brush tool to brush the areas that are partially inside and partially outside the selection, which in this case is the tutu and the ballerina's hair. This will make the tutu translucent by subtracting pixels from the background color. There also won't be a helmet headband, as the Refine Edge Brush tool can keep the hair loose when adding it back in.
Final refinements may include choosing to smooth the path in Global Refinements and Decontaminate colors in Output Settings.
Once you've made your selection, view it in Display Mode to see how it will look under different circumstances. If you're happy with the selection, you can finalize the changes and choose "Output to: New Layer with Layer Mask" in Output Settings.
Make sure to save your file before closing the smart object! The image will be updated in the project file after saving.
Part 7: Add Shape Layers When Creating a Poster with Photoshop
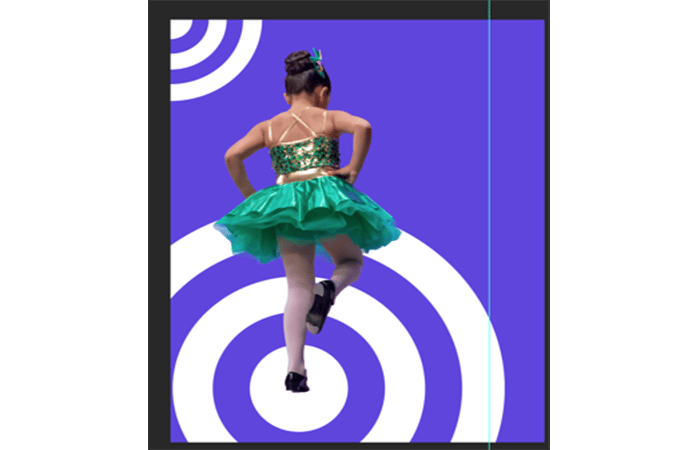
- Step 1:: Now we add some shapes to make the image more dynamic!
- Step 2:: Choose the Solid layer under the Girl's cape. For large visual graphs, we can add a Shape layer choosing the Custom Shape Tool in the tool palette.
- Step 3:: Choose Shape in the pop-up menu of the options bar.
- Step 4:: Here, we can select our desired shape and color to draw.
In this case, we use white and the bullseye shape.
Part 8: Add a layer mask to the shape when creating a poster with Photoshop
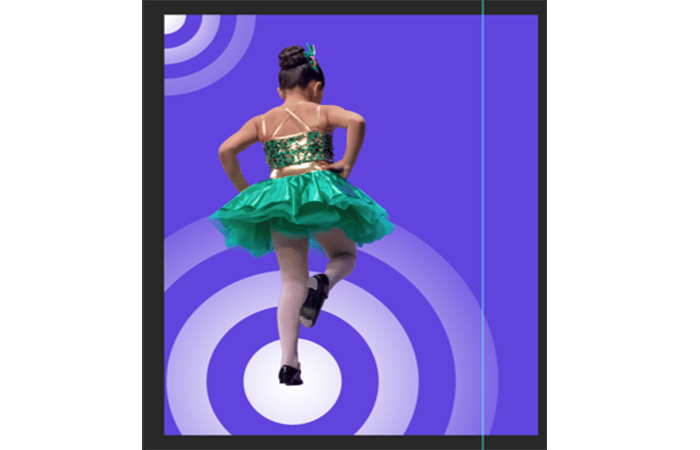
- Step 1:: To add some effects to our newly created shape, make the object fade near the edges.
- Step 2:: You add one layer mask with nothing selected. This action will create a white layer mask, which will not hide any part of the layer.
- Step 3:: Next, we can choose the Gradient tool. In the options bar choose Radial gradient , the Style.
- Step 4:: Using the drop-down menu of the gradient selector,choose Black White.
- Step 5:: Mark Invest in the Options bar to change to White, Black instead.
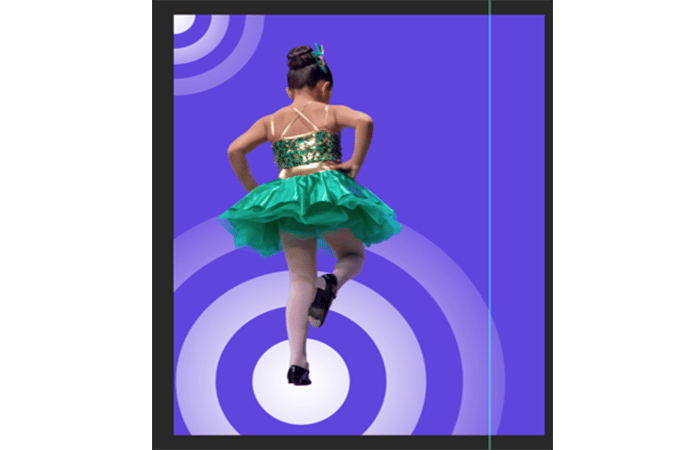
- Step 6:: Make sure the layer mask is selected in the Layers pane for Layer Shape, then click down in the center of the shape and drag beyond the shape, only releasing the mouse when you are done drawing the start to end points of the gradient.
Part 9: Add point type when creating a poster with Photoshop
- Step 1:: Once we are done with our design, we can now create the title by clicking down once with the Text tool.
- Step 2:: After typing your message or title for the poster, select the line of text and change the character settings and paragraph settings.
- Step 3:: We can create a paragraph style by clicking on the Create new paragraph style icon at the Paragraph Styles panel.
- Step 4:: After doing so, press the return button to create the second line of text.
- Step 5:: Select the second line of text and change the character settings and paragraph settings.
- Step 6:: Continue creating a paragraph style following the previous Parts.
Part 10: Add Paragraph Type When Creating a Poster with Photoshop
- Step 1:: To add blocks or lines of text, click and drag to create a bounding area to hold the text.
- Step 2:: After writing the first paragraph, change the settings and then choose a paragraph style at the Paragraph Styles panel.
- Step 3:: Do the same with the next paragraph. The last two paragraphs ended with the same paragraph style which is again created using the Paragraph Styles panel.
If necessary, we can also create a character style for character settings changes in the Character Styles panel . In this case, a character style was used to create bold text within the same paragraph.
Part 11: Add a type in a route
- Step 1:: To take things up a notch visually, we can also create text along a path instead of having blocks of text throughout the poster.
- Step 2:: To create text along a path, make sure no shape layers are selected.
- Step 3:: Choose a shape like the ellipse from the tools panel.
- Step 4:: Make sure that Rutais selected in the drop-down menu of the Options panel.
- Step 5:: Choose a shape to create a path and then click the path with the Text tool to put text along this path we just created.
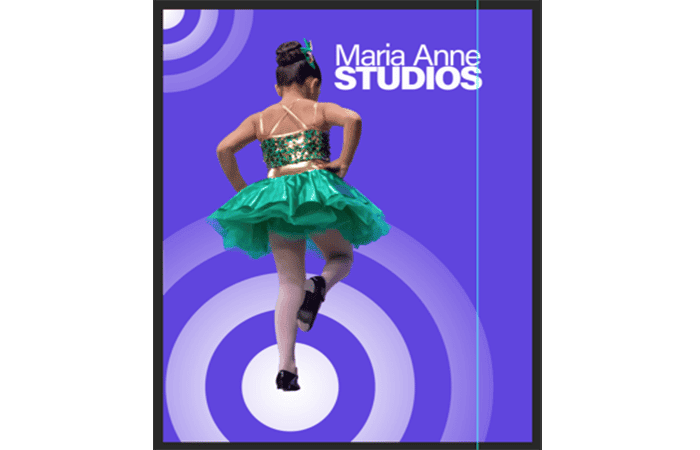
Part 12: Add the finishing touches
We're almost finished with this design! It's time for some final details and finishing touches. We can add finishing touches like a shadow or other effects using the Add Layer Style icon in the Layers panel.
Part 13: Using the Layer Compositions Option
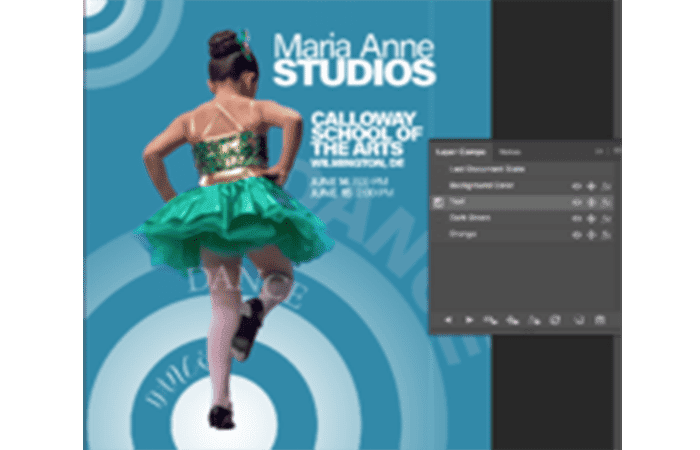
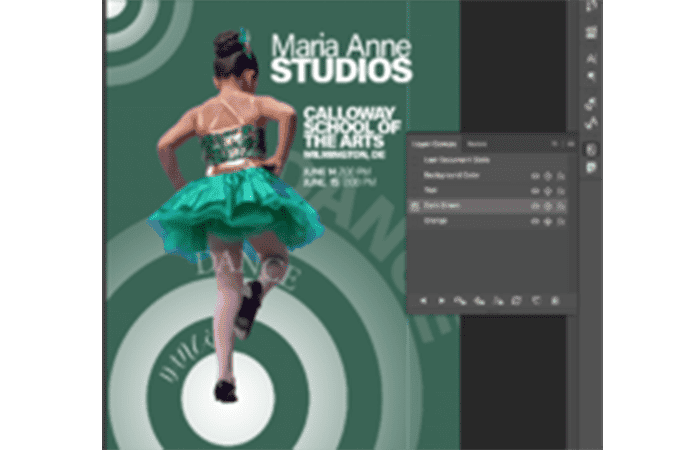
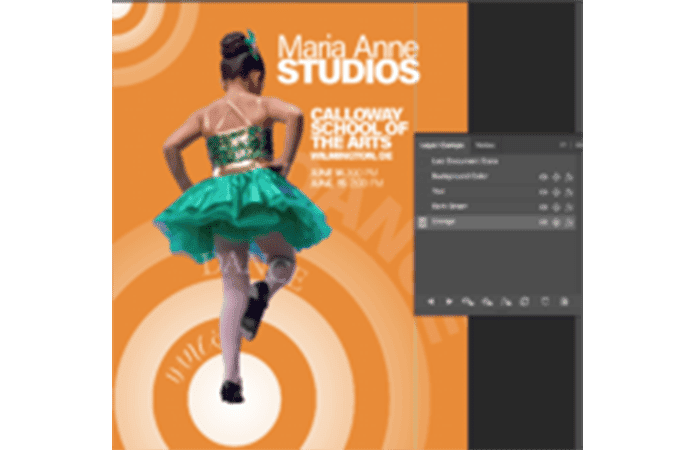
We can make decisions about the background using the Layer Composition panel. For example, we can add a color overlay effect to the solid layer. Each time the Color Overlay is changed (double-click the effect to make changes),
You might also be interested in reading about: How to Create Text with a Fire Effect in Photoshop
Choose Create New Layer Composition From in the Layer Comps panel. This will help you see different background color options in a single document.
Conclusion
As you can see, this is how to create a full-size poster using Photoshop. The benefit of using only Photoshop for poster design is that you'll only be working in one application instead of navigating through multiple ones. As long as you keep your Photoshop file as a Photoshop file or a PDF , Photoshop can maintain the path and type in vector format, which is ideal for printing. Once you save your project in another image format, it will simply become an image with the resolution of your canvas.
Therefore, if used correctly, Photoshop can be an excellent alternative to Illustrator and InDesign , although each program brings something extra to the table… We hope this information has been helpful.
Table of Contents
- 1 Parts to create a poster with Photoshop
- 1.1 Part 1: Find out the size, color mode, and resolution to create a poster with Photoshop
- 1.2 Part 2: Start with a preset to create a poster with Photoshop
- 1.3 Part 3: Open an image and add it to create a poster with Photoshop
- 1.4 Part 4: Create a smart object and resize it if necessary when creating a poster with Photoshop
- 1.5 Part 5: Add a solid background layer when creating a poster with Photoshop
- 1.6 Part 6: Trim Out
- 1.7 Part 7: Add Shape Layers When Creating a Poster with Photoshop
- 1.8 Part 8: Add a layer mask to the shape when creating a poster with Photoshop
- 1.9 Part 9: Add point type when creating a poster with Photoshop
- 1.10 Part 10: Add Paragraph Type When Creating a Poster with Photoshop
- 1.11 Part 11: Add a type in a route
- 1.12 Part 12: Add the finishing touches
- 1.13 Part 13: Using the Layer Compositions Option
- 2 Conclusion
