- Advanced disk and partition management in Windows 11
- Options for creating and configuring units using native and external tools
- Security and optimization recommendations for storage of data
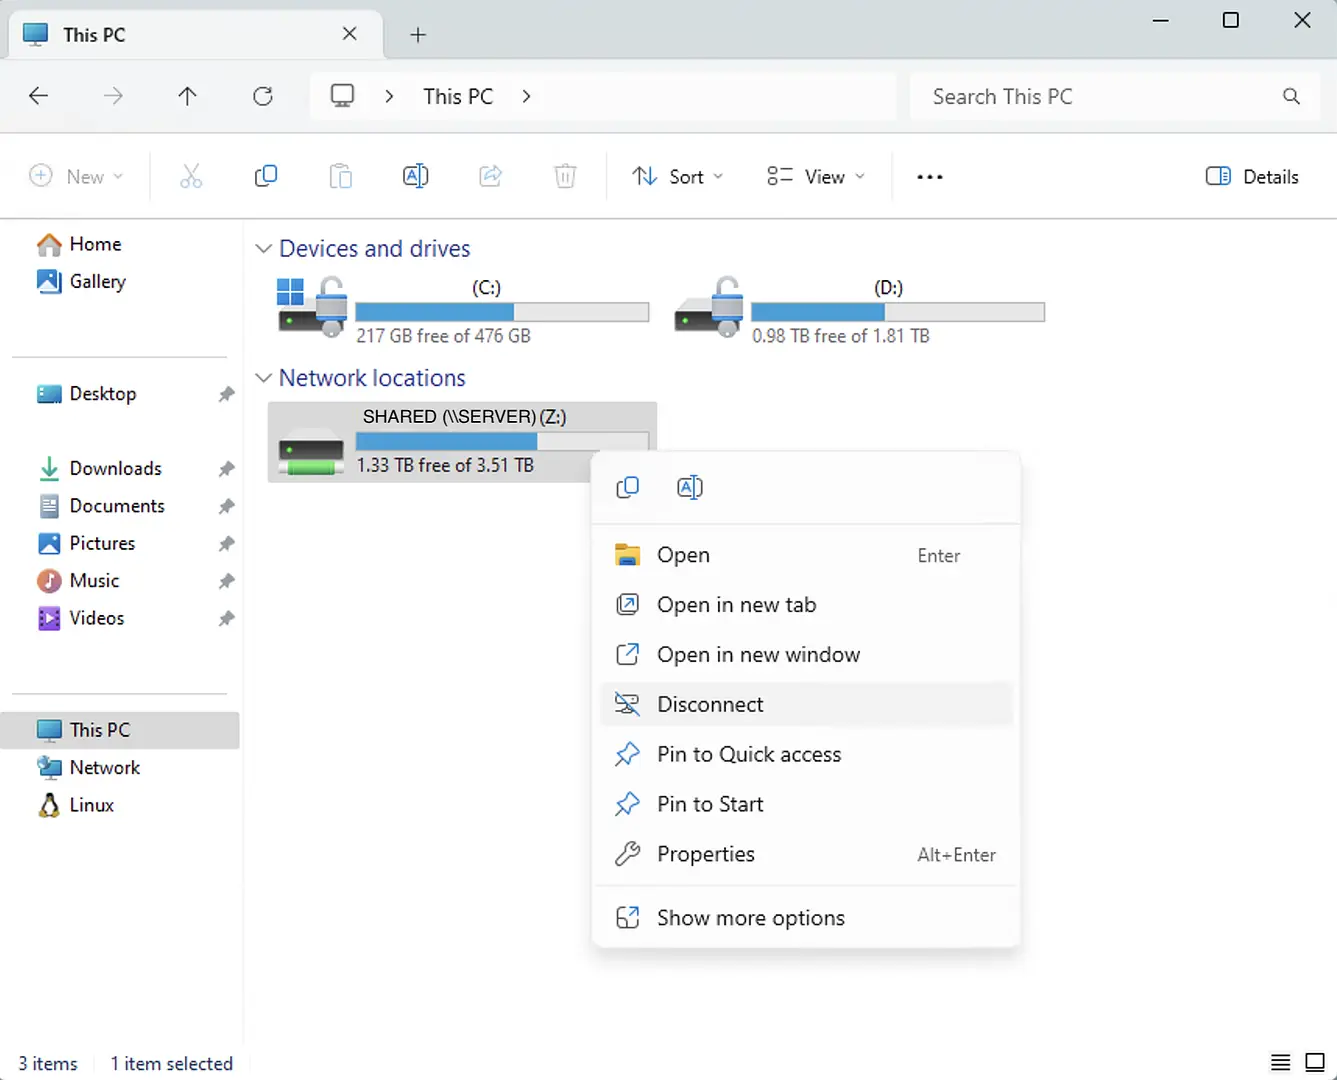
Are you wondering how to add a new D: drive to store your files, projects, or personal data on your Windows 11 computer using a secondary hard drive? This is one of the most common questions, both for users who have just installed a new drive and for those looking to better organize their content and get the most out of their hardware.
This article provides a complete and detailed guide to creating, formatting , and managing a D: partition (or any other drive letter you choose) using an additional hard drive, either internal or external, and with all the options available in Windows 11. You'll also discover helpful security and optimization tips, and we'll help you avoid common mistakes, so you can organize your data with complete peace of mind.
Why create a D: drive for data in Windows 11?
Many computers come standard with a single C: partition, where both the operating system and your documents, programs, photos, and more are stored. Creating a separate D: drive will allow you to separate your personal information from the system , which is very useful for:
- Protect your files from reinstallation, since the data is isolated and it is easier to make backup copies.
- Increase usable space if you add a new drive or have an unused secondary drive.
- Improve performance separating system and data, which reduces risks of corruption and fragmentation.
- Facilitate order maintaining projects, downloads, games, caches or media files to a specific location.
What do you need before you start
Before you start creating a D: drive for data in Windows 11, check these prerequisites to make sure everything goes smoothly:
- Administrator permission on your team.
- A secondary hard drive (internal or external), new or without important dataIf you already have information you want to keep, make a backup before modifying partitions.
- Updated Windows 11. Some advanced features require the latest versions.
Methods to create a D: drive for data
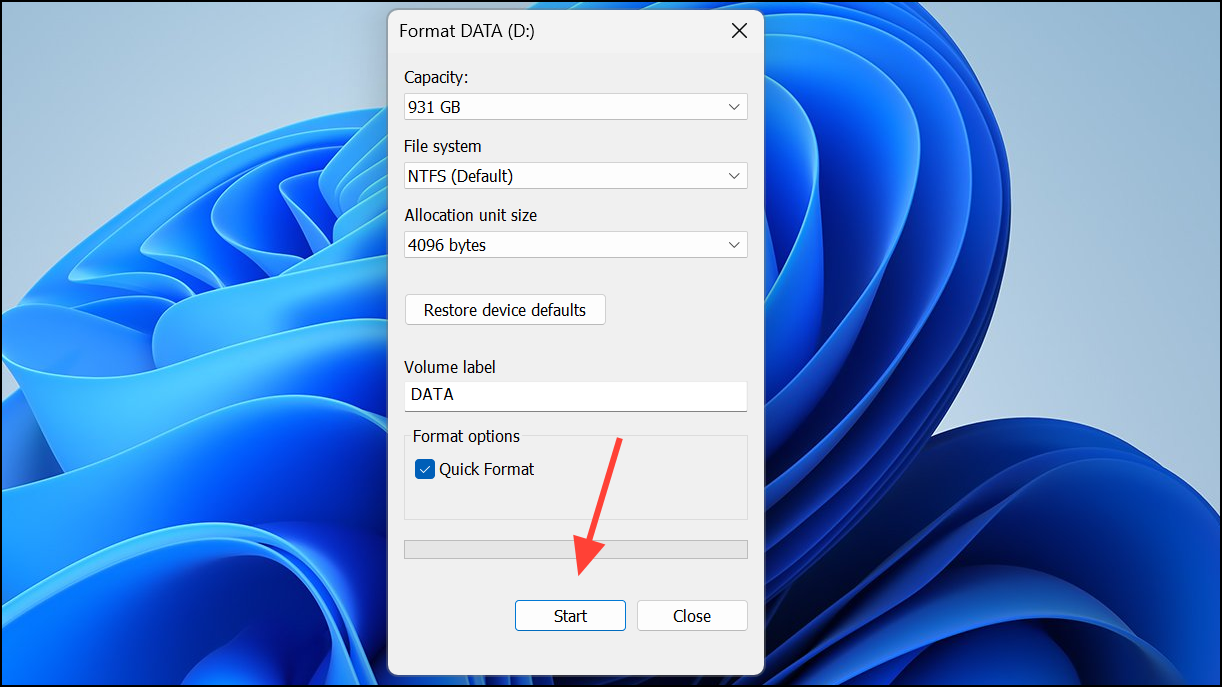
There are several ways to create a D: drive using built-in Windows tools or external programs. Let's look at them all in detail so you can choose the one that best suits your needs.
Option 1: Using Windows 11 Disk Management
Disk Management is the built-in Windows solution for managing disks and partitions. It allows you to initialize a new disk, create and delete partitions, assign drive letters, and format volumes.
- Balance Windows + X and select Disk management in the context menu, or type “Disk Management” in the search box and open it as administrator.
- If the secondary disk is new, it will appear as Not initialized o Not assigned. Right click on it and select Initialize diskThe recommended format is GPT; if it asks you, confirm it.
- In the space not assigned from the new disk, right click and choose New Simple Volume. Follow the wizard to assign size, drive letter (choose D: or whatever you want), volume label, and file system (NTFS is usually the best option).
- Complete the wizard and wait a few seconds for Windows to format and activate the partition. You'll now have a D: drive ready to save your data.
Tip : If your disk had other partitions, you can delete them first (make sure you don't lose any data). This procedure also works for USB hard drives.
Option 2: Resize an existing volume and create drive D:
If you have a hard drive with only one partition and you want to use some of its space for a new D: drive, you can shrink the current volume and then create the secondary partition.
- From Disk management, right click on the primary partition (C:) and select Dicrease the volume.
- Specify the amount of space for the new D: drive. It is most common to leave enough free space on C: for the system and apps, and set aside the rest for D:. Click on Reduce.
- You will see that the reduced space appears as not assigned. Right click on it and use the wizard New Simple Volume, just like before, now choosing the letter D:.
Note : You cannot shrink the partition below the space occupied by non-movable files (system files, page files, etc.). If you see a small amount of available space, try defragmenting or cleaning temporary files.
Option 3: Create drive D: using an external program
If you're looking for more options or a simpler interface, tools like EaseUS Partition Master allow you to create, resize, move, and clone partitions visually and safely. They often offer a "New Disk Guide" feature for directly configuring a new drive. This is ideal for less experienced users or when Windows disk management isn't working properly.
- Download and install the program, connect the secondary hard drive, select unallocated space, and follow the wizard to create a new D: partition with the size and file system you want.
- Confirm the changes and apply the operations. The program will do everything automatically, and you can see a summary before executing anything definitive.
Remember that third-party programs often have advanced options for copying disks, converting between MBR and GPT, and recovering accidentally deleted partitions.
Format and prepare drive D: for data
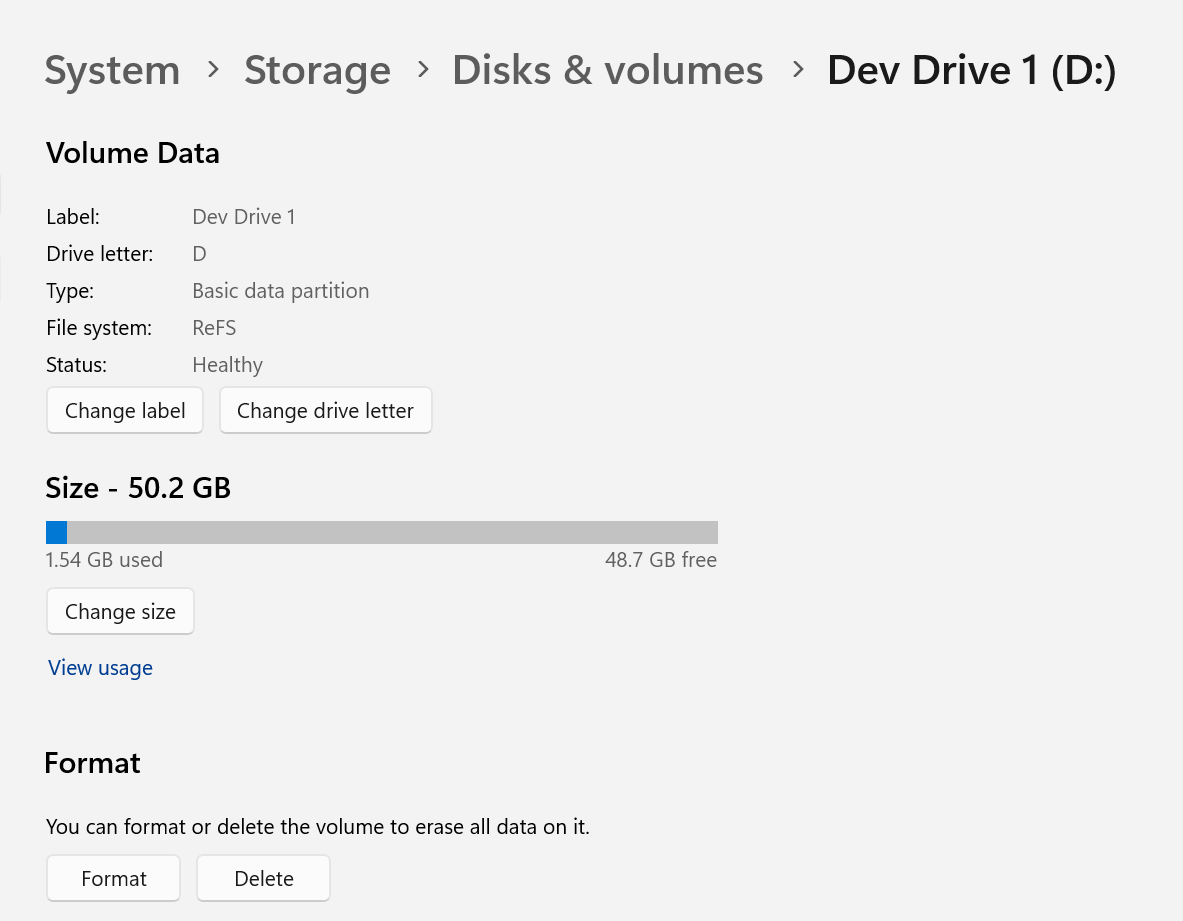
Once the D: partition is created, it needs to be formatted so that Windows recognizes it and you can save files . The wizard will usually ask you which file system to use.
- NTFS: Ideal for Windows and for saving large files.
- exFAT or FAT32: only in special cases (disks to share with Mac or other devices).
It is also possible to assign a label (for example, "Data", "Projects" or "Backup") to easily identify it in the file explorer.

Create a virtual drive (VHD/VHDX) as drive D:
Another very modern alternative is to create a virtual drive (VHD or VHDX), which functions as a file that Windows mounts as if it were a physical disk. This is useful for those who want portability, easy backups, or to isolate certain files or projects.
- En Disk management pulsa Action > Create VHD.
- Choose location (e.g., on the secondary disk), size, and format (VHDX recommended for 2TB+ and more robust).
- Activate the file, initialize it, and create a new partition just like on physical disks.
- Assign the letter D: (or any other available) to make it accessible as a separate drive.
Advantages of virtual disks: flexibility, easy to move between computers, isolate data, perform tests and restores easily.
Using the command line to create or format drive D:
More advanced users can choose to create and manage partitions directly from the command prompt ( CMD or PowerShell ) . This is useful when automating tasks or managing multiple computers.
- With DiskPart you can list disks (list disk), select the appropriate one (select diskX), create partitions (create partition primary size=XXXXX), assign letters (assign letter=D) and format (format fs = ntfs quick).
- In PowerShell you can use Initialize-Disk, New-Partition y Format-Volume for the same task.
Taking advantage of new options: Dev Drive and development-optimized volumes
Windows 11 introduces an advanced feature called Dev Drive , ideal for developers and demanding users. It's a special type of drive, based on the ReFS file system , that offers:
- Better performance in development and compilation operations.
- Adjustable security options, with control over antivirus filters and permissions.
- Advanced trust management (You can designate the drive as “trusted” and adjust Microsoft Defender’s behavior.)
To create a Dev Drive, you can learn how to create a Dev Drive in Windows 11 and take advantage of its benefits for development environments.
Advanced settings and optimization tips
To get the most out of your new D: drive, especially if you use it for development, gaming, or intensive data handling, keep these advanced tips in mind :
- Redirect caches and temporary folders (e.g. npm, NuGet, Maven, pip, cargo, gradle, etc.) to your D: drive to speed up installations and avoid filling up your C: drive.
- In the case of Dev Drives, Enable Microsoft Defender Performance Mode to balance speed and protection.
- Mark the drive as "trusted" from PowerShell using
fsutil devdrv trust D:to activate optimal performance and security profiles. - Add specific filters in business environments if required by your organization, with commands such as
fsutil devdrv setfiltersallowed. - Enable block cloning (Windows 11 24H2 onwards) for much faster file copies to Dev Drives formatted as ReFS.
Limitations and not recommended scenarios
Before you start reorganizing your disks, take note of certain limitations :
- You cannot convert an existing volume to a "development drive" without losing data (it must be formatted).
- Avoid using external or removable drives like Dev Drive, they are not officially supported.
- It is not possible to designate the system drive C: as Dev Drive.
- Creating Dev Drives on dynamic disks is not recommended; opt for standard storage spaces.
- It is not advisable to install full applications directly to the development or D: drive; instead, reserve this space for data, projects, and caches.
Delete or manage drive D: if you no longer need it
Do you want to delete, merge, or modify drive D:? You can easily do this from Settings > System > Storage > Disks and Volumes or from Disk Management . Simply select the relevant partition, choose Delete or Format , and follow the wizard. If it was a VHD, remember to unlink it to free up physical space on the main disk.

Passionate writer about the world of bytes and technology in general. I love sharing my knowledge through writing, and that's what I'll do on this blog, show you all the most interesting things about gadgets, software, hardware, tech trends, and more. My goal is to help you navigate the digital world in a simple and entertaining way.