- Windows 11 prioritizes spaces of storage for software RAID, with mirror, parity, and dual parity options in WinUI.
- Motherboard RAID (BIOS/UEFI with Intel RST) allows you to create the volume before installing Windows and use it as a system disk.
- Homogenize disks (sector and size), make backup copies and use PowerShell to clean up metadata if errors appear.
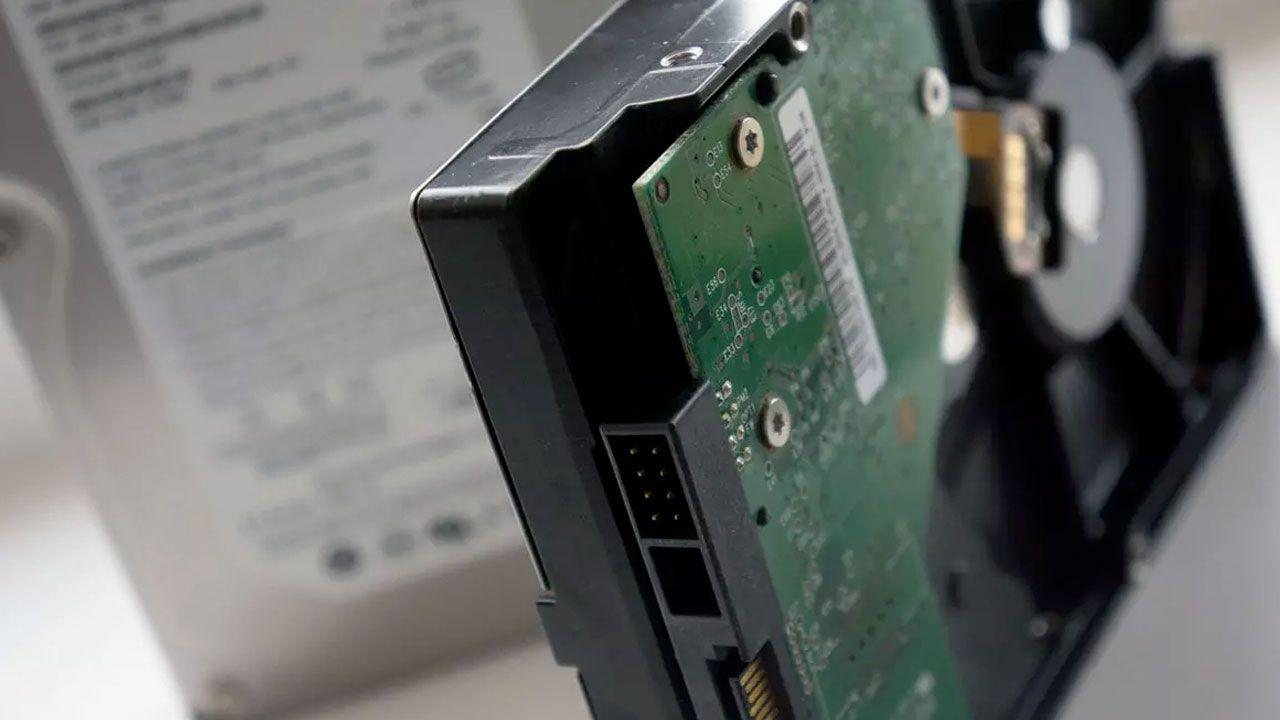
Setting up a RAID system in Windows 11 is a tempting idea when you're looking for increased performance, capacity, and fault tolerance without spending a fortune on dedicated hardware . Windows has evolved: today, its approach focuses on Storage Spaces and, on certain systems, motherboard RAID via the BIOS/UEFI or Intel RST. The key is choosing the right approach based on your goals, your motherboard, and the available drives.
Before doing anything, it's important to understand a few details. In Windows 11, creating a classic RAID array from Disk Management is limited or restricted in some builds , and the preferred method is Storage Spaces (Control Panel or the new WinUI interface). Furthermore, software RAID is system-dependent: if you reinstall Windows or make low-level changes, you'll need to reconfigure it . Even so, with proper preparation and backups, the process is straightforward.
What is RAID and how does Windows 11 implement it?
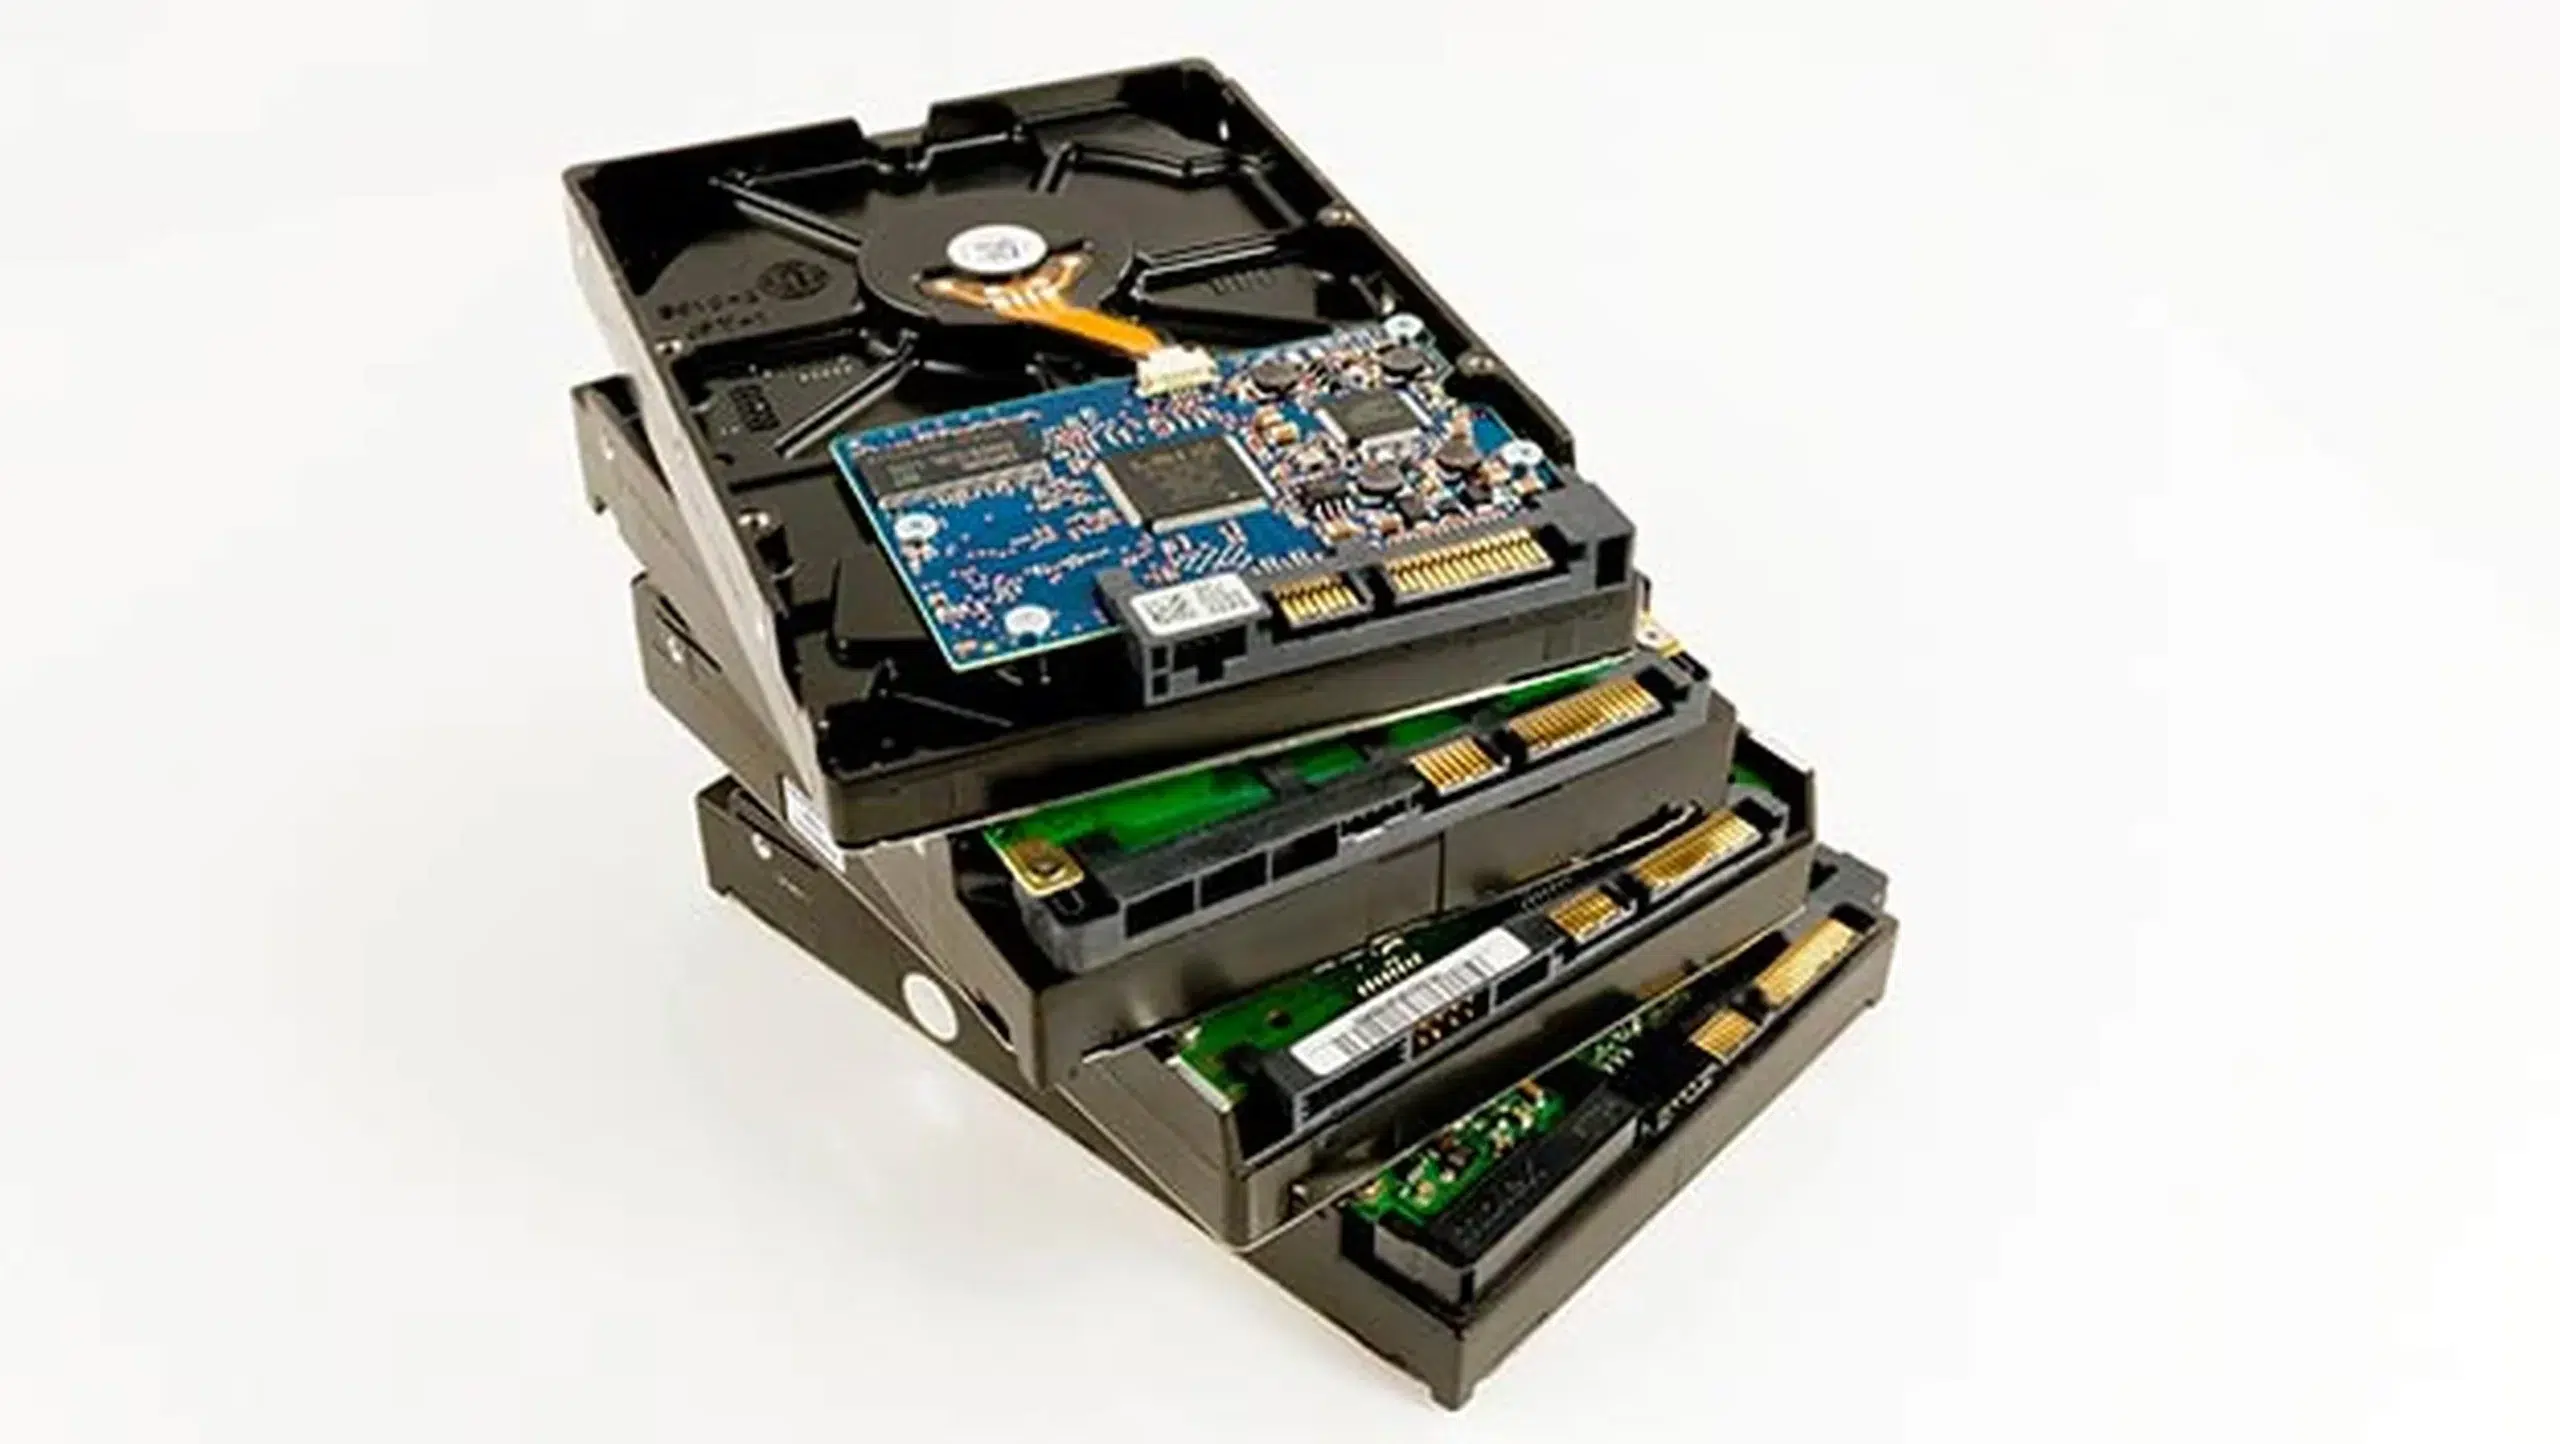
A RAID (Redundant Array of Independent Disks) combines multiple drives to improve performance and/or resilience . In Windows 11, there are three common approaches: Storage Spaces (classic interface and WinUI), software RAID with dynamic disks (limited in Windows 11), and motherboard RAID (BIOS/UEFI with Intel RST or equivalent options).
In Storage Spaces you can create these resilience configurations with names different from those in the traditional RAID world, but the mapping is clear and, in the WinUI version, there is even an additional dual parity option compared to the classic one:
- Simple: equivalent to a non-fault-tolerant array (similar to RAID 0/JBOD). Requires at least two disks.
- Bi-directional mirror: RAID 1 (mirroring). Requires a minimum of 2 disks and provides protection against the fall of a unit.
- Three-way mirror: a mirroring with three copies. It is not RAID 5; it works as three replicas and demands more discs, aiming for maximum resilience.
- Parity: similar to RAID 5, requires at least 3 disks and provides balance between capacity and safety.
- Dual parity (in WinUI): Comparable to RAID 6, with double parity to survive two disk failures; Windows introduces it with more demanding drive count requirements.
In motherboard RAID (BIOS/UEFI), very common in systems with Intel chipsets, you'll find classic levels like RAID 0 and RAID 1 , and sometimes RAID 5 in specific chipsets. This method operates at the firmware level, so Windows "sees" a single volume from the first boot.
Prerequisites and important checks
Before creating your array, it's a good idea to check your environment. A basic step is to confirm that the disks you're going to use are compatible with each other, especially in terms of logical and physical sector size . Windows Storage Spaces may refuse to work if there's a mix of 512e and 4Kn disks.
To check the sectors, open a symbol of the system with administrator privileges and executes fsutil fsinfo ntfsinfo X: (replace X: with the drive letter). Look at the lines Bytes per sector y Bytes per physical sector; if there is a disparity between disks, errors may occur.
If you detect a sector incompatibility, there are two approaches: either replace the drives with similar ones, or try to adjust them to 4K if the manufacturer and the tools allow it. Some third-party partition managers claim to offer sector size conversion ; use this with extreme caution, preferably after a full backup, and assuming that the ideal solution is to use equivalent drives.
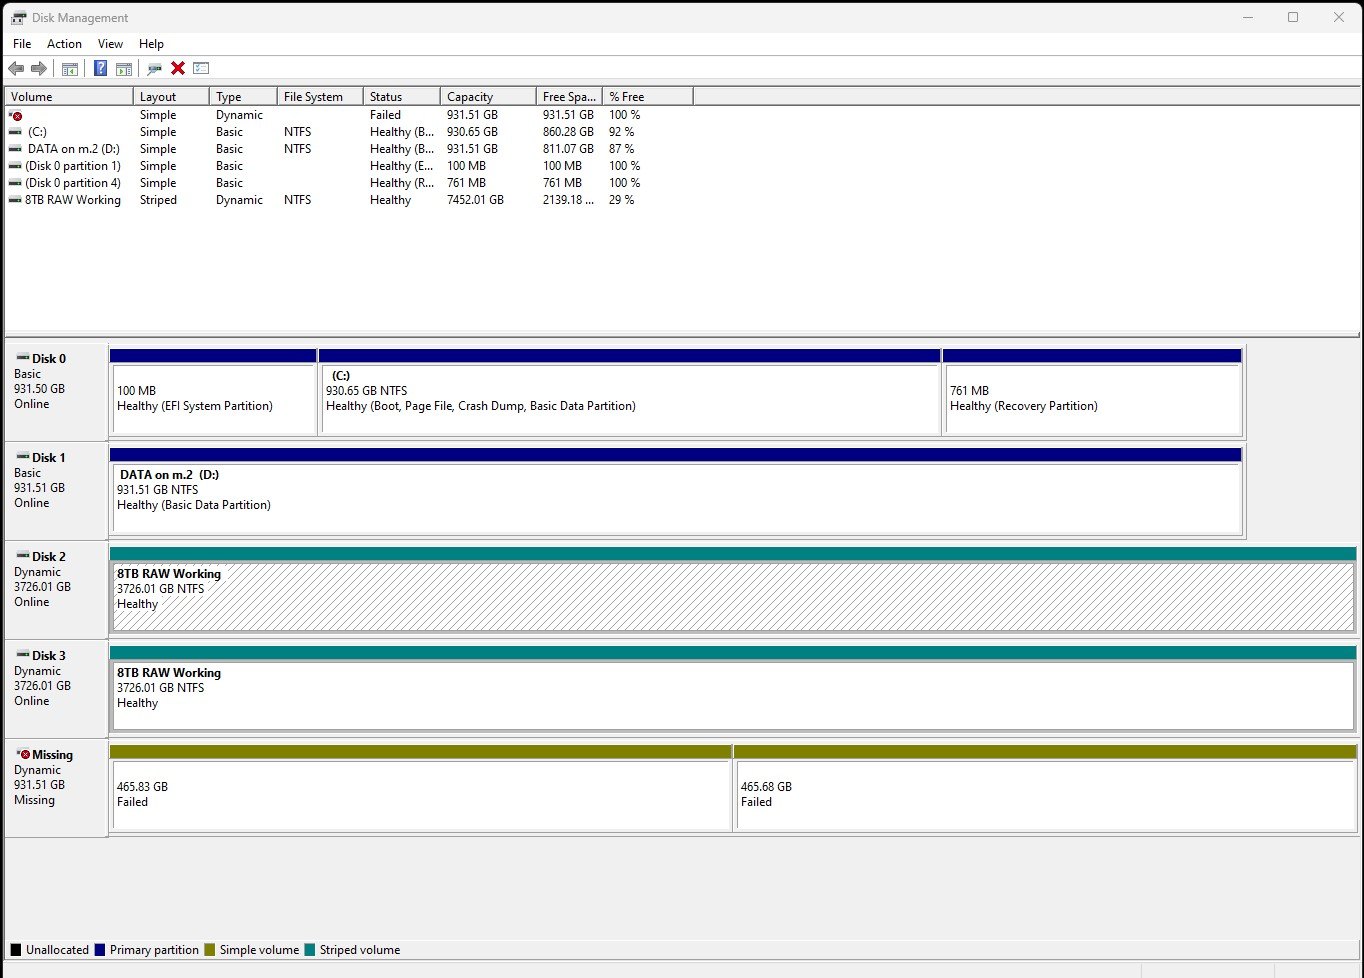
Another key requirement is to work with empty disks, or at least disks without volumes. To prepare them, open Disk Management (right-click Start → Disk Management), locate the drives you'll be using, and delete any volumes by right-clicking → Delete Volume . This will prevent errors when creating the disk group.
Create RAID with Storage Spaces (Control Panel and WinUI)
Storage Spaces is the method recommended by Microsoft in Windows 11 for software fixes, as it manages groups and spaces flexibly , allows for expanding capacity, and facilitates the replacement of drives in the event of failures.
Classic access: Control Panel → Storage Spaces. From there, click Create a new storage group and space . Select the disks (preferably of the same size) and create the group. The system will warn you that all data on those drives will be erased.
Modern access (WinUI): Settings → System → Storage → Advanced storage settings → Storage spaces . You'll find a more visual experience, with the new dual parity feature in many Windows 11 installations.
In both cases, after creating the group, define the storage space (the logical volume): assign a name, a drive letter, the file system ( NTFS is the default ), and the resilience type (Simple, 2-way Mirror, 3-way Mirror, Parity, or Dual Parity in WinUI). You can open advanced options to choose the cluster size ; for large files, 64 KB or more usually performs better. If you need more space, you can extend a partition using unallocated space within the logical volume you created.
After completing the "Create storage space" process , the volume will appear as an additional drive in "This PC". You can verify its status in the Storage Spaces section or in Disk Management . If the goal was RAID 1 (bidirectional mirroring), you will see a single volume that duplicates data across both drives.
Maintenance: expand capacity, replace disks and remove drives
When you run out of space, you can add disks to the pool from Storage Spaces. Go into the pool and choose "Add disks." The wizard will redistribute data based on the resilience level and, if necessary, allow you to increase the storage space.
If a disk fails or shows signs of degradation, Windows 11 will display alerts in the disk group section and in the physical disk block. To remove a faulty disk, first add a new disk (if you were at the minimum required for resilience), then use "Prepare for disposal" on the problematic disk , and when it changes, click " Remove ." Afterward, you can physically remove the drive.
To remove a disk for reorganization, the process is the same: Storage Spaces automatically moves data to other disks in the group, minimizing risk. This approach simplifies maintenance without the need for external tools.
Troubleshoot group discovery or creation
If Storage Spaces isn't detecting your drives, make sure they appear as unallocated space in Disk Management. Check cables and ports: connecting different SATA/NVMe drives sometimes resolves incompatibilities. Also, check in the BIOS/UEFI that the ports are operational and, if you intend to use motherboard RAID, that the SATA/RAID mode is set correctly.
When the error is related to residual metadata (for example, drives that were previously part of another array), you might encounter messages like "Cannot add a new drive, error 0x00000032" . In these cases, a metadata reset from PowerShell helps.
- Open PowerShell as administrator and run:
Get-PhysicalDisk | ft FriendlyName, SerialNumber, UniqueId -autoto identify the disk by UniqueId. - Lanza
Reset-PhysicalDisk -UniqueId "TU-IDENTIFICADOR". Make sure you write the identifier between double quotes.
After the reset, the disk is usually ready to rejoin the group . Keep in mind that sometimes a normal format doesn't erase metadata that confuses Storage Spaces.
Motherboard RAID (BIOS/UEFI) with Intel RST and similar options
If your motherboard supports it, you can enable RAID mode from the BIOS/UEFI to create the array at the firmware level. This is especially useful when you want the RAID volume to be the system drive where you install Windows and manage the EFI partition.
General steps (varies by manufacturer): Enter BIOS/UEFI using F2, Delete, or F10 , locate the storage settings, and change the SATA mode from AHCI to RAID . Save and restart. On many computers, you'll see the Intel Rapid Storage Option ROM indicating that no volumes are defined and the key combination to access the utility ( Ctrl+I on classic ROMs). From there, you can create a RAID 0 or RAID 1 array on most consumer motherboards, and on some chipsets, also RAID 5.
On Dell systems (and countless desktop towers and workstations), the typical workflow is: System Setup → System Configuration → SATA Operation Mode → RAID On . After applying and restarting, enter the RAID configuration utility when prompted by the firmware, choose the level , select disks, stripe size, and confirm the volume creation.
Important warnings: Creating a RAID volume from BIOS/UEFI will erase all data on the disks involved. Additionally, on some models, removing or replacing the CMOS battery may reset the configuration and render the array inoperable until reconfigured.
Migrate an existing Windows system to RAID 0/1 with Intel Matrix Storage or Intel RST
If you already have Windows installed on a disk and want to migrate to RAID without reinstalling, Intel tools offer a live migration wizard in certain scenarios (depending on the chipset and drivers installed).
With Intel Matrix Storage (older platforms): Open the console (Start Menu → Intel Matrix Storage Console), go to Create RAID Volume From Existing Hard Drive , and follow the wizard. Choose RAID 0 (performance) or RAID 1 (protection), select the source drive (the system drive) and the additional member drive, and confirm. The process may take some time, but on many systems, you can continue working while the migration takes place.
With Intel Rapid Storage Technology (newer models): Launch the console, press Create , choose Real-time data protection (RAID 1) or Optimized disk performance (RAID 0) , configure the volume, disks, and source drive, and confirm with Create Volume . If the system warns of extended processing times, allow it; it's best to avoid heavy workloads until it finishes.
Remember: this migration does not replace a full backup . If something goes wrong, you'll need your previous backup . And if you're looking to create a RAID array for your system disk in a clean installation, the most reliable approach is to define the volume in the BIOS/UEFI and then install Windows on it.
Classic Software RAID: Disk Management and DiskPart
In previous versions of Windows, it was common to create RAID 0/1/5 arrays with dynamic disks using Disk Management. In Windows 11, this method may be limited (the "New Mirrored Volume" option doesn't appear on all computers). If it does appear and you want to use it, the process is as follows:
- Open Disk Management (
diskmgmt.msc). - Right click on unallocated space → New mirrored volume (RAID 1) or New sectioned/striped volume (RAID 0), as the case may be.
- Follow the wizard: select disks, letter, NTFS format, confirm conversion to dynamic disks and finish.
With line of commands (administrator) through Diskpart on dynamic volumes: for RAID 0 use create volume stripe size=n disk=1,2,...; for RAID 1 create volume mirror disk=1,2; and for RAID 5 (Server editions only) create volume raid disk=1,2,3. After, formats and assigns letter with format fs=ntfs label=Nombre y assign letter=F.
Although it is possible, the method recommended today by Microsoft at the client level is Storage Spaces, which offers simpler management and recovery , in addition to the option of parity and dual parity from the modern interface.
RAID 0 vs RAID 1: What to Expect and Who to Use It For
| RAID 0 (striped) | RAID 1 (mirroring) | |
|---|---|---|
| Description | Combine discs to speed up reads/writes without fault tolerance. | Duplicates data across two disks to protect against the fall of a unit. |
| Visible capacity | Sum of the capacities (e.g., 2 × 320 GB = 640 GB). | The smallest disk (e.g., 320 GB if the disks are 320 GB). |
| How it works | The controller distributes blocks between both units in parallel. | The controller writes the same data in both units. |
| For whom | Users who prioritize performance: video/audio editing, graphics, games. | Those who need data integrity: critical documents, records, projects. |
| Risk | If a disk fails, the data on the volume is lost. | If a disk fails, the data is still available on the healthy disk. |
Keep in mind that RAID 1 is not a backup : it protects against hardware failure, not accidental deletions or ransomware. For that, you need external backups.
Hardware Tips: Choosing Drives and Planning Upgrades
If you're looking for maximum capacity at a reasonable price, HDDs remain unbeatable in terms of cost per TB, operate at moderate temperatures , and are well-suited for mirroring or parity setups. For pure performance, SATA or NVMe SSDs are your best option; if you choose an SSD, it's helpful to know how to update its firmware . To create RAID arrays with multiple M.2 drives, there are expansion cards that allow you to install more NVMe SSDs in PCIe slots. Be mindful of the PCIe topology (you could sacrifice the GPU's x16 lane) and the motherboard's limitations if you plan to boot from that RAID array.
Regarding drive size: mixing drives of different capacities works, but the usable capacity is limited to the smallest drive in RAID 1 and similar configurations. Whenever possible, use identical drives to avoid wasted space.
Software or hardware RAID? Practical considerations
Software RAID relies on the operating system. If you plan to reinstall frequently or are concerned about system drive issues, consider a motherboard RAID array or an external NAS/DAS with a dedicated controller. These latter options are independent of Windows and more portable between computers.
In Windows 10/11, you cannot create a software RAID array using the boot drive from which the system is already installed. If you want the OS to reside on a RAID volume, you must create the RAID before installing Windows (in the BIOS/UEFI or using the manufacturer's utility) and then install on that volume.
Good practices to avoid errors and losses
Always back up your data before creating or migrating RAID arrays. Any RAID wizard, whether in the BIOS or Windows, will erase the affected disks . Check cables, ports, and the SMART status of the drives.
If you encounter creation errors due to metadata or remnants of previous configurations, perform the PowerShell reset described above. In specific cases of sector incompatibilities (512e vs. 4Kn), try to standardize your disks or, if the tool and manufacturer support it, perform a guaranteed 4K conversion .
Quick Reference Steps: RAID 1 with Storage Spaces
This isn't a long step-by-step tutorial , but for quick reference: Control Panel → Storage Spaces → Create a disk pool → Select unallocated disks → Create a disk space using bidirectional mirroring → Name, assign a drive letter, and format as NTFS → Create the disk space . Check in Disk Management and perform a basic read/write test.
Brands and compatibility
Motherboards and desktops from Dell, HP, Lenovo , ASUS, MSI, Gigabyte, and others typically offer RAID 0/1 and, on certain chipsets, RAID 5 via Intel RST . Within the Dell ecosystem, many OptiPlex, Vostro, XPS, Alienware, and desktop models support basic RAID; always check your service tag and the Drivers & Downloads section to confirm the compatible storage package.
If your computer's BIOS doesn't show RAID mode, you'll likely need additional hardware or stick with Windows Storage Spaces. Both options are valid; choose the one that best suits your needs and hardware.
All of the above paints a clear picture: with Windows 11 you have powerful native tools (classic Storage Spaces and WinUI) and, if your motherboard supports it, the option of firmware RAID. With prepared disks, backups, and a sensible choice of level (performance, security, or balance), setting up a RAID 1, 0, or parity array on your PC is affordable and, with proper management, reliable for everyday use.

Passionate writer about the world of bytes and technology in general. I love sharing my knowledge through writing, and that's what I'll do on this blog, show you all the most interesting things about gadgets, software, hardware, tech trends, and more. My goal is to help you navigate the digital world in a simple and entertaining way.