- The accumulation of dust and dirt in the seams of the casing can affect the response of the buttons and sticks.
- Surface cleaning with wet brushes is effective in removing external stickiness from the keys.
- Prolonged drying in an upside-down position prevents moisture from damaging internal electronic components.
- Regular preventive maintenance prolongs the lifespan and prevents premature wear of analog equipment.

Having a controller that doesn't respond well because the buttons are sticky or stuck is a real nightmare for any gamer. Whether it's due to accumulated dust, an accidentally spilled drink, or simply daily wear and tear, it's normal for these peripherals to start malfunctioning over time and lose the tactile sensitivity needed for comfortable gameplay.
The good news is that you don't have to throw your remote away at the first sign of trouble. There are several ways to give them a facelift, from simple cleanings to more thorough maintenance, as long as you do it carefully to avoid damaging the device. In this article, we'll tell you how to safely and effectively restore the functionality of your remotes.

Preventive and general maintenance of controls
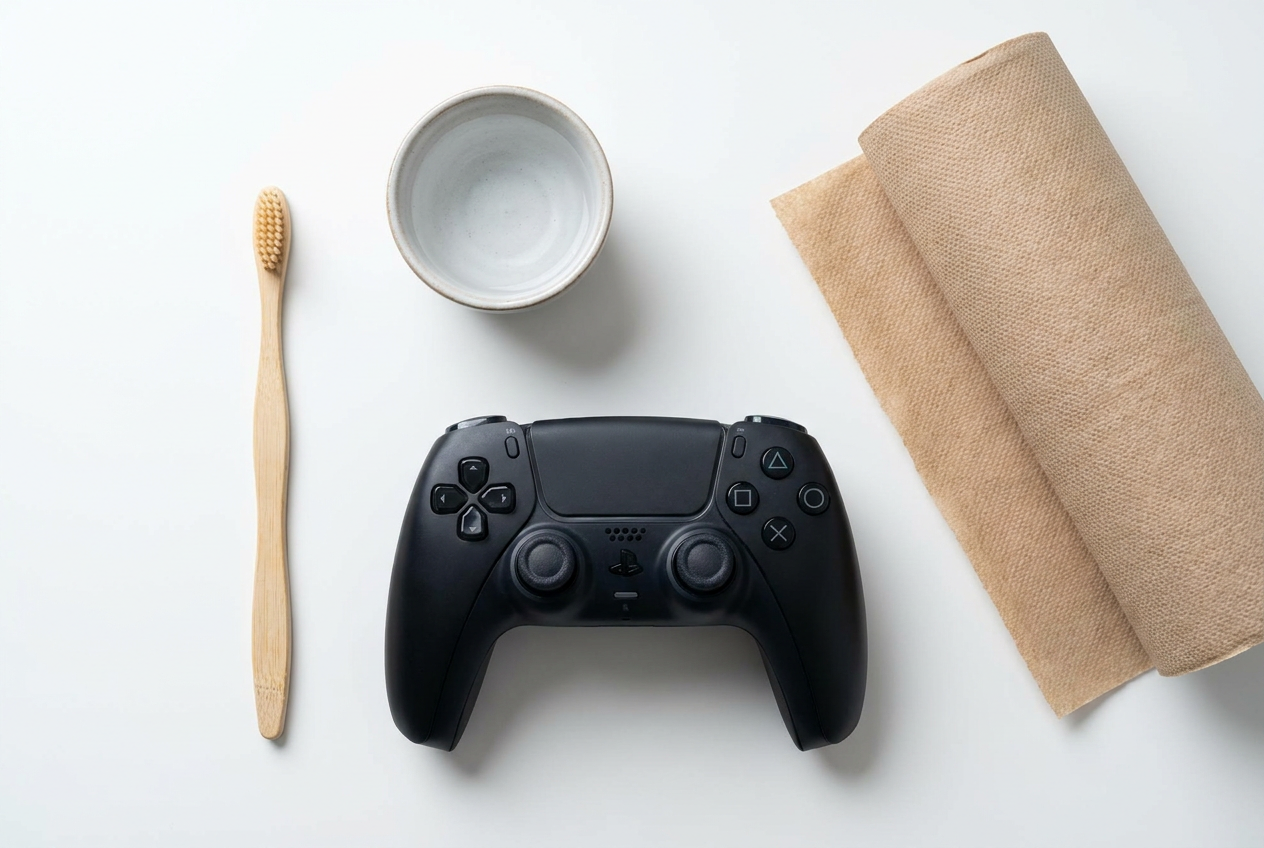
Modern controllers, like the DualShock, are designed to withstand considerable wear and tear and constant mechanical stress, as they are the link between us and the action. However, the casing, while durable, has grooves and seams where dirt and dust accumulate and, over time, eventually seep into the internal circuitry.
It's not just the buttons that suffer; analog sticks are often the first to show signs of wear, becoming deformed or stiff from heavy use. That's why it's vital to be meticulous with maintenance, especially if you need to fix controller drift . Before attempting any complex repairs, it's best to consult the manufacturer's manual to avoid accidentally voiding the warranty.

Step-by-step guide to cleaning stuck buttons
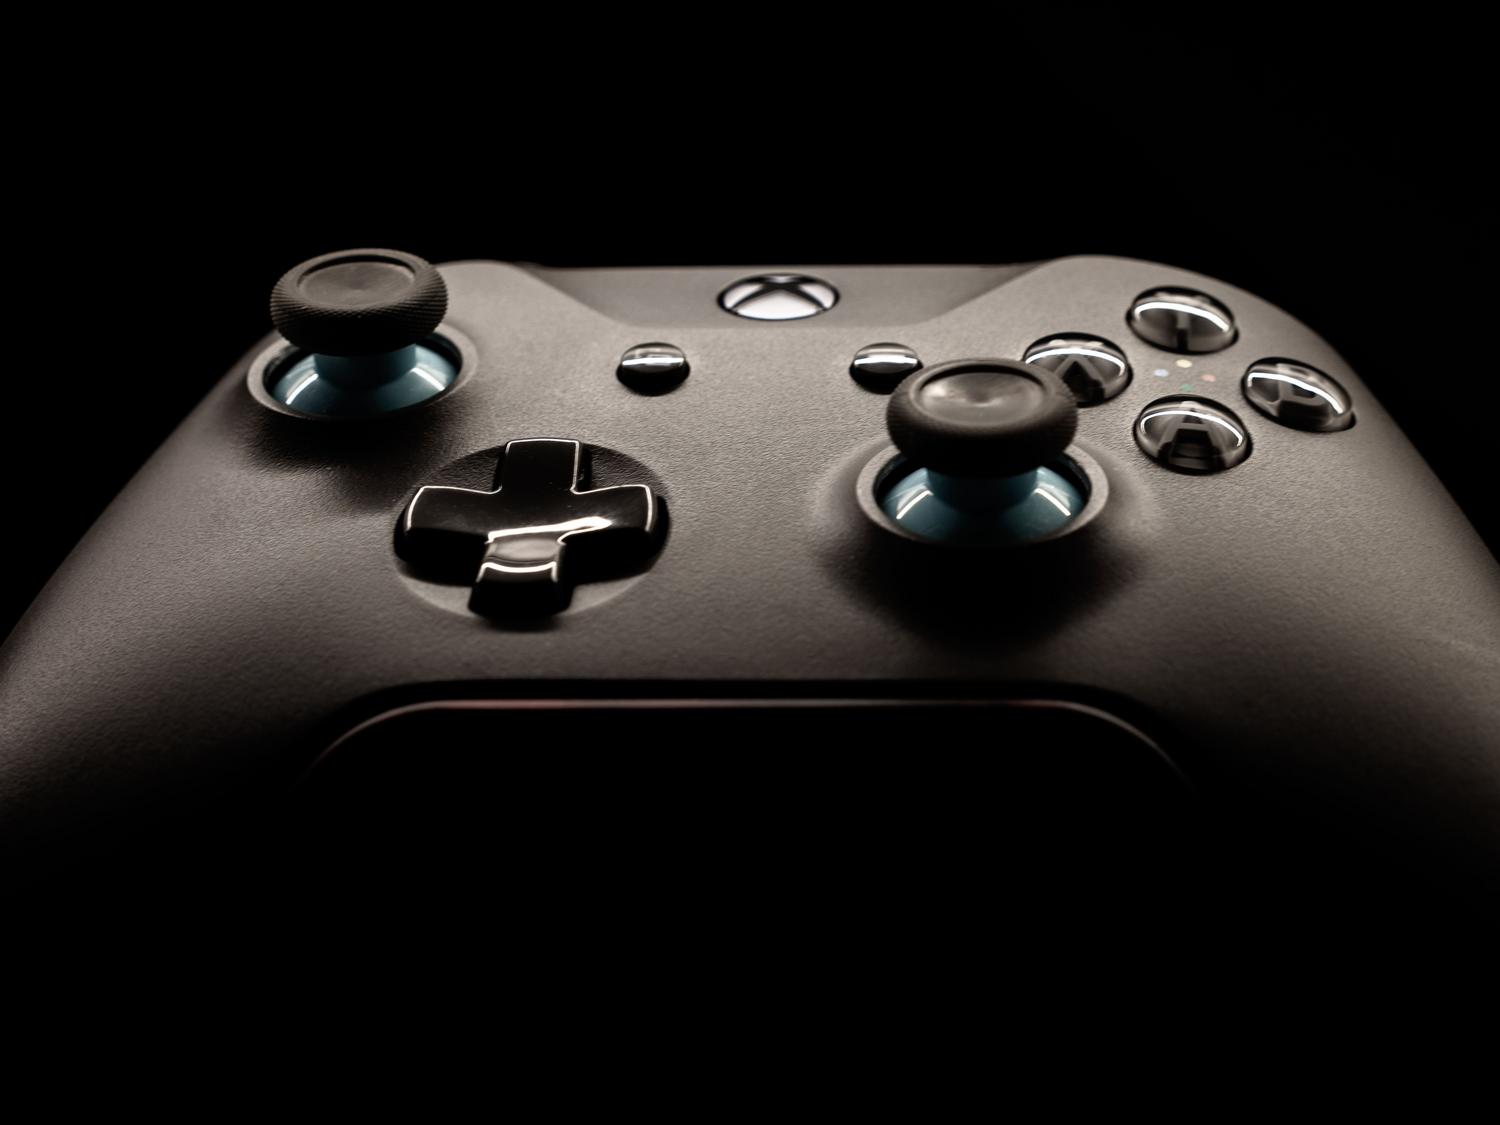
If you have a controller with sticky buttons (very common in Wii controllers or similar), you can follow this simple method without needing to open the device. To begin, you'll need a new, clean toothbrush, some warm water, and paper towels for drying.
- The first and most important thing is remove the batteries or the battery to avoid any electrical short circuit.
- Dampen the brush in the hot water, making sure it is damp but not wet. Do not drip liquid about the controller. Never submerge the device or pour water directly onto it.
- Gently rub the area around the buttons and run the bristles along the sides of each key to remove accumulated waste.
- Once the cleaning is finished, use kitchen paper to dry any traces of moisture.
- Place the remote control face down for a few hours, leaving the buttons facing the ground so that the air can finish drying the entire mechanism.
After waiting the indicated time, test if the buttons make their usual "click" again. If the problem persists after trying this, there is likely internal physical damage . In extreme cases, especially with older hardware, if the dirt has penetrated too deeply, the only solution might be to buy a new controller, as this type of damage due to misuse is not usually covered by the official warranty.
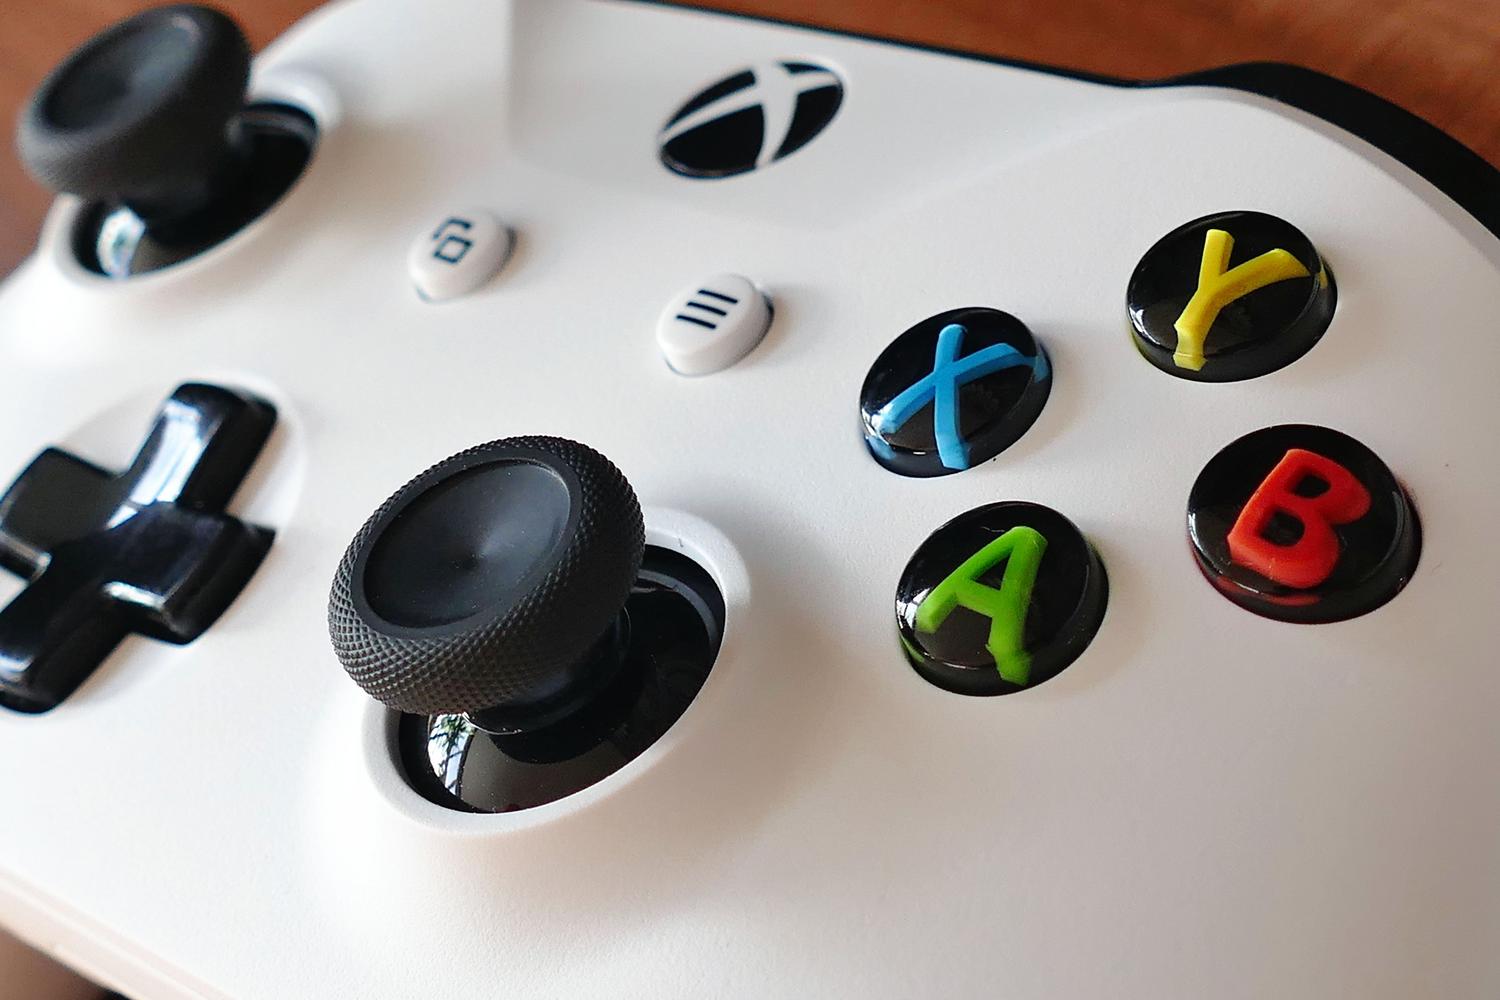
Maintaining the hygiene of your peripherals through regular cleaning with simple tools and avoiding direct contact with excessive liquids is the best way to extend the lifespan of your gaming accessories and prevent dirt from degrading the internal hardware.

Passionate writer about the world of bytes and technology in general. I love sharing my knowledge through writing, and that's what I'll do on this blog, show you all the most interesting things about gadgets, software, hardware, tech trends, and more. My goal is to help you navigate the digital world in a simple and entertaining way.