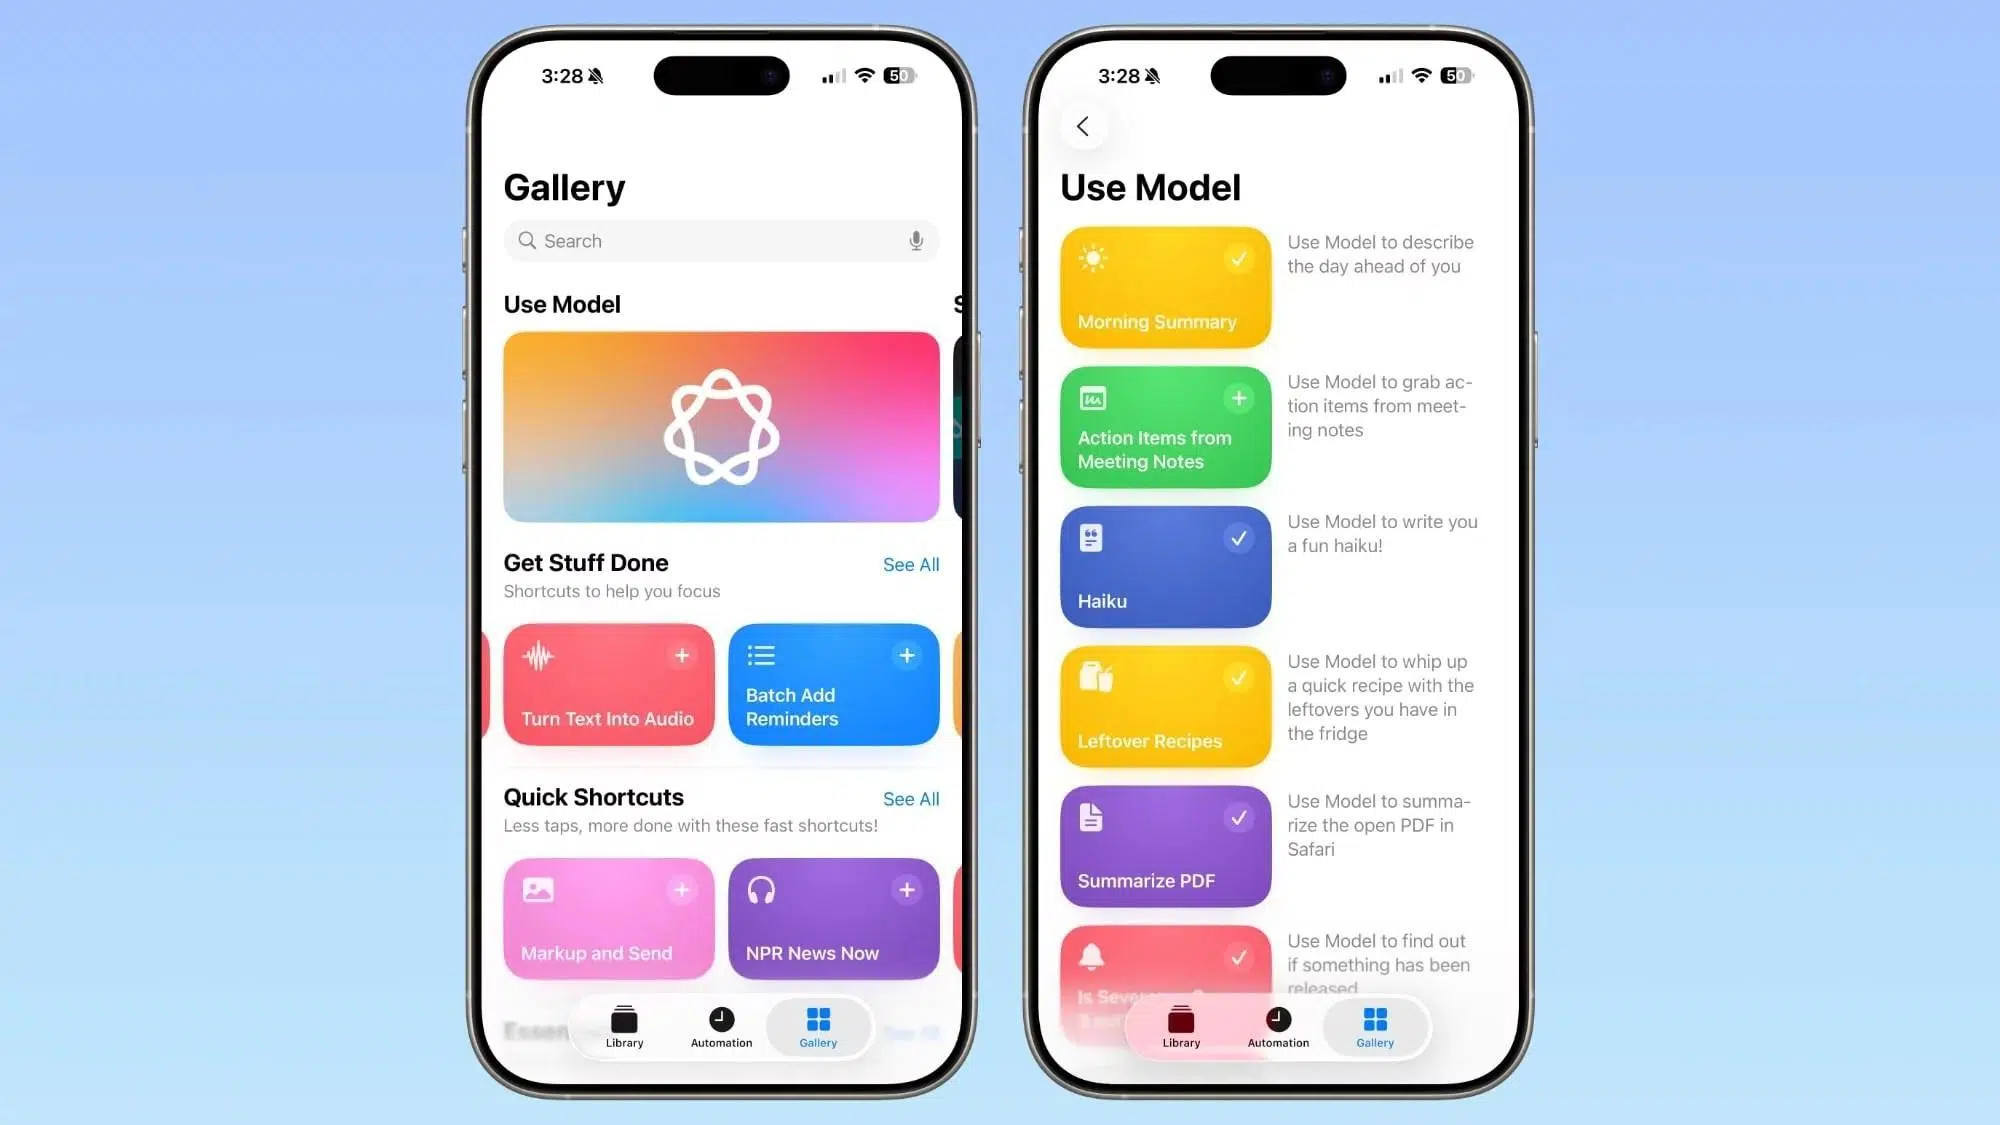
If you spend your day repeating the same gestures on your iPhone or iPad, it's time to let Shortcuts do the work for you. With the Shortcuts app, you can chain together various actions and launch them with a tap or Siri, so everyday tasks are completed in seconds without you having to think about it.
In this guide, I'll explain how to use Shortcuts to automate everything from the simplest tasks (like opening an app at a specific time) to more complex workflows (like reacting to arrival at a location or receiving a message). Everything is explained in detail using the app's own language, so you can easily follow each step and get practical tips to get it working perfectly the first time.
What is Shortcuts and what is it for?
Shortcuts is the iOS and iPadOS tool for orchestrating actions across multiple apps into a single command. With it, you can, for example, get directions to your next calendar event , move text between apps, set reminders when you get home, or silence your phone when a meeting starts.
In addition to creating your own workflows, the app includes a Gallery with pre-configured shortcuts that you can use as is or customize. The great advantage is that these shortcuts integrate with system and third-party apps and can be launched with Siri, from the home screen, the Share menu, or directly when a condition is met. This way, with a single gesture, you can execute multiple steps at once.
If you're interested in delving deeper, Apple offers official documentation with concepts and examples; also, if you want to see automation examples in other apps, check out automating tasks in Photoshop . But don't worry: here you have all the essentials and more to get started in earnest, without getting lost and always knowing what to do and why.
An important point: Shortcuts isn't just "pretty buttons." The key lies in its automations, which react to triggers (time, location, communication, device status, etc.). With these, the action is initiated automatically at the right moment, so your iPhone or iPad acts on its own initiative, following your rules.
How to create a personal automation step by step
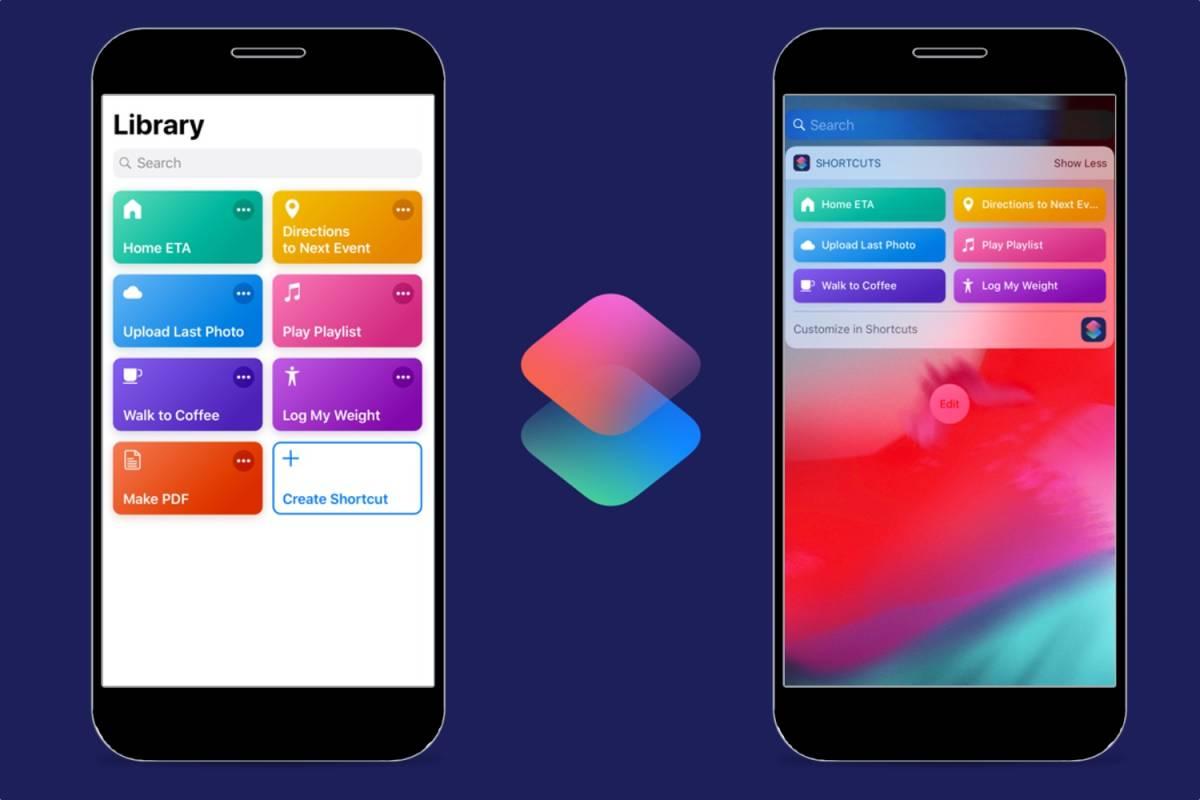
On your iPhone or iPad, it all starts in the Automation tab of the Shortcuts app. From there, you can create custom automations that trigger on your device based on conditions you define. Below, you'll see the complete process, with nuances that make all the difference and ensure your first automation works perfectly the first time.
Open Shortcuts and go to the Automation tab. If this is your first time accessing this section, you'll see a clean screen. In that case, tap the Create option directly; if you've already created other automations, tap Automation and then the Add button in the upper right corner to start a new one. This distinction may seem minor, but it saves you time and hassle once you start accumulating automations.
Now tap Create Personal Automation. This option triggers actions on your iPhone or iPad based on conditions such as time, arrival at a location, Wi-Fi connection, battery levels, or a received message, among others. This tells Shortcuts, "When X happens, I want you to do Y," unlocking much of the real-world automation potential for everyday use.
- Choose a trigger (e.g., Time of Day or Upon Arrival at…). This will be the event that triggers everything else, so think carefully about when you want the action to happen and in what context. It's best to start with a simple case, such as a specific time, to understand the mechanics and then gradually refine your flow.
- Configure the trigger options. If you choose a time, define the timeframe and repetition (daily, specific days). If it's a location, select the address and whether you want it to trigger upon arrival or departure. These details fine-tune the exact moment when automation comes into play.
- On the next screen, you'll see three options: create a blank automation, use a suggestion, or leverage an existing shortcut. If you already have a shortcut that does what you need, you can link it here. If not, choose to add actions and create the logic from scratch. control the result step by step.
- Tap Add Action and search by category or app. You can also use the search bar to get to the point. When you find the action you want, tap it to add it, or tap and hold it and drag it to the exact spot in the editor. This view is your canvas: you'll build the sequence you want there. will run automatically.
- Repeat to add as many actions as you need. You can reorder them by dragging, remove unsuitable ones, and adjust their parameters with a tap. If you get lost in the categories, tap the top of the action navigator to see Apps and Categories again. orient yourself quickly.
- Test your automation by tapping the play button in the editor. If something doesn't go as expected, correct the specific action and test again. This real-time testing allows you to detect errors before finishing, which is key to ensuring that later everything goes smoothly.
- If you need to, stop the execution with the stop button. This is useful when an action opens another app or performs a longer process and you want to verify that the rest of the steps are properly linked without anything being left unfinished and without the flow escapes from your hands.
- When you're satisfied, click Next. You'll see a summary of what you've set up, with the trigger at the top and the list of actions below. Review it carefully to make sure it's working. the description matches your intention.
- Finally, press OK. The automation will be saved and will be moved to the main Automation screen, ready to run when the time comes. From that list, you can activate or deactivate it with a toggle switch, and access it to edit it whenever you want. you want to touch something up.
Available triggers and how to set them correctly
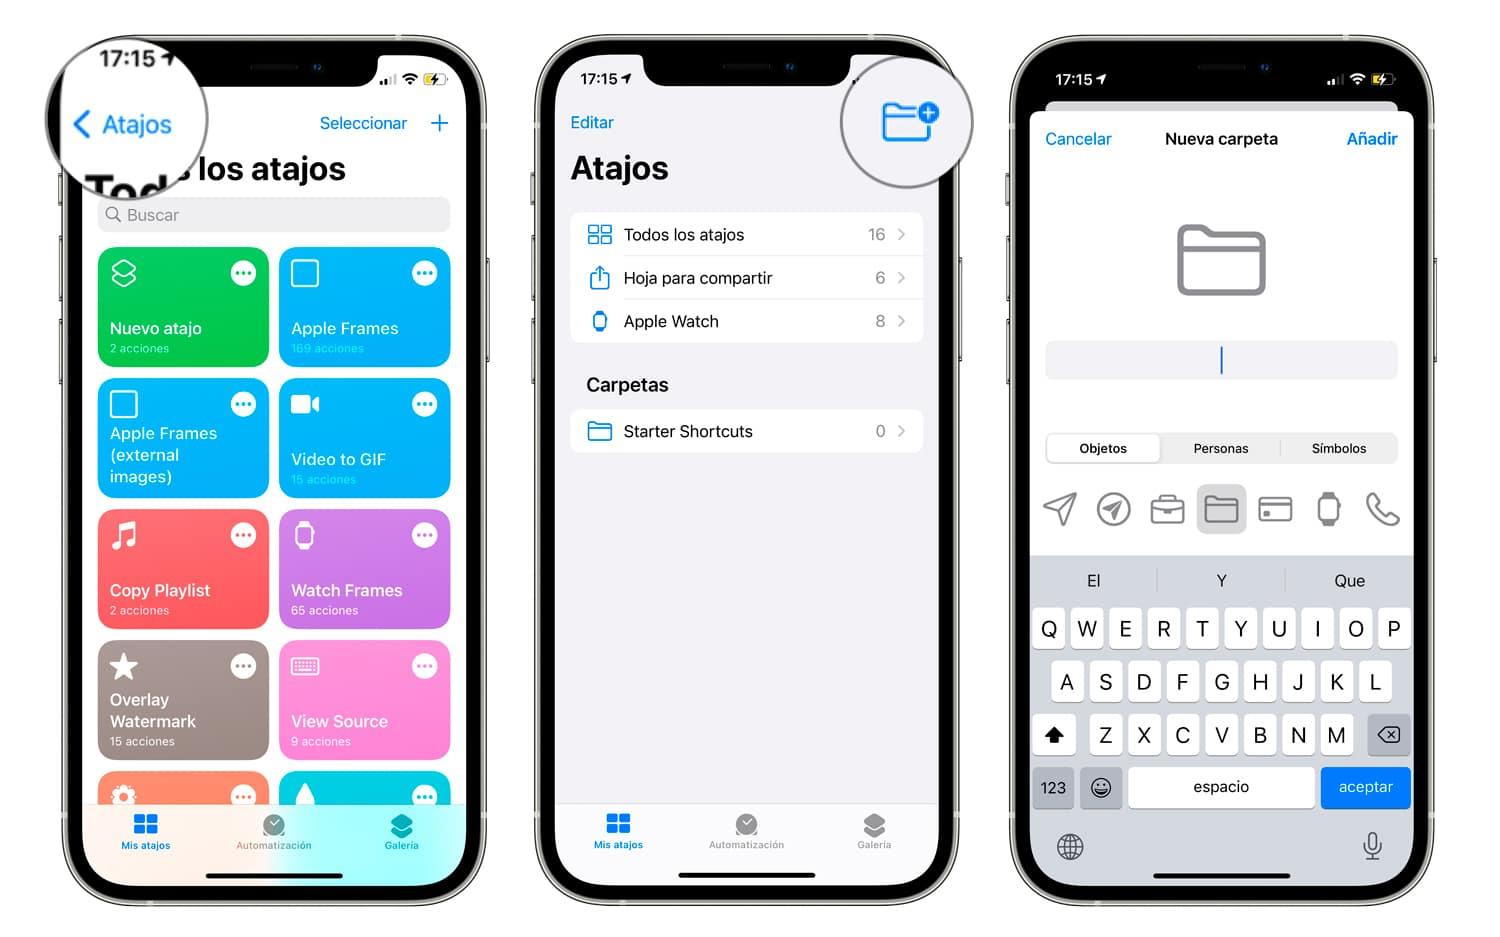
Triggers are key: they determine when automation kicks in. Shortcuts groups the options into categories that are worth knowing, because each one opens different doors and helps you resolve specific situations in your routine.
Event triggers: These include the time of day, the start or end of a calendar event, or specific dates. They're perfect for daily routines, pre-meeting reminders, or tasks you want to run regularly. When setting them up, be sure to select the appropriate repetition and time frame so they don't trigger outside of scheduled times.
Travel and location triggers: These include Arriving at and Leaving a location. Typically, you'd set home, work, or gym, but you can specify any address. They also support wide or narrow geofences, allowing you to adjust the trigger's sensitivity. It's crucial to ensure location services are enabled, otherwise the automation won't know your location.
Communication triggers: These react when you receive a message from a specific person or under certain conditions. They are useful for activating modes, sending prepared replies, or recording information. Before using them, check Messages access permissions so that Shortcuts can read the trigger and act accordingly.
State or setting triggers: These include connecting to a Wi-Fi network, opening an app, battery level, airplane mode, and other system states. With these, you can automate actions such as activating power saving mode when the battery is low or opening an app when you connect headphones. Adjust the conditions carefully to avoid excessive triggering and prevent becoming overwhelmed by constant execution.
When you select a trigger, Shortcuts will ask you for specific details: exact time, days of the week, location and radius, specific contact, Wi-Fi network to connect to, etc. Taking a minute to fine-tune these parameters saves a lot of trouble later, because the system will execute exactly what you've asked, no more and no less, and it's best if the condition is unambiguous.

Add actions, order them, and test until it's perfect.
With the trigger ready, it's time to build the list of actions. From Add Action, you can browse by Categories (Apps, Scripting, Documents, Web, etc.) or search directly. You'll see that almost everything on iOS can be chained together: from copying text to changing system settings or interacting with third-party apps, allowing you to create very powerful workflows.
Adding is as easy as tapping the action to include it at the end or pressing and holding to release it at a specific point. If you make a mistake, delete it with a gesture or adjust its settings. I recommend building from scratch: start with two or three actions and test. Then add more and test again. This cycle prevents scenarios where something isn't working and you don't know at what step it's failing.
The editor offers play and stop buttons so you can validate the behavior without waiting for the actual trigger. For example, if your automation is set to run at 8:00 but you're creating it at 12:00, the play button lets you force execution and see if each action produces the expected result. If something freezes or opens an app unexpectedly, use the stop button to fix it. This testing process saves you headaches and helps ensure everything is working correctly before saving.
When you're finished, tap Next to see the summary. Now's the time to carefully review the text and make sure what you see matches what you were looking for: correct trigger, actions in the right order, and well-defined parameters. If everything looks good, tap OK. You'll see the automation appear in the main list, ready to be activated when needed. If you want to pause it later without deleting it, simply turn off its switch; if you want to clone it to create a variation, duplicate it to save time when experimenting.
Run without confirmation: Disable “Ask before running” where applicable
One of the biggest questions when starting out is whether automation needs your permission every time it runs. The answer is: it depends on the type of automation. In many cases, you can configure it to run automatically, without any confirmation. To do this, go to Shortcuts > Automation, tap the automation in question, disable the "Ask before running" option, and confirm in the prompt by tapping "Don't ask." Once the condition is met, it will run automatically.
After disabling confirmation, you'll see that the automation works without generating notifications. In other words, it won't alert you every time it triggers; it will simply do what you've asked. This is ideal for quiet routines like adjusting the volume at a certain time or switching to a focus mode. Keep this in mind if you were expecting a notification, because by design, it won't display one while this option is disabled.
Not all automations can run without confirmation. Some require your interaction for security or privacy reasons. For example, the "Before I Go to Work" automation can't run automatically without asking. Apple sets limits in certain contexts to prevent automations from performing intrusive actions without your knowledge, so in those cases, you'll see the request and have to accept it.
However, many others do allow full automatic execution: those based on time, location, Wi-Fi networks, or device status usually work without asking for permission, as long as they don't involve actions considered sensitive (such as sending content without intervention). Check each case individually and test: if Shortcuts offers a "Ask before running" switch and lets you disable it, then it 's allowed for that trigger.


Passionate writer about the world of bytes and technology in general. I love sharing my knowledge through writing, and that's what I'll do on this blog, show you all the most interesting things about gadgets, software, hardware, tech trends, and more. My goal is to help you navigate the digital world in a simple and entertaining way.