
In this article, we'll show you how to align and position objects in CorelDRAW . Learn about the various CorelDRAW tools that will help you position objects accurately and easily: guides, alignment and distribution options, and dynamic guides. Most projects have a large section dedicated to design. Positioning design elements can add precision.
Centering objects, aligning text, or spacing different design elements are important factors in any job. If you put 100 percent trust in your eyes for alignment, there will undoubtedly be a need to redo the design in the future. But luckily, we have CorelDraw.
You might also be interested in: 8 Best Programs to Open PSD Files Without Photoshop
How to align and position objects in Corel
When creating objects in CorelDRAW , you don't have to rely solely on your eyes to position things where you want them. With smart drawing tools like guides, alignment and positioning options, and live guides, each object can easily go where it needs to be. We'll look at three dockable windows that have all the options you'll need to align and position objects in CorelDRAW.
Guidelines
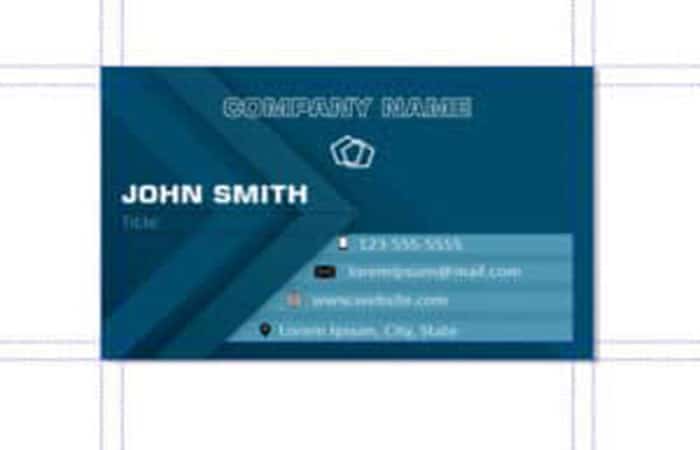
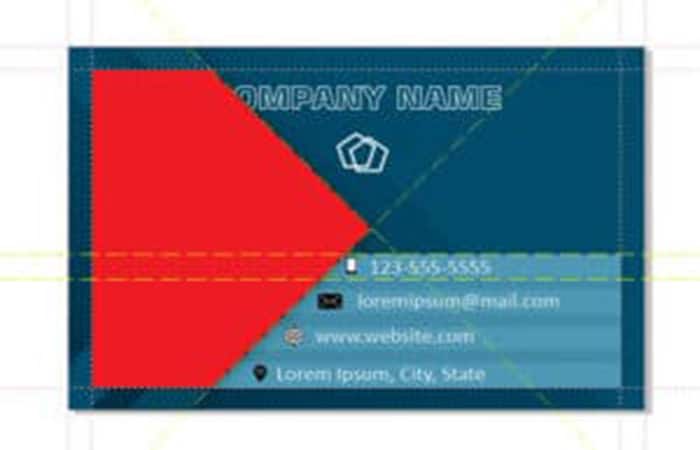
This business card template has 8 blue dashed lines – these are guidelines.
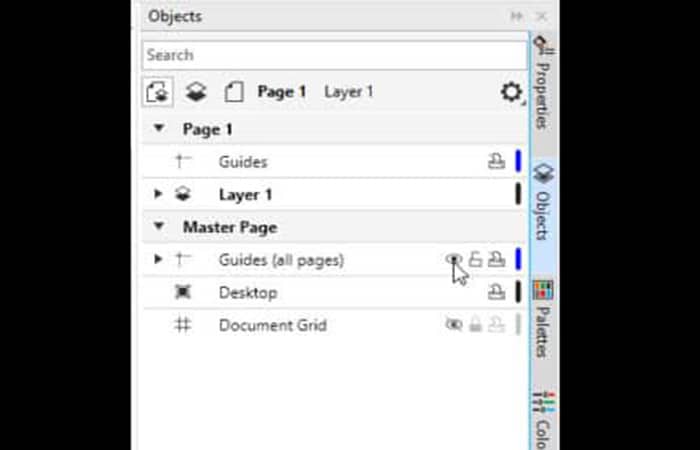
Step 1: In the Objects docker, these guidelines are located on the Home Page layer , where they can be turned on and off using the Eye icon.
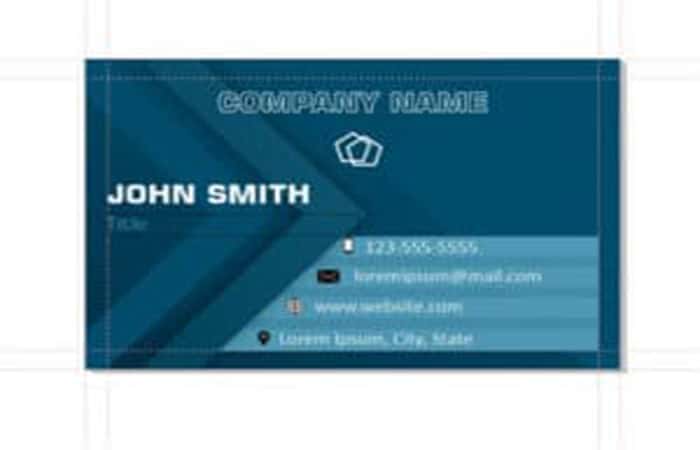
Step 2: If the guide color is difficult to see against the document background, you can select everything in the Objects docker and right-click on a different color swatch in the Color palette to change the hue.
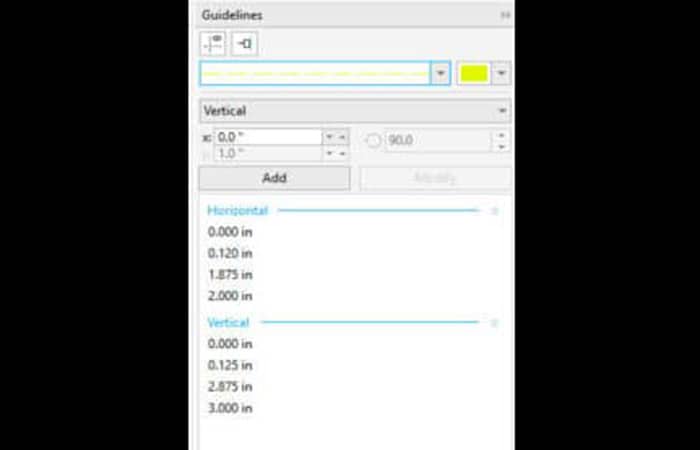
Step 3: The Guidelines docker is where you can create guidelines. The existing ones are listed here: 4 horizontal and 4 vertical.
Step 4: The eye icon at the top of the docker can toggle guides on and off. At the top of the docker, you can set a different line style and color for the new guides that will be created.
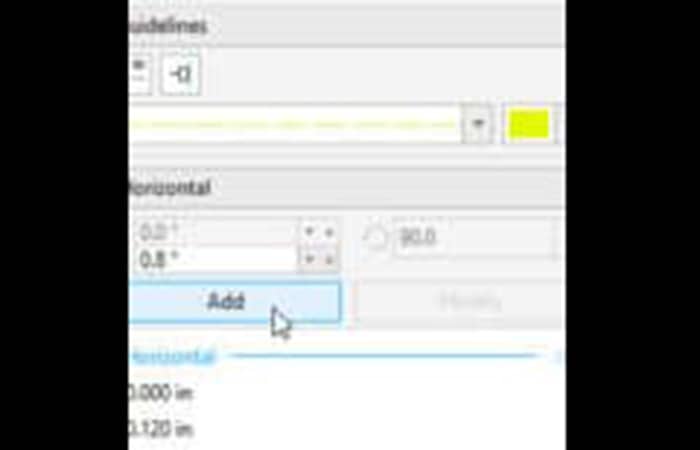
Step 5: To place a new horizontal guide, set the drop-down menu to Horizontal. Enter the Y distance of 0.8” and click Add.
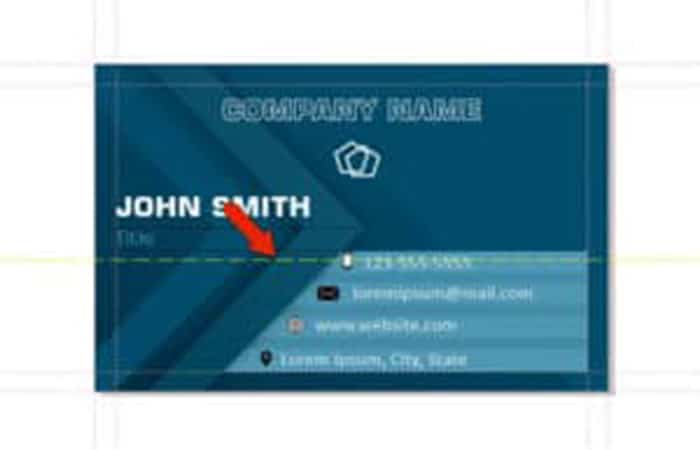
Step 6: The guide is created, but it is not placed where it should be, on top of the light blue box.
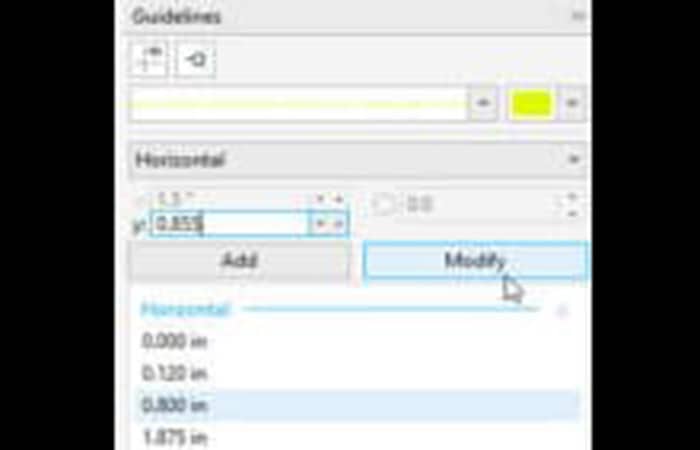
Step 7: Select the guide, change the Y dimensions to 0.855 and click Modify.
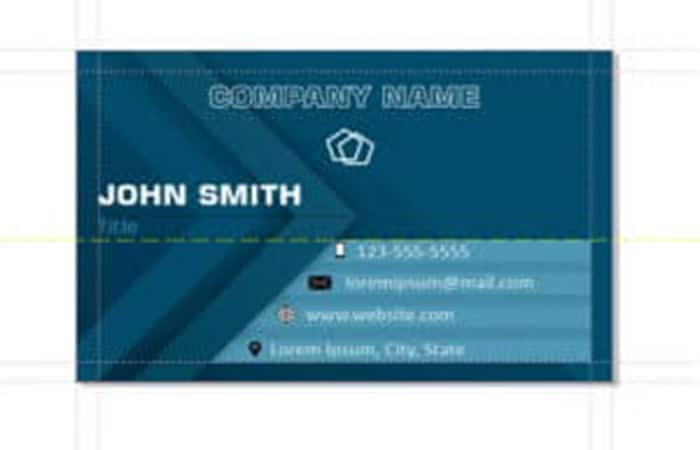
Step 8: Now the placement is correct.
Step 9: You can also select a guide and press Ctrl + D to copy it, then you can move it by dragging it or entering an exact distance.
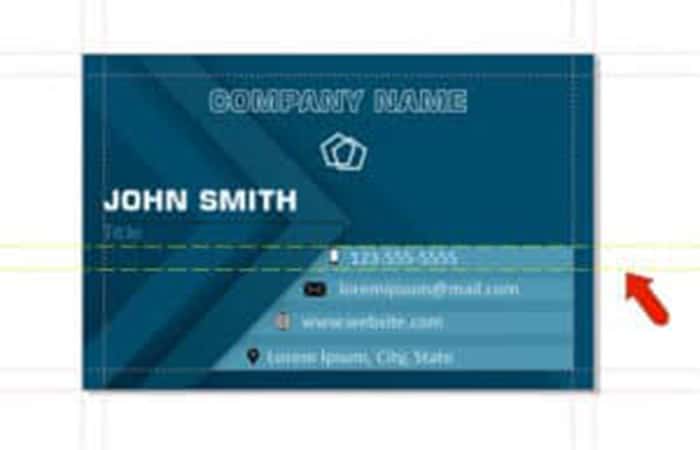
Step 10: You can also create a guide by dragging from the ruler onto the document and then modifying its location if necessary.
Step 11: For an angled guide, choose that option from the drop-down menu. Specify the angle, enter the “ X” and “ Y ” dimensions, and click Add.
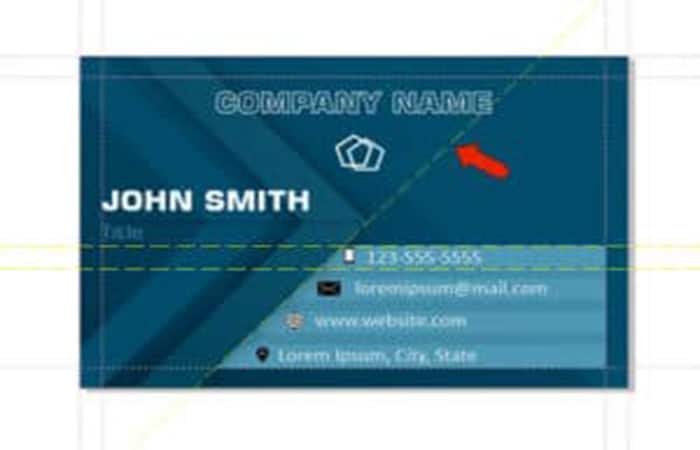
Step 12: Make a copy of this guide and move it around a bit.
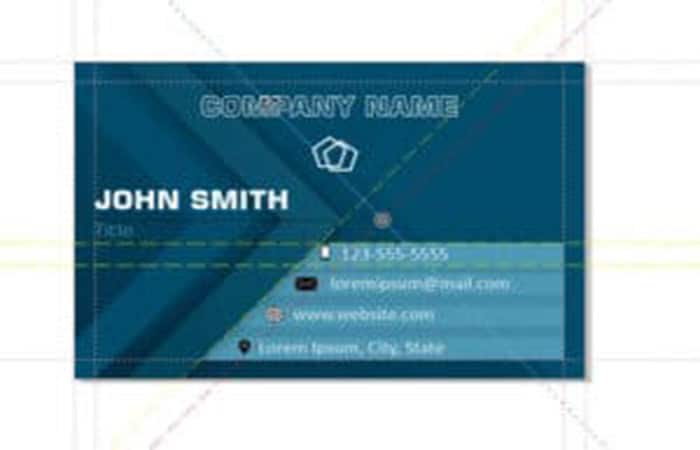
Step 13: Click on the guide again; now you can rotate it. Continue moving and rotating until the guide is correctly positioned.

Step 14: If you want to make sure your guidelines don't move or get deleted, select and lock them.
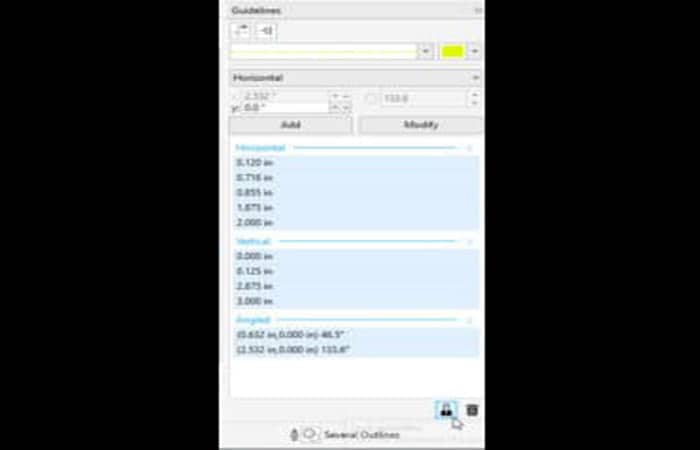
Step 15: Make sure Snap to Guidelines is enabled: this is the second icon at the top of the docker. Now you can reference the guidelines when creating objects. For example, you could use the Pen tool to trace this shape.
Step 16: Next, let's take a look at the Align and Distribute docker , where you can find a variety of placement options. In this example, all four groups are selected.
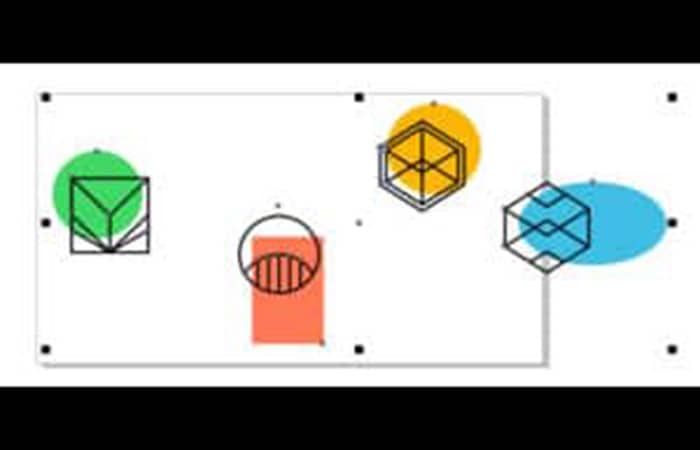
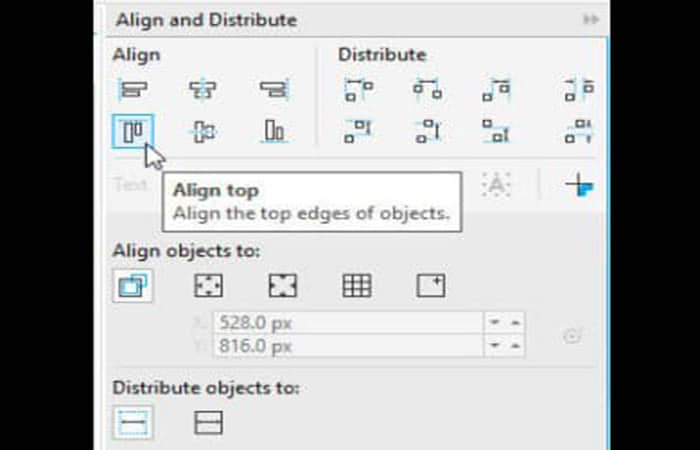
Step 17: If you want the four selected groups to align perfectly with each other, click Align to Center Vertically or Align to Top.
Step 18: The objects move to align with the last selected object.
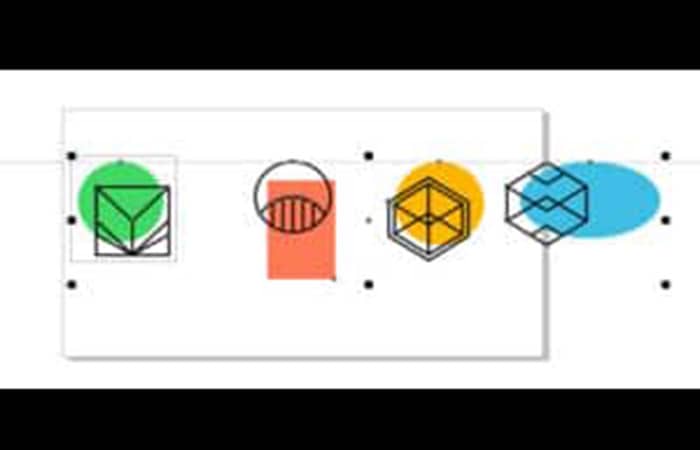
Step 19: To space the groups evenly, try distributing the center horizontally or distributing the space horizontally.
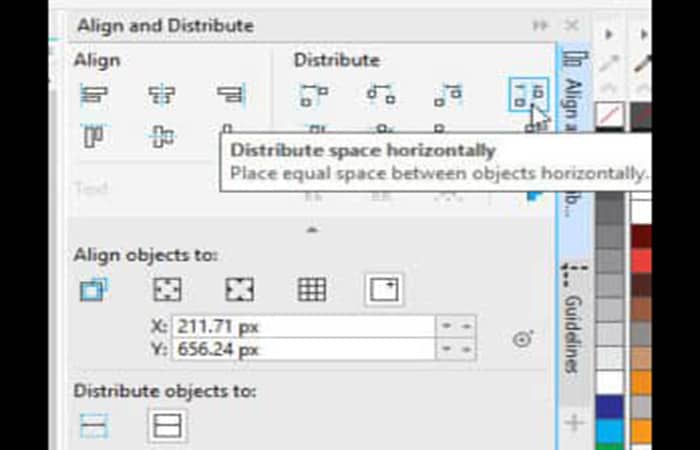
Step 20: If the Outline option is enabled, the alignment is relative to the outlines of the groups.
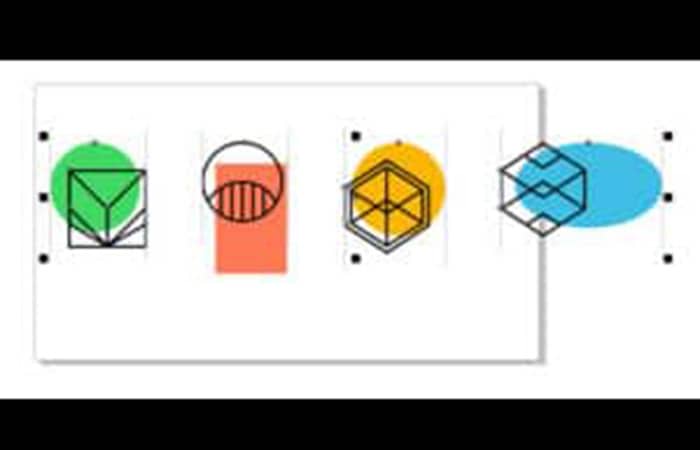
Step 21: With the Page Extension option enabled, the distribution will be across the entire page.
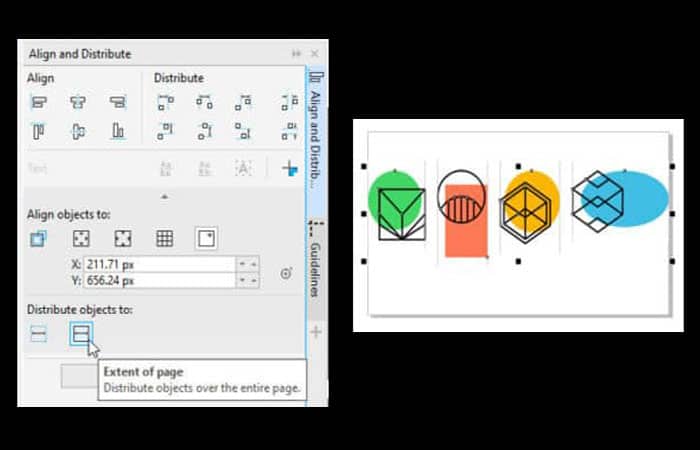
Step 22: There are several other alignment options, such as page edge or page center, or you can specify an alignment point.
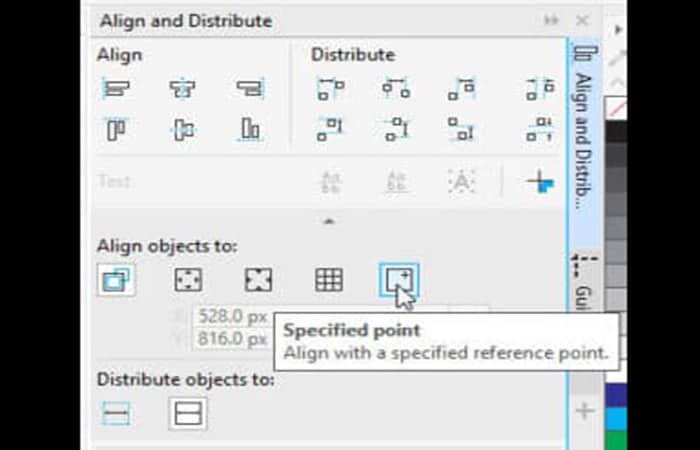
Step 23: You can enter coordinates or click Specify Point to select a point directly in the document.
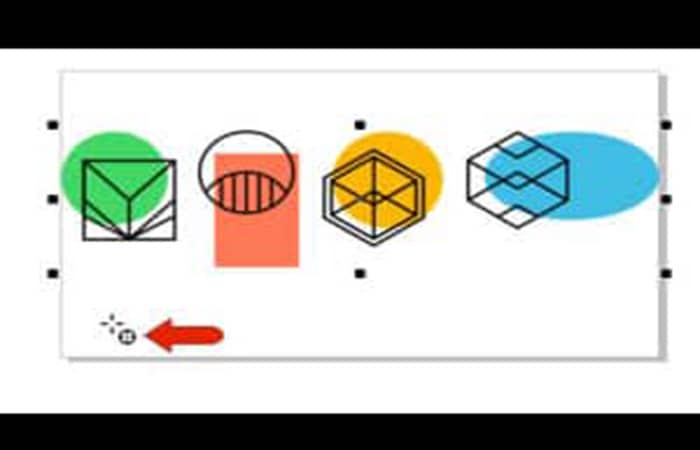
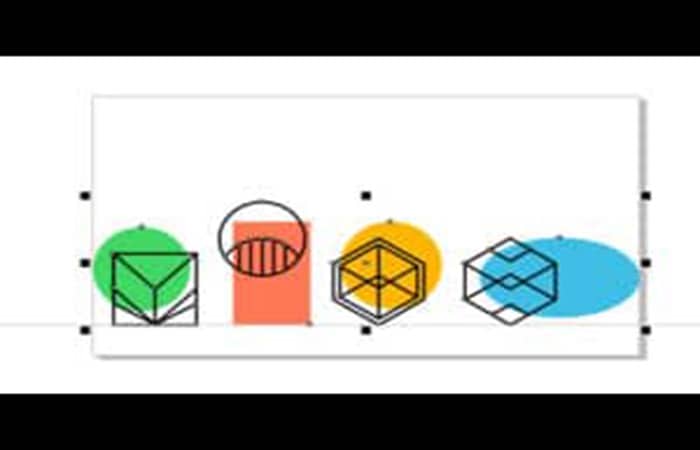
Step 24: With this set of points, you can click Align Down to bring all groups down to that horizontal level.
Step 25: Finally, let's take a look at the Live Guides dockable window.
Step 26: When alignment guides are enabled, there are several alignment options to choose from, such as Object Edges.
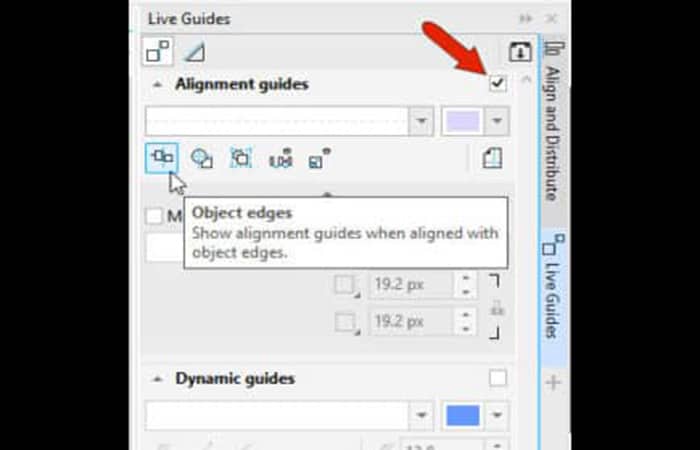
Step 27: With this option enabled, you can create shapes that align with existing borders.
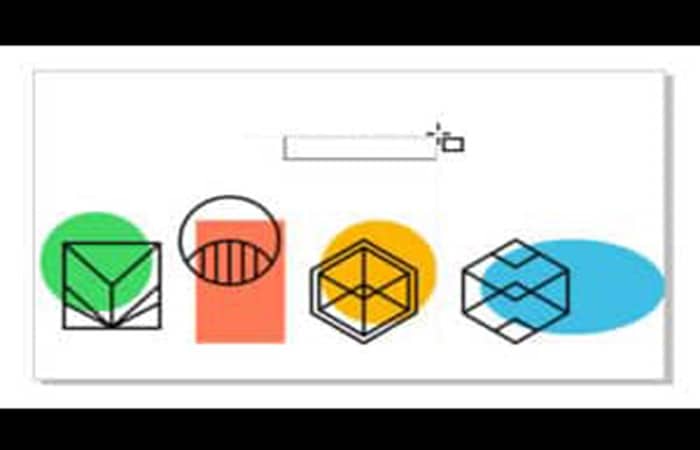
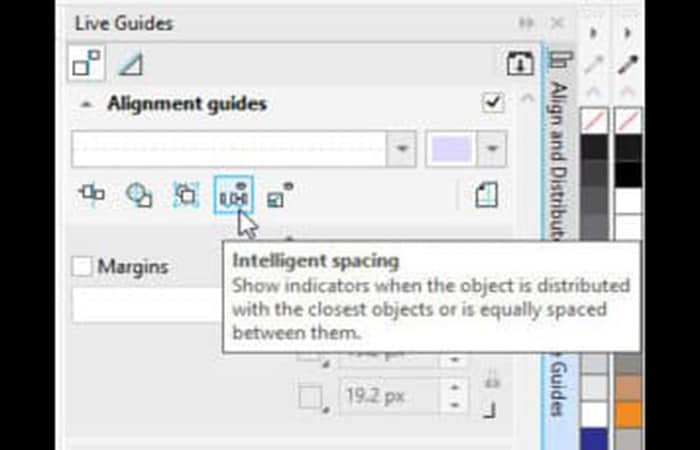
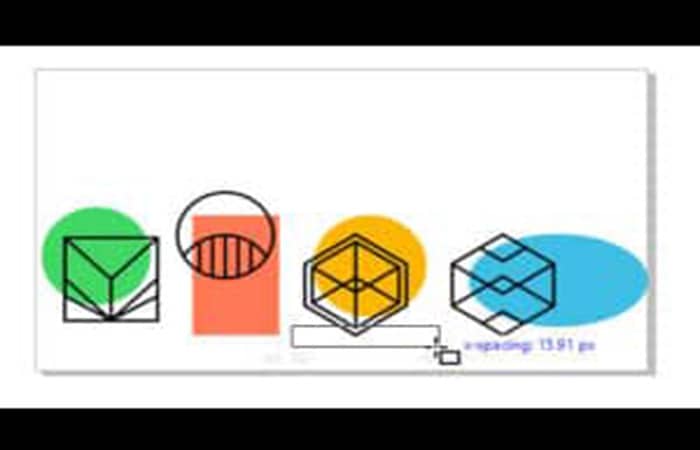
Step 28: With Smart Spacing , you can draw a shape spaced exactly between two shapes.
You might also want to know: How to Invert Colors in Corel Photo Paint
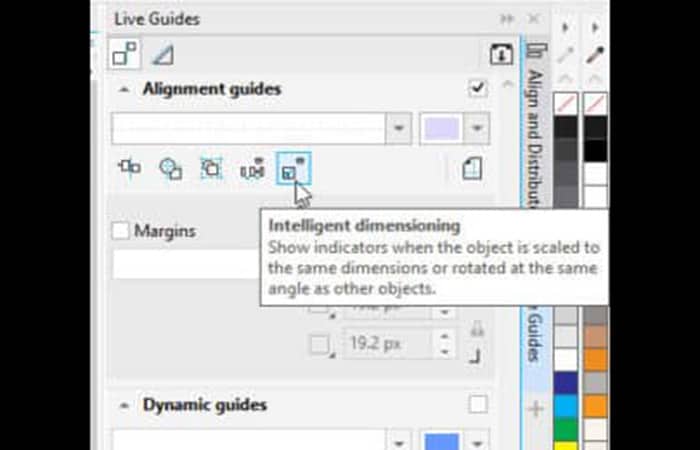
Step 29: With Intelligent Dimensioning , you can scale an object and get indicators when a dimension matches an existing object.
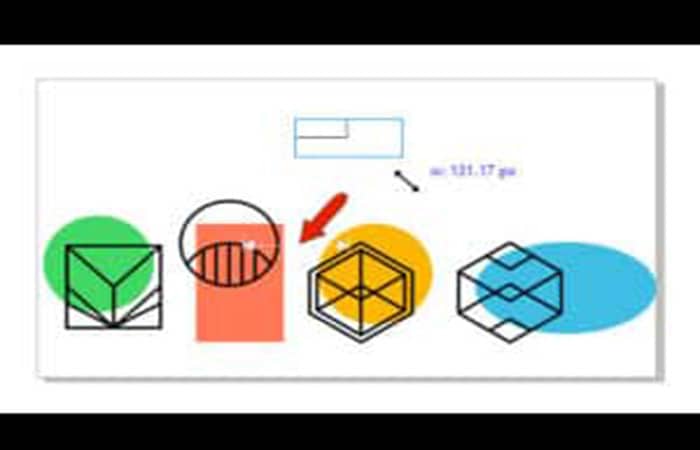
Step 30: You can rotate an object to match the same rotation angle as an existing object.
Step 31: With dynamic guides enabled, you can choose the angles to adjust to.
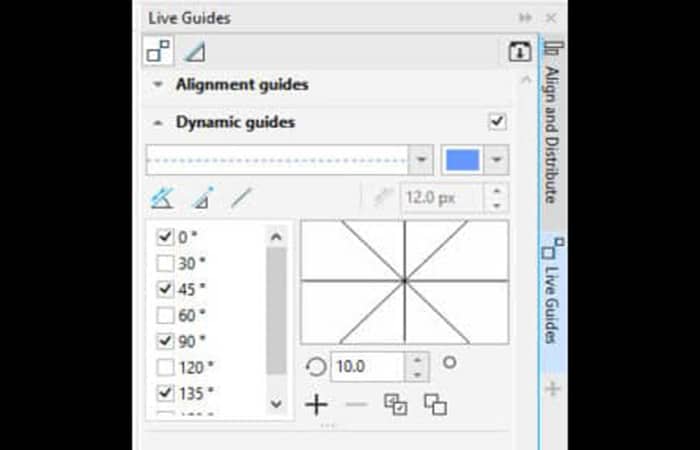
Step 32: As you move the cursor, various angled guides appear, and you can even use the intersections of the guides when aligning and positioning objects in CorelDraw.
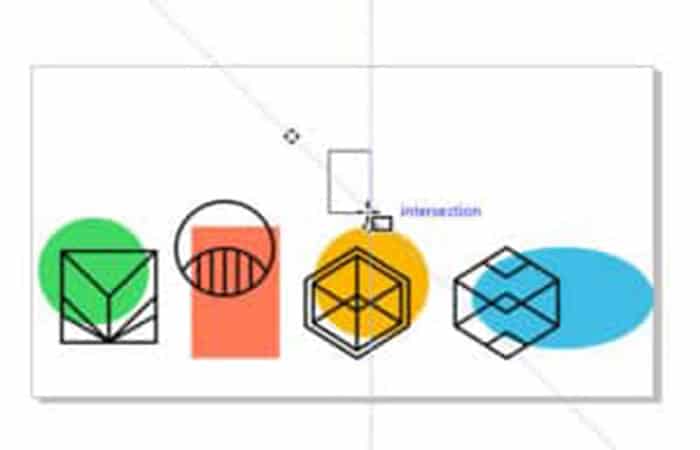
Step 33: If you want angles other than the standard ones that appear by default, you can create custom angles.
Benefits of Align & Distribute, Nudge, and Adjust tools in CorelDRAW
Almost every project has some time dedicated to the layout phase. Deciding which layout elements to place can involve some precision, such as centering objects, aligning text, or spacing different layout elements equally. If you rely on your eyes alone for alignment, there's no doubt that you'll have to redo things in the future. CorelDRAW has made alignment simple with the Align & Distribute, Nudge, and Adjust tools. Let's look at the benefits of each of these tools below.
Align and Distribute Tool
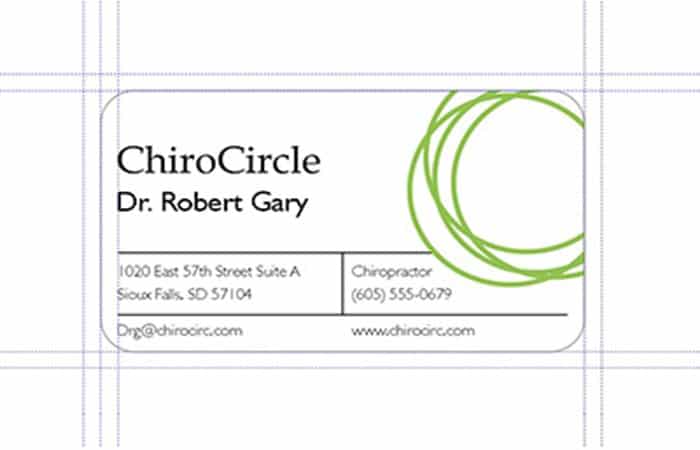
Design and layout a fair amount of business cards. First impressions are often what counts for repeat business, so it's extremely important to get the design right the first time. Otherwise, the need for rework means little to no margin on the work and a 5-7 day delay for the client. Figure A shows a recent business card design.
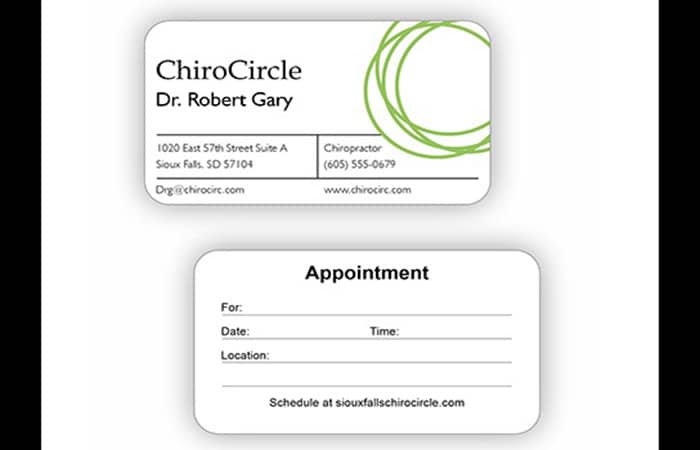
We don't arrange these elements by simply "looking" at them. We use the Align and Distribute tools . You can find these and other alignment options under Object > Align and Distribute (Ctrl + Shift + A) (Figure B). To reveal all the options, first select the objects that need alignment.
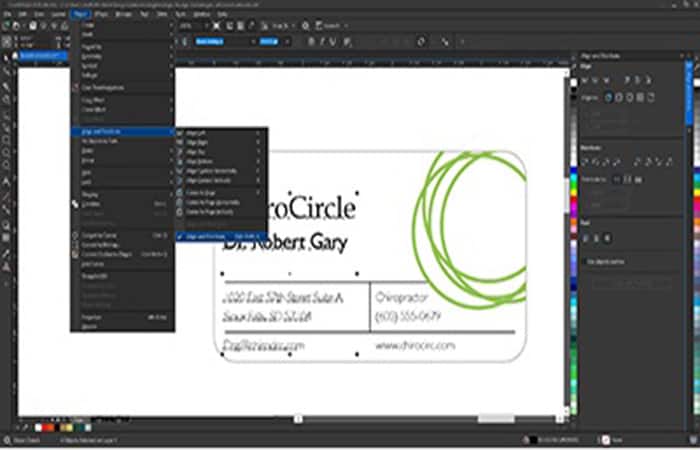
The options for aligning objects and their shortcut keys are as follows:
- Aligns the left edges of objects; shortcut key, L
- Aligns the center of objects horizontally; shortcut key, C
- Aligns the right edges of objects; shortcut key, R
- Aligns the top edges of objects; shortcut key, T
- Aligns the centers of objects vertically; shortcut key, E
- Aligns the bottom edges of objects; shortcut key, B
- Centers an object in the center of the page; shortcut key, P
Shortcut keys make life easier. By selecting multiple lines of text and pressing " L " on the keyboard, the text lines will be immediately left-aligned, eliminating the need to open any alignment tools from the top menu or use the dockable window. Alignable objects include vector/graphic objects, text, and bitmap images.
Note: When you drag the Selection tool over multiple objects, any alignment function will default to aligning with the topmost object. If you select multiple items using the Shift key (by clicking on one object, pressing Shift and selecting another , etc.), the last selected item will be the default object to which the remaining objects will align.
Also, keep in mind that a bitmap can have a white background. A bitmap will align from the edge of the entire bitmap, not just the areas you can see. Selecting the bitmap will reveal the actual edges.
Distribute tool
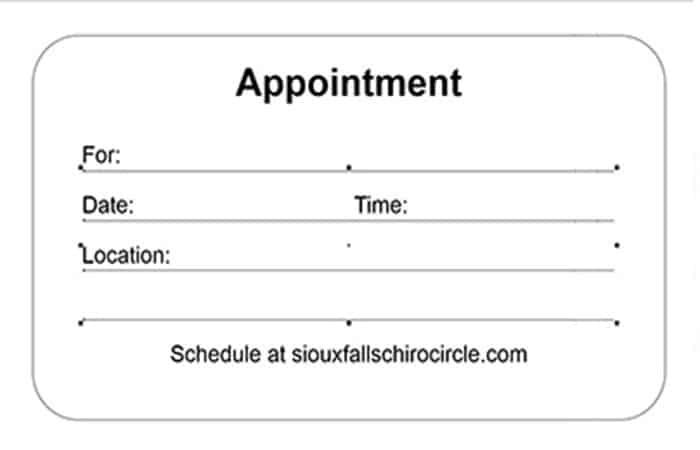
In a design, elements may need to be equally spaced from their centers or edges, either vertically or horizontally. For example, on the back of the business card, the four lines of notation (shown selected in Figure C) needed to be equally spaced from each other.
The " Distribute Center Vertically " option within the Align and Distribute docker performs this task. Other Distribute options can space objects evenly from their left edges, centers, right edges, top edges, bottom edges, and more.
Note: When working with lines of text or individual words, keep in mind that letter ascenders and descenders can sometimes make the layout appear uneven if some words have them and others don't. Fix this by choosing the " Distribute Up " option to space words evenly from their top edges.
adjustment tools
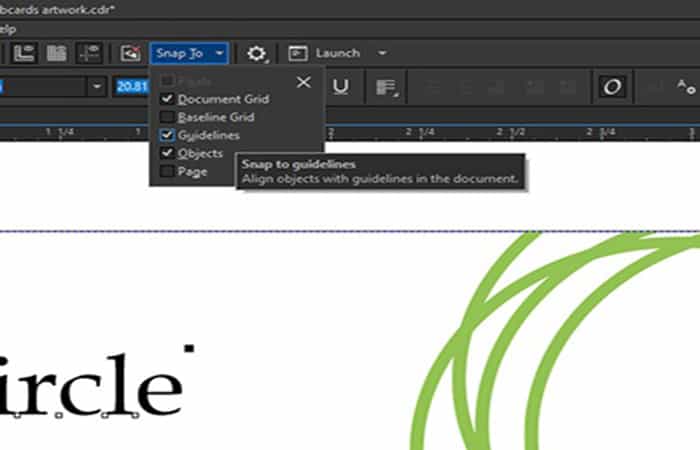
Another way to align objects is by using the Snap tools. In Figure D, the illustration is bordered by guides to help identify trim lines and bleed edges and to make it easier to see the card's dimensions. The Snap tools can be found at the top of the Properties bar (Figure E). Any or all of the snap options can be turned on or off.
The shortcut to toggle all Snap options is Alt+Q . Use these options to move a selected object exactly adjacent to or next to the document grid, baseline grid, a guide line, another object, or the page edge. The Snap tool will feel as if there is a magnetic pull between the object being moved and the element it is snapping to.
Note: When maneuvering objects with the Select tool to snap them into place, hold down the Ctrl key. This will ensure the object doesn't randomly move up or down before reaching its destination. Holding down the Ctrl key while moving an object will allow it to remain perfectly aligned in a vertical or horizontal plane as needed.
Push tool
We can't quite express in words how much we appreciate this tool. If you aren't using it during the design phase of a project, you should start using it immediately. The Push tool can be found at the top of the properties bar when no objects are selected (Figure F).
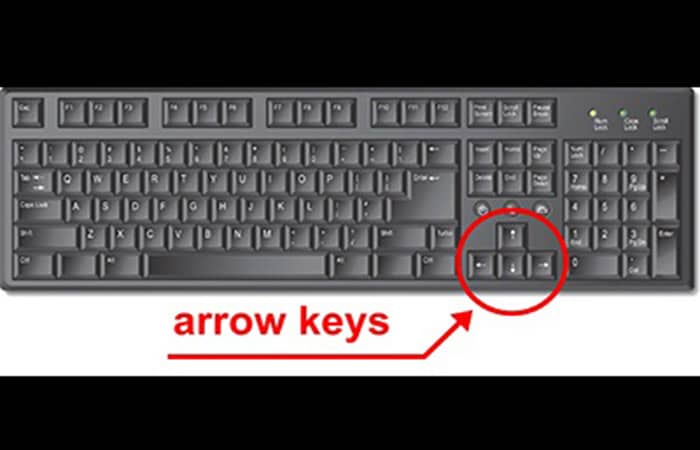
Setting the push distance to a particular number of inches allows objects to be moved out of the way by a known distance using the arrow keys on the keyboard ( Figure G ), ensuring that things can be put back together just as they were without having to "undo" any steps.
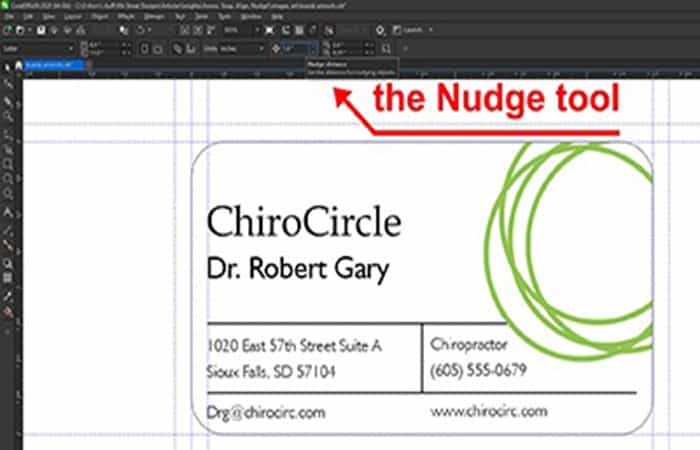
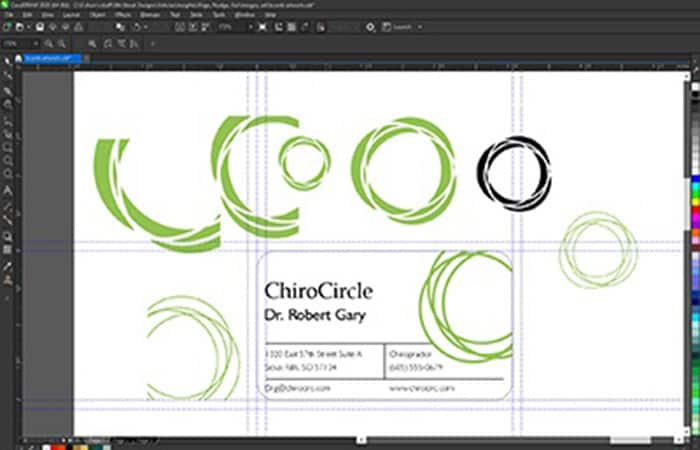
For example, while we were working with some of the design features of the logo on the business card (the overlapping green circles), we were manipulating this design element by making it larger or moving it to different areas around the 2 inch; 3,5 inch space.
For each resize and move we made, we copied and pasted that object back to where it was (Ctrl+C, Ctrl+V) and nudged the copied object away from the area to test out other layout options. That way, we could keep multiple layout elements nearby and decide later to put our preferred layout element back in the exact spot where we originally created it.
See Figure H for the multiple design elements surrounding the business card dimensions. The Push tool can also be used to copy and paste multiple (equivalently spaced) design elements, or to move them a predictable distance within the design area.
Using these design tools is essential for any designer or production specialist to ensure that elements are placed exactly where the designer intends. These tools will certainly align with best practices for any retail store.
FAQ
Now that you know how to align and position objects in CorelDraw, it's time to show you the answers to some of the frequently asked questions related to the topic:
How can I create a shape in Corel Draw?
Within the toolbox, press the Rectangle tool, hold down the Ctrl key , and drag this tool within the drawing window to draw the desired shape.
What are the parts of the Align and Distribute dialog box?
The distribution section of the Align and Distribute dialog box allows you to space objects evenly horizontally or vertically according to certain criteria. You can evenly distribute the left and right sides, and the top and bottom sides. You can also evenly distribute the baseline anchor points and evenly space objects.
How do I align an object with another object in Blender?
You can use Align Objects, available in the 3D view header under Object > Transform > Align Objects . This will open a panel in the toolbar, allowing you to choose the axis to align the selected objects. You can also choose to align relative to the alignment mode.
What is the shortcut key for Align Center?
Ctrl + E : Centers the selected text or line. Ctrl + R : Right-aligns the selected text or line. Ctrl + M : Indents the paragraph.
How do I align an object to a view in Blender?
To access the Alignment View , in the top left of the 3D graphics window, click on the View menu and then on Alignment View ( View » Alignment View » [option] ) to see the list of available alignments, mainly; Center cursor and frame all | Shift + C | 3D cursor repositioned on grid zero (0,0,0).
Check out: What is SmartDraw? Uses, Features, Reviews, Prices
Final thoughts
Okay, now you know how to align and position objects in CorelDRAW , and the importance of each of the tools this software offers. We hope you found this tutorial helpful, and we'd love to hear your feedback in the dedicated comments section. You can share this tutorial with others so everyone can understand how to use the align and center tools that CorelDRAW has added to make our work easier.

My name is Javier Chirinos and I am passionate about technology. Ever since I can remember, I have been interested in computers and video games, and that passion has turned into a job.
I have been publishing about technology and gadgets on the Internet for over 15 years, especially in mundobytes.com
I am also an expert in online marketing and communication and have knowledge in WordPress development.