- Optimizing accessibility and SEO through automatic audio transcription.
- Differentiated character and timing settings for horizontal and vertical formats.
- Creating reusable styles and dynamic animations to increase user retention.
- Successful export by recording subtitles directly into the video file.
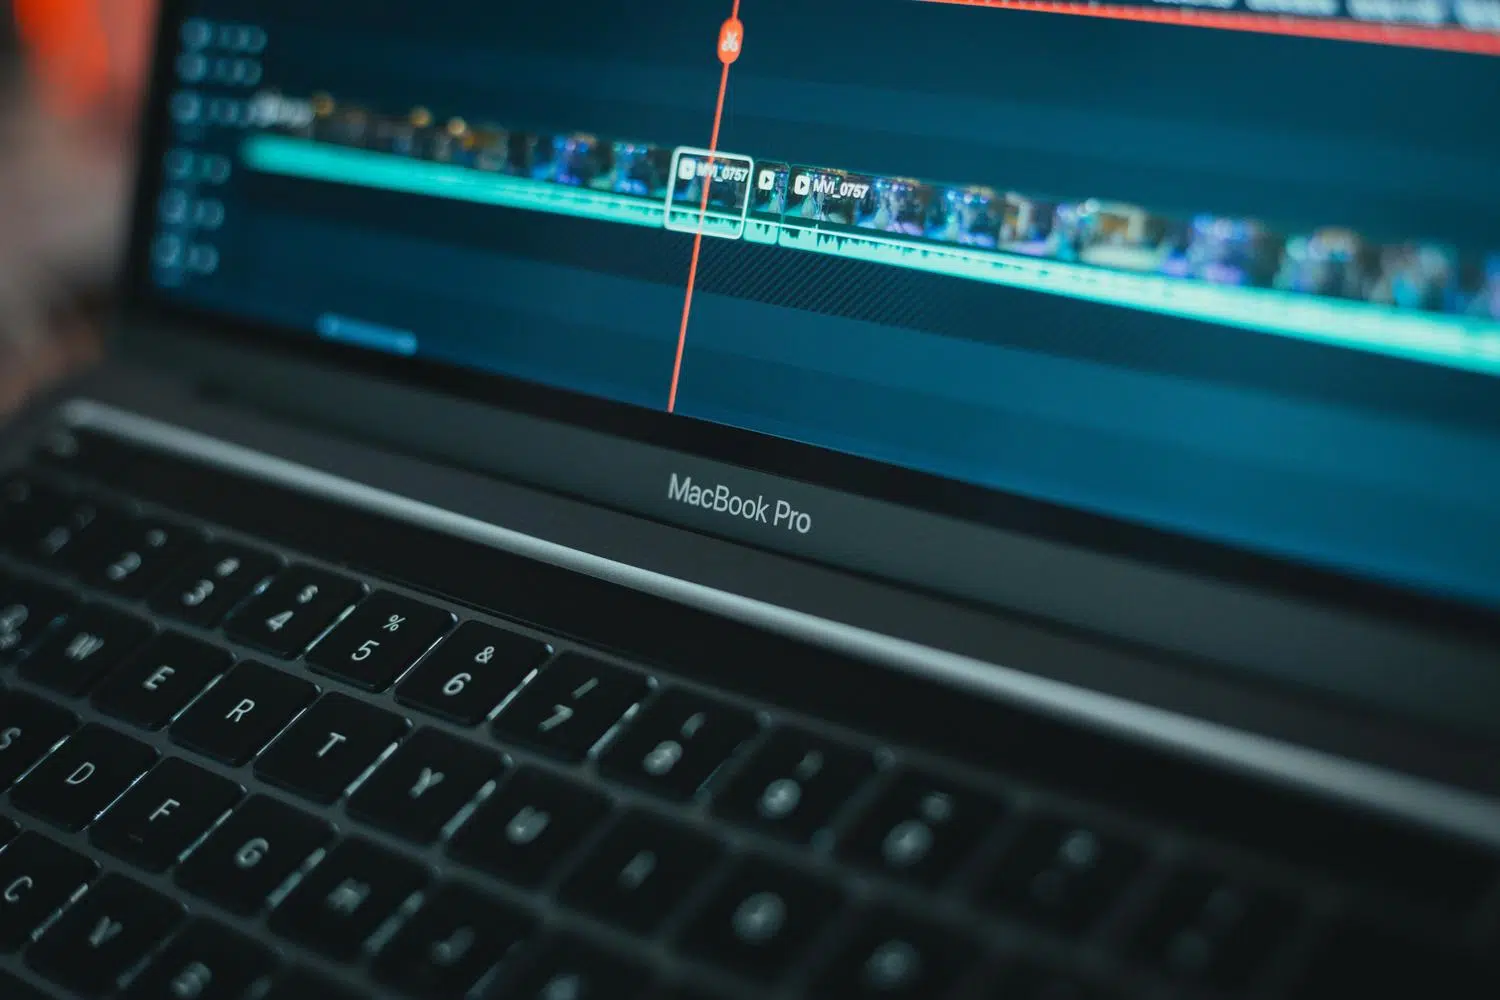
If you've already mastered the basics of editing in Adobe Premiere, it's time to take your productions to the next level. One of the most significant differences these days is the inclusion of subtitles, especially if your target audience is social media, where many people consume content silently.
It's not just about aesthetics; it's about improving accessibility and boosting your videos' SEO, allowing search engines to better index the audio. While external tools exist, managing the entire process within Premiere avoids synchronization issues and unnecessary risks.

How to transcribe audio automatically

To begin, go to the top menu and select Window, then Text, and finally Subtitles . Once the panel is open, the first step is to click the Transcribe Sequence button. It's crucial that you select the correct language for the video in the pop-up window to prevent the AI from making serious errors.
A key detail that many people overlook is the choice of audio track. If you have background music and voiceover on separate channels, avoid the overall mix and select the track with the clean voiceover ; otherwise, the automatic video transcription might not be entirely accurate.

Text revision and polishing
No machine is perfect, and Premiere can sometimes confuse technical terms or proper nouns. That's why, before generating the final subtitles, you should review the text in the Transcription tab . If you spot any errors, simply double-click on the incorrect word and correct it manually for a professional result.
Generating and configuring subtitles

Once the text is perfect, click the "CC" icon in the top right corner of the panel. This is where the magic happens, but be aware that the settings vary depending on your video format:
- Horizontal videos: With more lateral space available, you can leave the default settings or adjust them slightly to suit your personal taste.
- Vertical videos (Reels, TikTok, Shorts): Here things change. To prevent the text from taking up the entire screen, it's advisable to adjust the maximum character length to 7 and establish a minimum duration of 1.5 seconds.

Aesthetics, personalization, and style creation
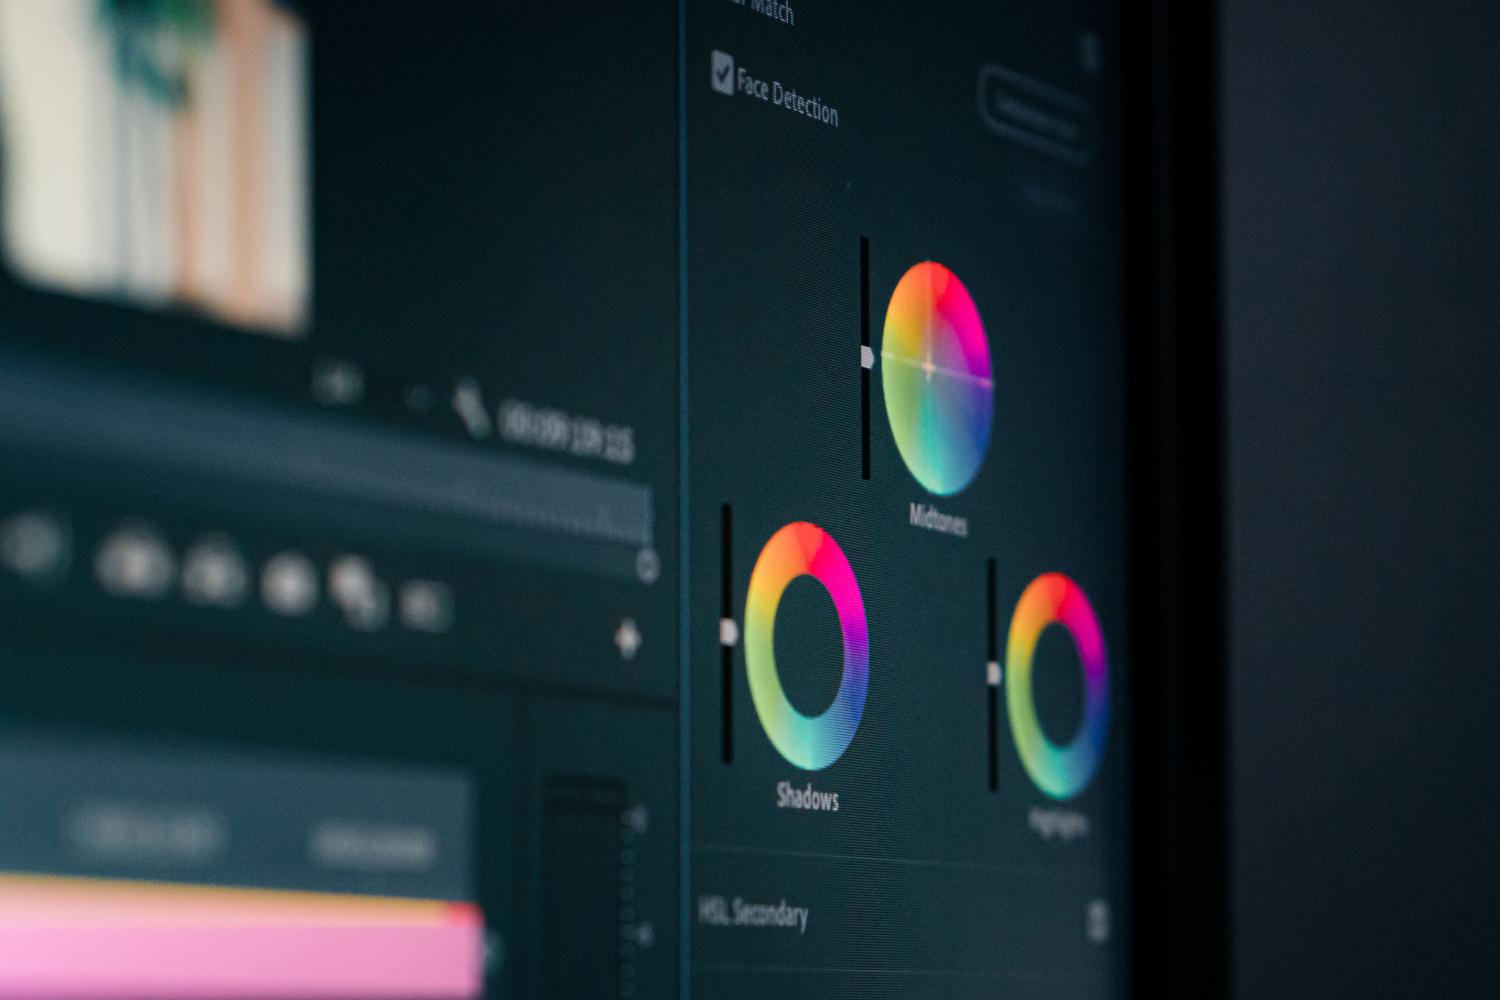
To keep your subtitles from looking boring, open the Essential Graphics panel (Window > Essential Graphics). From here you have complete control: you can change the font, size, and color, and add shadows or contrasting backgrounds to make the text legible on any image.
If you don't want to repeat this process for every project, you can create a custom text style . Once you've defined the design, save it as a style in the audio track, right-click on the generated file in the project panel, and export it. Then, in your next edit, you'll only need to import and apply it in a second.
Final adjustments and block division
Sometimes, when changing the font or size, some subheadings can become too long and look messy. To fix this, use the split subheading option within the text panel. Select the section you want to split, go to the three dots in the upper right corner, and cut the block for a more dynamic and fluid reading experience.

Taking subtitles to the next level: Animations
If you're looking for that "influencer-style" effect where the text comes to life, you have two main paths:
Dynamic Effect: This effect changes the color according to the rhythm of the speech. To achieve this, you must convert the subtitles to graphics using the " Update Caption to Graphic" option . Then, duplicate the track, change the color of the top track, nest the clip, and create an opacity mask with keyframes that scrolls laterally. To avoid confusion, save this process as a preset and apply it to the rest of the clips.
Animated Background Effect: This is more laborious but visually striking. It involves creating a colored rectangle beneath the text and cutting it word by word , moving the block's position with the Shift key to follow the flow of the dialogue. If you have the budget and want to save time, plugins like SubMachine automate this process.
Final export of the project
The final step is to release your video. When you go to the export menu, make sure you don't forget one vital detail: in the subtitles tab, you must select the option to embed subtitles in the video . If you don't, the subtitles won't be embedded in the image, and the viewer won't see any of your work, especially if you need to render in Premiere and export your videos correctly.
Mastering these Premiere Pro tools allows you to transform a simple video into an accessible, search engine optimized, and visually appealing piece of content, integrating everything from automatic transcription to advanced animations without leaving the program.


Passionate writer about the world of bytes and technology in general. I love sharing my knowledge through writing, and that's what I'll do on this blog, show you all the most interesting things about gadgets, software, hardware, tech trends, and more. My goal is to help you navigate the digital world in a simple and entertaining way.
Table of Contents