- Integration of the UniversalTelegramBot library to simplify HTTPS communication with the Telegram API.
- Remote control of GPIO pins to operate actuators such as LEDs and read switch states.
- Implementation of security through Chat ID validation and the use of SSL certificates.
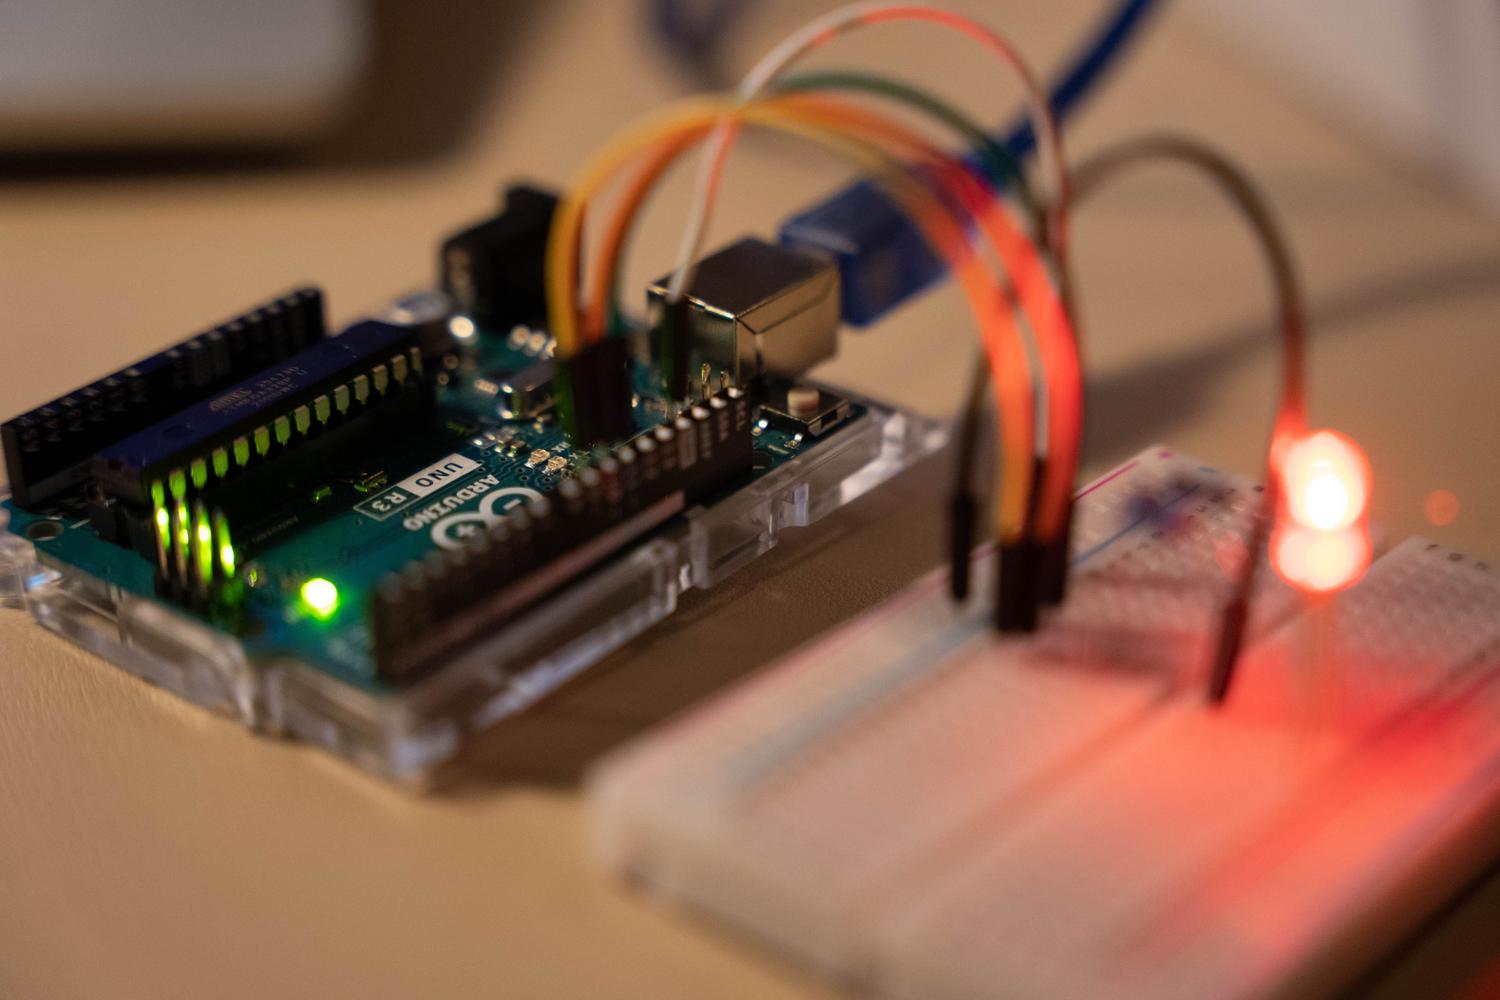
Have you ever considered controlling your home automation devices from the comfort of your sofa using your mobile phone? Well, setting up a system to control an ESP32 via Telegram is one of the simplest and most powerful ways to get into the world of home automation without complicating your life with expensive external servers or impossible configurations.
The magic lies in turning your board into a small server that listens to commands from a bot. You don't need to be a programming whiz, because with a couple of libraries and a little patience you can get your device to turn on lights or alert you about the status of a sensor in real time, all through instant text messages.
Materials you will need
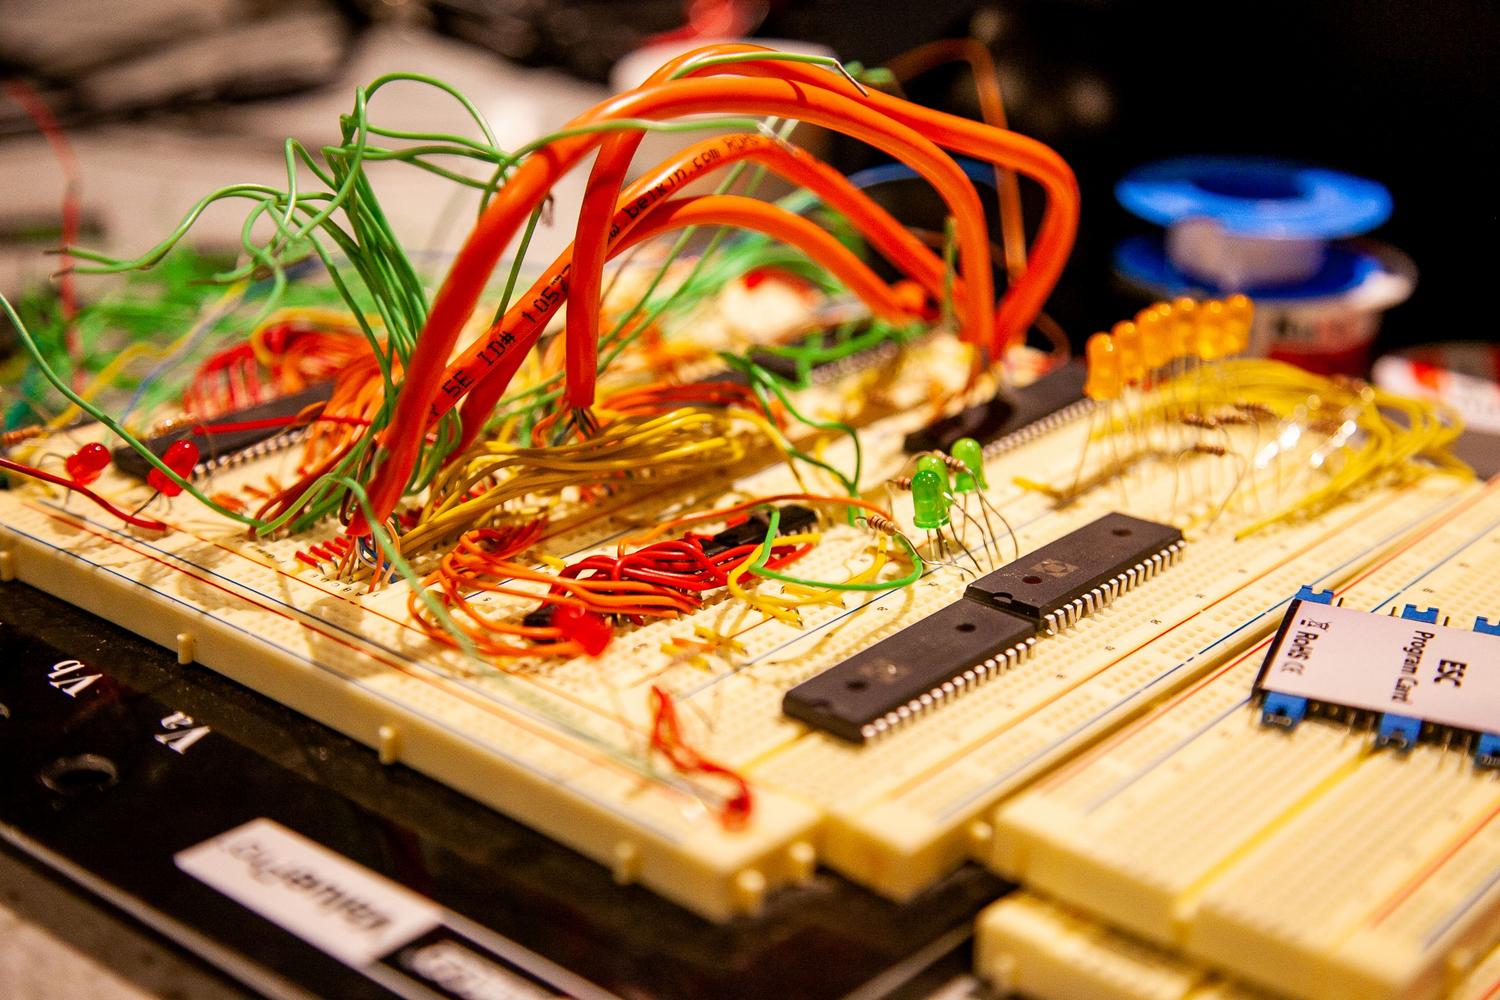
To get started, you don't need to spend a fortune. The most important thing is to have an ESP32 board ; it doesn't matter if it's an older model or one of the latest, as compatibility is total. Besides the project's brain, you'll need some basic components for testing:
- A light-emitting diode (LED) to check that everything is working.
- A 220 ohm resistor to avoid burning out the LED.
- A push button or switch to read physical states.
- Connecting cables and a breadboard so you don't have to solder anything at the beginning.
Electronic circuit assembly
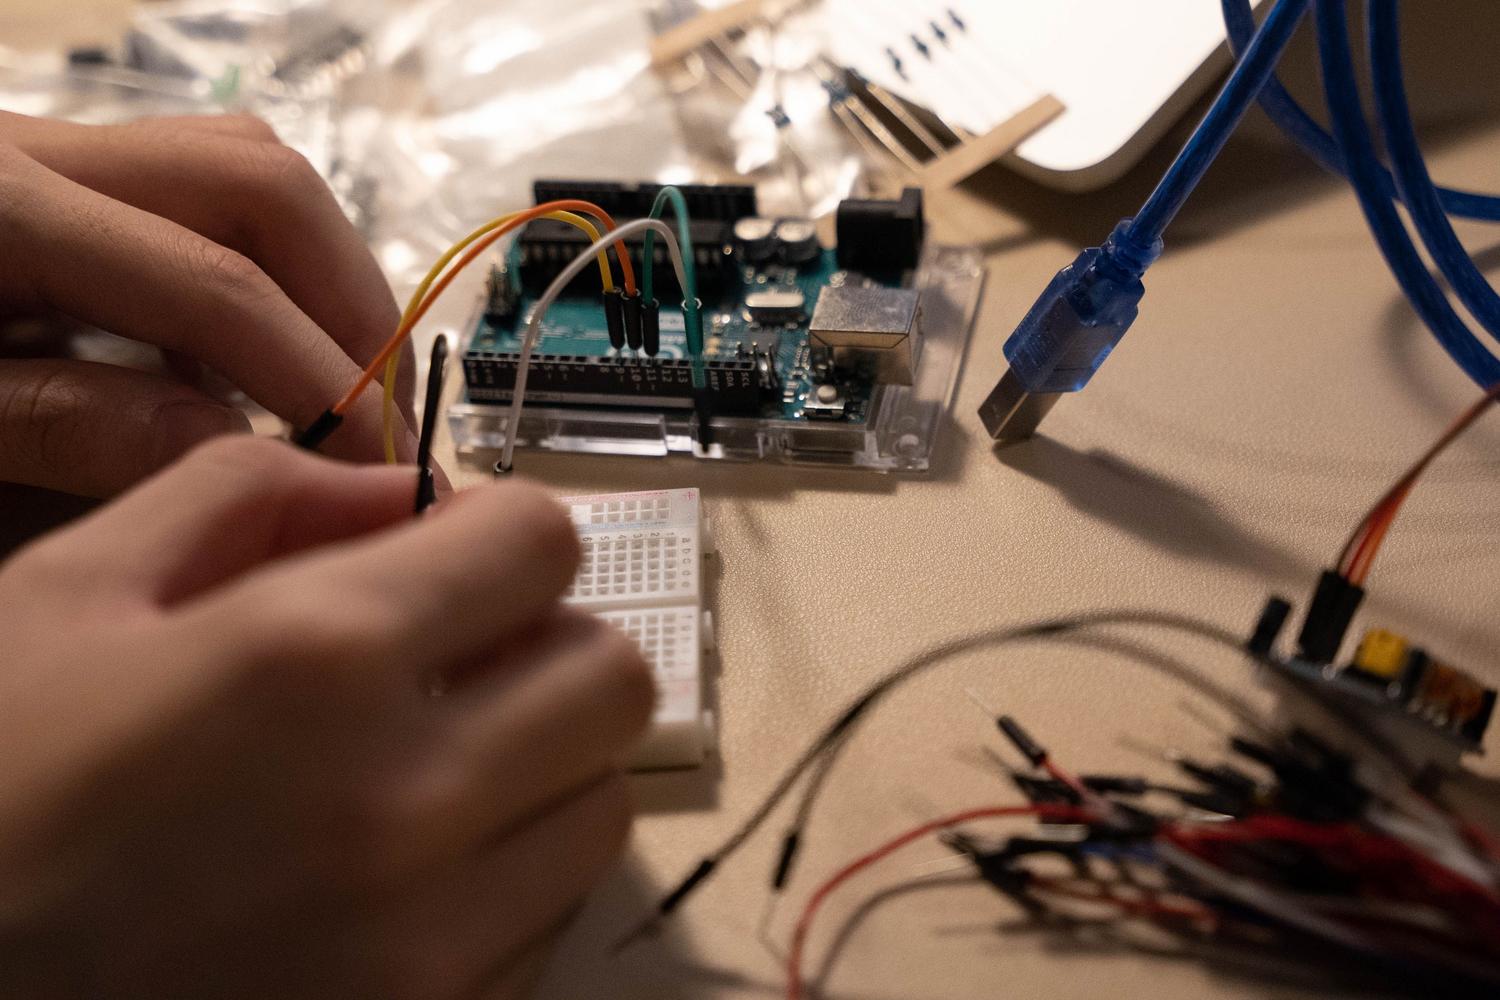
Before editing the code, you need to prepare the hardware. For this example, we'll connect the LED to GPIO pin 33 and the switch to GPIO 14. It's crucial to remember that you can change these pins as needed, but you'll have to reflect that change later in the program's constants.
The LED is connected with its corresponding resistor for protection, while the push button is configured internally to avoid extra wiring. Once you have the circuit assembled on the breadboard , you can move on to the software part, which is where all the action happens.
Bot Setup in Telegram

To enable the ESP32 to know who to listen to, we must first create the bot's identity within the Telegram application itself. This process is crucial because it provides two key pieces of information: the bot's token (a long string of numbers and letters) and your personal user ID . Without these two keys, the device cannot authenticate itself or determine who is authorized to give it commands.
If at any point you feel the chat has become chaotic, remember that you can always clear the history from the top right menu. Doing so will restart the bot and return it to the home button with the available commands, allowing you to start fresh.
Preparing the development environment

For the code to work, we need to install a tool that makes our lives easier: the UniversalTelegramBot library . Instead of writing hundreds of lines of code to handle the Telegram API, this library does almost everything for us.
To install it, simply go to the Arduino IDE's library manager, type the library name, and click install. Also, make sure you have the WiFi and WiFiClientSecure libraries installed , as these allow the ESP32 to connect to the internet and use the HTTPS protocol for secure communication.
Control code analysis
The program begins by defining your WiFi network credentials and the bot's keys. It's vital that you replace the example values with your own. SSID and passwordas well as the token and chat ID. For interactivity, we define a variable called info which contains the list of commands that the bot will recognize, such as /led_on or /sw_state.
Message and command management
The heart of the system is the function that checks for new messages. The ESP32 uses the method getUpdates all with check the message queue from Telegram. To prevent any stranger from controlling your home, the code includes a filter that verifies the sender's ID exactly matches yours. predefined CHAT_ID.
Once the user is validated, the bot analyzes the received text: if it detects /led_onIt sends a digital signal to pin 33 to turn on the light; if it receives /led_off, turns it off. There is also the option to /led_togglewhich is very practical because reverses the current state of the LED without you having to know if it was previously on or off.
Sensor reading and completion
In addition to issuing commands, the bot can also provide information. Using the command /sw_stateThe ESP32 reads the state of pin 14. Since we have configured the pin as Input_pullupThe device will detect whether the button is pressed or not and will send us a text response confirming it.
During the boot process, the device connects to Wi-Fi in a locked manner, meaning it won't do anything until the connection is stable . To further enhance security, Telegram's root certificate is used, ensuring that data traffic is encrypted. The main loop simply repeats the message check every second to keep the system agile and responsive.
With this system, we have successfully integrated hardware and software to create a wireless communication bridge. We have configured a bot, managed security using IDs and certificates, and programmed GPIO pin responses to interact with the physical world from anywhere with an internet connection.

FAQ
Which library is needed to connect the ESP32 to Telegram?
The UniversalTelegramBot library should be used, which simplifies interaction with the Telegram API and facilitates sending and receiving messages.
How do I ensure that only I can control the bot?
The code implements a filter that compares the chat ID of the received message with a predefined CHAT_ID, ignoring any commands coming from another user.
Is it necessary to use HTTPS to communicate with the bot?
Yes, Telegram requires secure connections, so WiFiClientSecure is used and the Telegram root certificate must be configured on the ESP32.
What is the purpose of the /led_toggle command in the code?
This command is used to invert the current state of the LED, turning it on if it was off or turning it off if it was on.
Why is INPUT_PULLUP used for the switch?
It is used to activate the internal resistance of the board, thus avoiding the need to add an external physical resistance to the push button circuit.
Where do I get the bot token and user ID?
The token is obtained by creating the bot through BotFather on Telegram, and the user ID can be obtained through bots specialized in obtaining the profile identity.