- The connection can be made wirelessly via the same Wi-Fi network or via a USB cable.
- It is possible to save devices in the user profile to set them as defaults and speed up printing.
- The system allows manual configuration via IP addresses and IPP protocols when automatic detection fails.
- The use of PPD files is supported to ensure compatibility with specific printer models.

Setting up a printer in a ChromeOS environment might seem daunting at first, especially if you're coming from Windows or macOS. However, Google has simplified the process so you don't have to struggle with complicated drivers, as the system attempts to recognize most devices automatically.
Whether you have a modern Wi-Fi printer or an older one that only works with a cable, there are several ways to get everything working properly . In this article, we'll tell you step by step how to make your Chromebook and printer work seamlessly together, including tricks for those tricky cases that don't appear right away.
How to connect your printer to the system
Before delving into the settings menu, the most important thing is to ensure connectivity. If you decide to play it safe and use a USB cable , simply plug in the device and wait for the on-screen notification; follow the steps it indicates, and you'll be halfway there.
For those who prefer the freedom of wireless, it's vital that both the Chromebook and the printer are connected to the same Wi-Fi network. Make sure to turn on the printer and connect it to the internet following the manufacturer's instructions. Once this is done, log in to your ChromeOS device and verify that the wireless connection is working correctly.
Steps to select and save your equipment
Once you have a connection, the next step is to tell the system which printer you want to use. A quick way to do this is to open any document or webpage and press Ctrl + P. In the "Destination" drop-down menu, click the arrow and select " View more..." to have the system search for all compatible devices on your network.
If your device is compatible, your Chromebook will perform a quick test and you'll be able to print directly. However, to avoid having to search for it each time, it's best to save the printer to your profile so it's set as the default. To do this, click the clock (bottom right corner), tap the Settings icon , and navigate to the "Device" section, where you'll find the Printers & scanners section.
Within that section, go to the Print tab and, in the list of available devices to save , click the Save button next to your printer's name. This way, the next time you want to print, your printer will appear at the top of the list.
Troubleshooting and manual configuration
Sometimes things don't work out the first time, and the printer doesn't appear in the automatic list. If this happens, don't worry, you can add the printer manually . In the same "Printers and Scanners" menu, select the option to add manually and fill in the requested information: a name to identify it, the device's IP address , and the protocol (which is usually IPP). The print queue is typically ipp/print in most cases.
If it still doesn't work, there's the advanced setup process . Here, you'll need to manually select the manufacturer and exact model based on the physical label of your printer. In very specific cases, if the model isn't listed, you can try using a generic PostScript profile or uploading your own PPD file (in .ppd or .gzip format, with a maximum size of 250 KB), which is essentially the instruction sheet the system needs to communicate with the hardware.
How to digitize documents
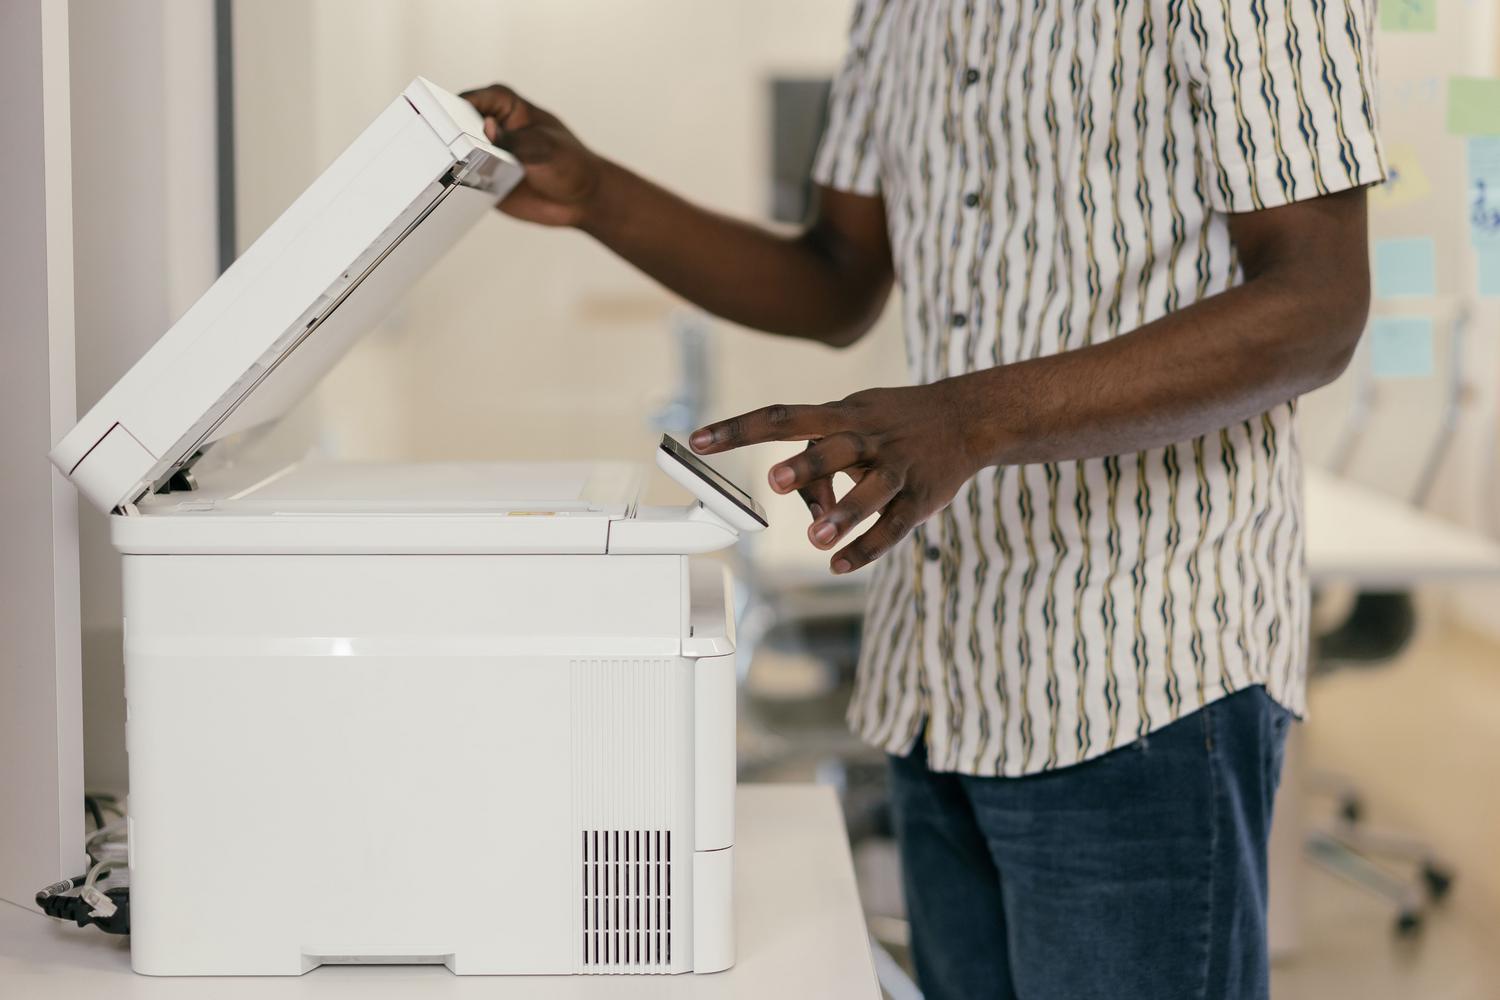
If your device is a multifunction printer, you can also scan from your Chromebook. Go back to Settings > Devices > Printers & scanners and select the Scan option. You can also find the scanning app directly in your system's app menu.
Once the scanner is open, select your device from the drop-down menu. In the More settings section , you can adjust things like color mode, resolution, and paper size. When everything is ready, press the scan button and save the file to your preferred folder. Remember that if you don't have a scanner, your Chromebook's camera can be used to quickly scan documents.
If you encounter a problem with your printer's Wi-Fi, the simplest solution is to restart the device and try connecting again. In more complex situations, such as trying to use local printers via RDP connections in Linux environments (like ChromeOS Flex), you might need to configure the system at the Linux container level, although this is much more technical and requires specific administration tools.
Getting printing to work on ChromeOS is simple if you follow the logical order: secure the network, search for the device in the destination menu or in the device settings, and ultimately resort to the manual IP or PPD files to force hardware compatibility with Google's operating system.


Passionate writer about the world of bytes and technology in general. I love sharing my knowledge through writing, and that's what I'll do on this blog, show you all the most interesting things about gadgets, software, hardware, tech trends, and more. My goal is to help you navigate the digital world in a simple and entertaining way.