- PowerShell allows for very powerful automation even with accounts without administrator privileges, provided that the scripts are designed with the available security context in mind.
- The Windows Task Scheduler is the key to automatically running PowerShell scripts, controlling schedules, conditions, and execution counts.
- Proper configuration of execution policies, minimum permissions, and script signing reduces risks and makes automation safe and maintainable.
- By combining PowerShell, scheduled tasks, and remote tools, you can cover everything from simple local tasks to advanced Microsoft 365 and IIS management.
If you're wondering how to automate tasks in PowerShell without administrator privileges , you're not alone. It's a very common scenario: you need to run scripts, schedule cleanups, generate reports, or manage Microsoft 365, but you don't have elevated privileges on the machine or simply don't want to use them for security reasons.
The good news is that, with a good understanding of the tools Windows offers (PowerShell, Task Scheduler, and some command-line options), you can set up a fairly powerful automation system without using the administrator account . However, you do need to fully understand the context in which the scripts are executed, the limitations you face without elevated privileges, and how to configure everything to prevent failures from the outset.
Run PowerShell without administrator rights
Before diving into advanced automation, it's important to understand how to open PowerShell without elevating privileges, even though Windows seems to constantly push you to "Run as administrator." In many corporate or shared environments, this simply isn't an option.
There's a very useful trick based on the `runas` command that lets you start a PowerShell session with a restricted trust level, ideal for working without elevating privileges even if your user account has them. To do this, simply follow these basic steps:
-
Open the command prompt (cmd) in normal mode, without using "Run as administrator".
-
In the cmd window, type this command and press Enter:
runas /trustlevel:0x20000 powershell
This command launches a new PowerShell session with a more restricted trust level , helping you avoid certain problems when something isn't working correctly in an elevated console. A classic example is installing user tools like Spicetify : if you try to download or configure it from a PowerShell session with administrator privileges, the process may fail, whereas it works without issue from a session with normal permissions.
This approach fits very well with a philosophy of least privilege : you only elevate permissions when strictly necessary and leave most of the automation running with the same context that a standard or daily work user would use.
PowerShell as the foundation of modern automation
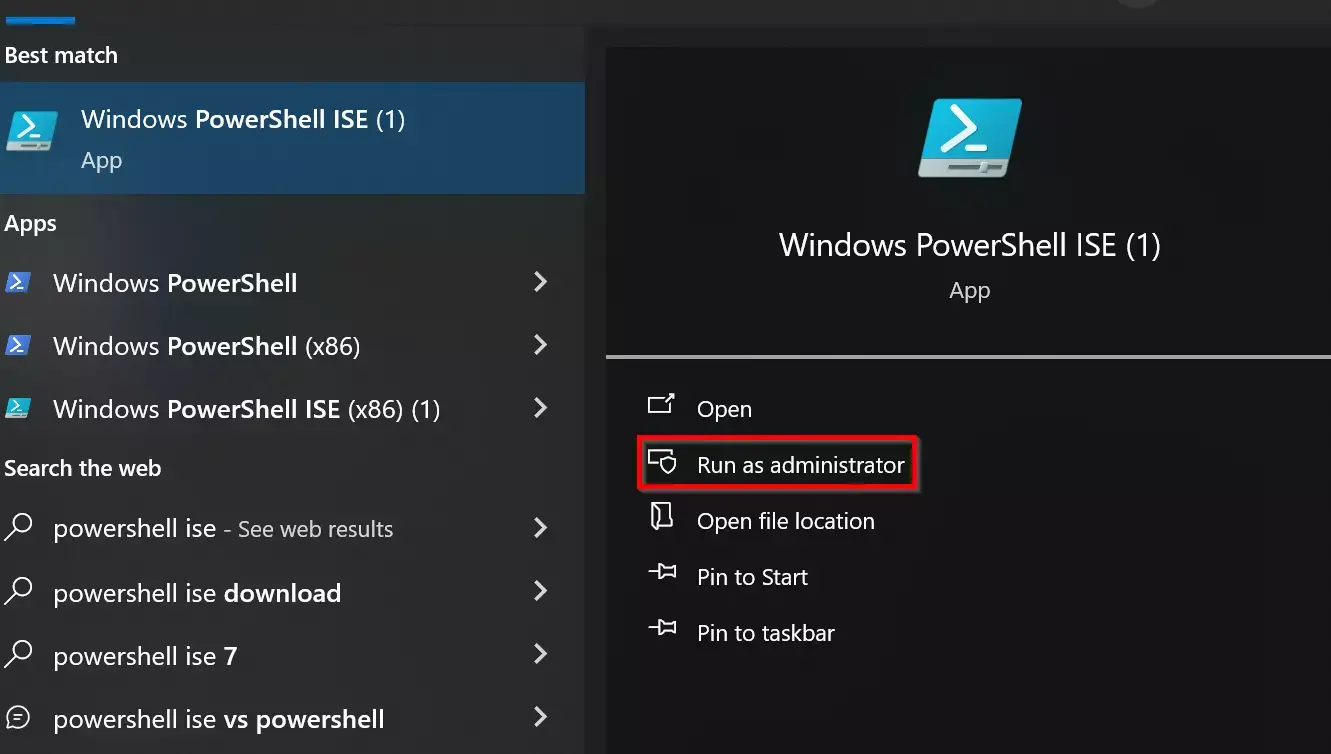
PowerShell is much more than just a blue console: it's an automation framework and scripting language designed to manage Windows systems and, in its more recent versions (PowerShell Core), also Linux and macOS. It works with cmdlets (specialized commands), objects, and pipes, allowing you to build complex tasks from very small, reusable pieces.
The difference compared to the classic command prompt is enormous: with PowerShell you can chain commands, manipulate objects, query logs, services, IIS, SQL, Microsoft 365 , and virtually any Microsoft or third-party product with compatible modules. This makes it an ideal tool for automating everything from simple temporary file cleanups to complete web application deployments.
It's important to distinguish between PowerShell (the environment) and a PowerShell script . The environment is the console or terminal where you type interactive commands, while a script is a .ps1 file containing an ordered sequence of instructions, conditions, functions, and variables created to perform repetitive tasks without having to type everything each time.
These PowerShell scripts are the foundation of many IT automation strategies : bulk user management, update deployment, system monitoring, automatic report generation, regular cleanup tasks, and more. Best of all, many of these scenarios can be run without direct access to a local administrator account, as long as the script only accesses resources your user already has access to.
Configure the PowerShell environment and execution policies
For automation to run smoothly, it's essential to understand how PowerShell's ExecutionPolicy behaves . This policy defines which scripts can be executed and from where, and it's often the first hurdle anyone encounters when starting to automate.
The most common implementation policies are:
- RestrictedThis is the default setting in many installations. Only interactive commands are allowed; .ps1 scripts are blocked. It's the most secure option, but in practice, It prevents any script-based automation.
- AllSignedOnly scripts digitally signed by a trusted publisher can be executed. This is suitable for environments where you want strict control over the code that runs in the teams.
- RemoteSignedScripts downloaded from the internet or remote locations must be signed, but unsigned local scripts can be executed. This is a fairly balanced policy and very common in corporate environments.
- Unrestricted: allows the execution of any script, whether signed or not. Not recommended for production because it exposes the system to a high risk.
You can check your current policy with:
Get-ExecutionPolicy
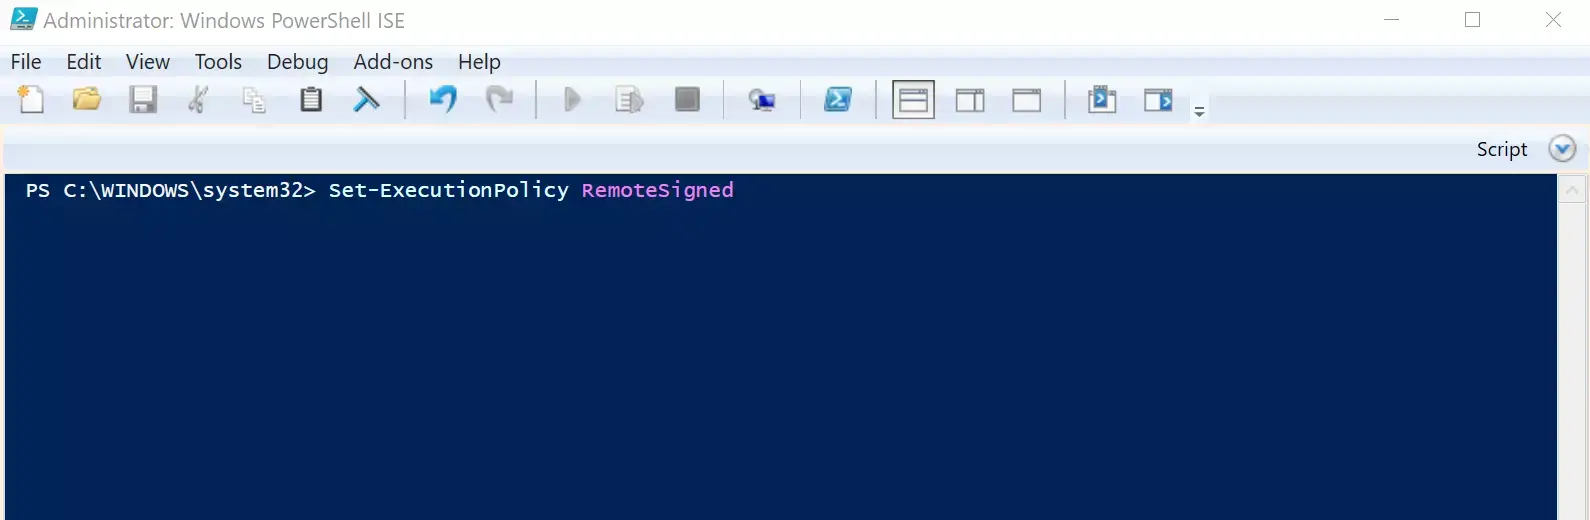
And modify it (if your account has permissions to do so) using Set-ExecutionPolicy , for example:
Set-ExecutionPolicy RemoteSigned
If you're not an administrator, you might not be able to change the policy at the machine level, but you could adjust it at the user or process level, depending on your organization's configuration. In any case, when planning automation without elevated privileges, assume that the execution policy is another security restriction you'll have to live with and design your scripts accordingly.
Easily create and edit PowerShell scripts
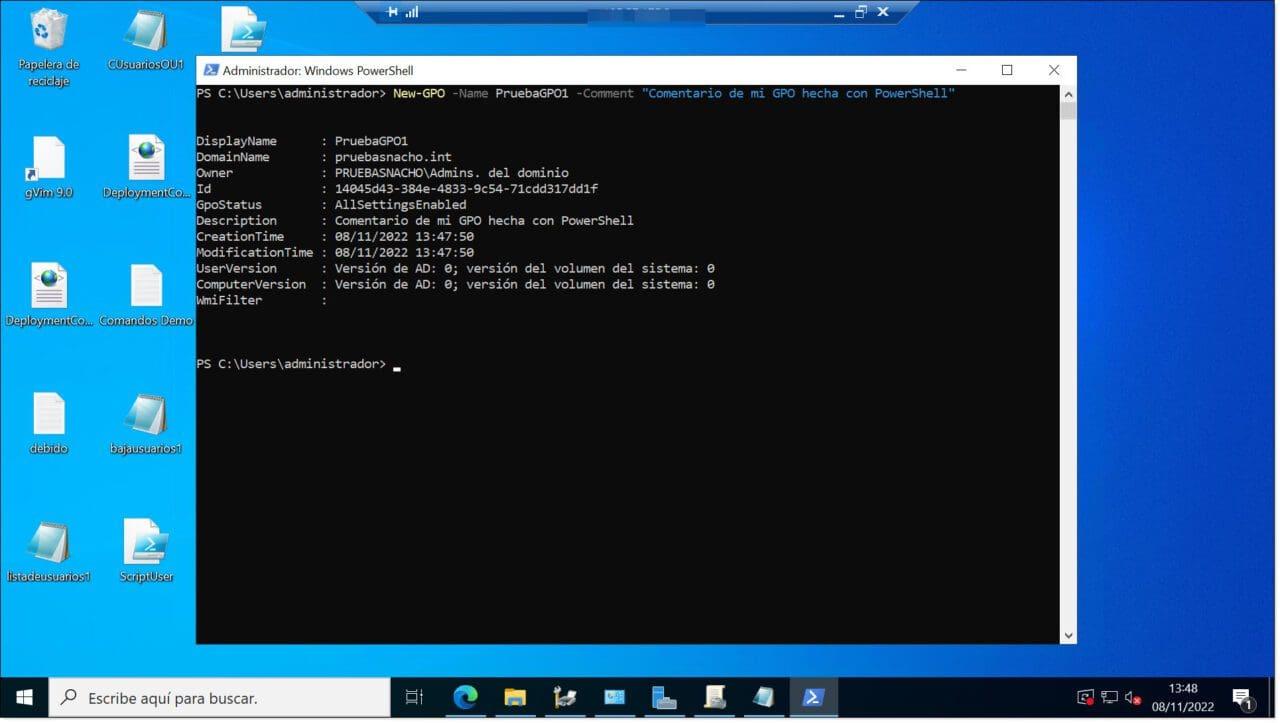
Although you can write scripts in any text editor, it is much more convenient to use tools with syntax highlighting and developer aids , especially when scripts grow and begin to include functions, modules, and complex logic.
The most common options for working with PowerShell scripts are:
- Visual Studio Code (VS Code)Today, it's the option recommended by Microsoft. It's free, lightweight, and, with the official PowerShell extension installed, offers autocomplete (IntelliSense), step-by-step debugging, snippets, Git integration, and an integrated terminal.
- PowerShellISEThis is the classic integrated environment that comes with Windows PowerShell 5.1 and earlier versions. Although considered legacy compared to VS Code, it is still widely used in many environments.
- Notepad or other simple editors: suitable for small or quick scripts, although you lose many helpful features that make life easier when the code gets complicated.
In all cases, the basic flow is similar: you create a new file, write the PowerShell code, and save it with the extension. . Ps1 and then you run it from a console. For example, if you save the script in C:\Scripts\MiScript.ps1You can launch it from PowerShell by doing:
& "C:\Scripts\MiScript.ps1"
To make all of this fit with automation, you'll need to think about what that script will be called on a schedule without using administrator privileges, something we'll see later with the Task Scheduler.
Automate with Windows Task Scheduler and PowerShell
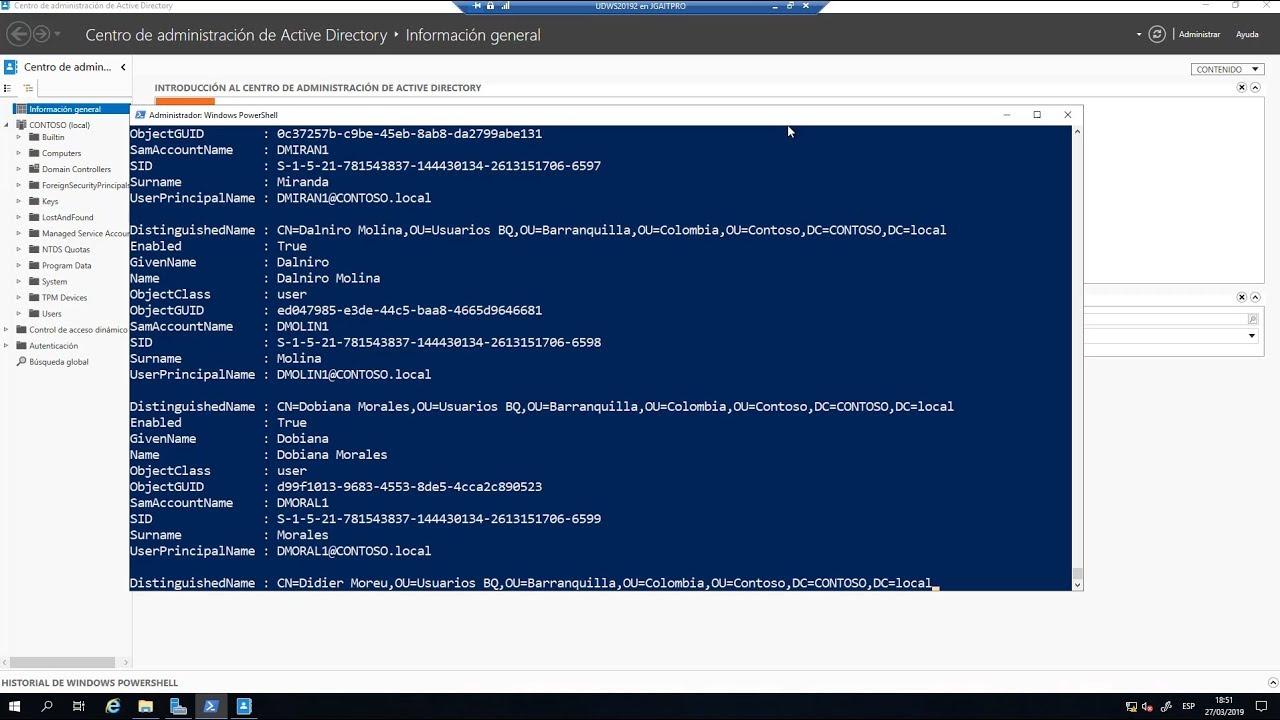
The Windows Task Scheduler is the tool that allows you to automatically trigger PowerShell scripts based on schedules, events, or system conditions. While many guides use it for tasks with administrator privileges, it's also perfectly suitable for automation in a standard user context, provided the task is configured with the appropriate account.
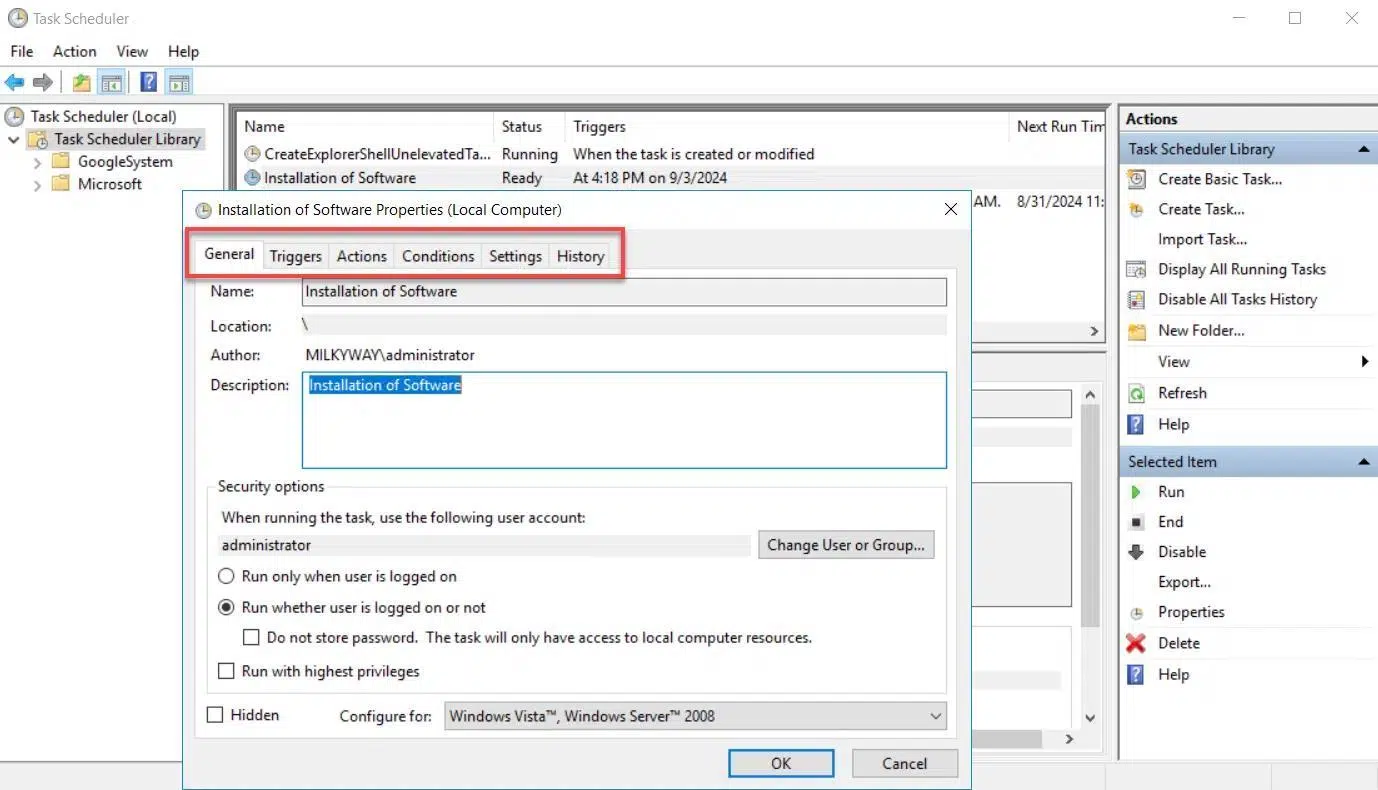
The Task Scheduler library organizes all tasks into folders and, for each one, offers several key tabs:
- General: name, description, account under which it runs, and security options (for example, whether it runs even if the user is not logged in).
- Triggers: determines when the task is launched: upon login, upon turning on the computer, every day, at a specific time, when an event occurs, etc.
- Actions: defines what the task does when it is triggered, usually starting a program, which in this case will be powershell.exe with the appropriate arguments.
- Conditions: allows you to fine-tune when it runs: only if the computer is plugged in, if it is inactive for a while, if the network meets certain characteristics, etc.
- Settings: additional settings such as allowing on-demand execution, retries if it fails, stopping if it takes too long, behavior if it is already running, etc.
- History: logs executions, errors and warnings, very useful for debugging when something does not run as it should.
To launch a PowerShell script from Task Scheduler, the typical pattern on the Actions tab is:
- Program / script:
powershell.exe - Add argumentsSomething like that
-File C:\Scripts\MiScript.ps1adding more parameters if necessary, such as-ExecutionPolicy Bypasso-NoExitaccording to your needs. - start in: optional, directory where the script is located if you depend on relative paths.
By using the standard user account as the task execution account (on the General tab), the script will run with the same permissions you have when you log in, which perfectly aligns with the premise of automating without being an administrator. However, if the script needs to access parts of the system reserved for administrators, it will fail, so it's crucial to design each task with the available security context in mind.
Advantages of automating with Task Scheduler and PowerShell
Combining Task Scheduler with PowerShell scripts offers a compelling set of benefits, even without elevated privileges. Some key advantages include:
- Time saving: repetitive tasks such as cleaning, reporting or data exports run automatically while you are doing something else or even with the session closed (if the task is configured to do so).
- ConsistencyThe script always does exactly the same thing, in the same order, without any mistakes, which reduces the margin of human error.
- ReliabilityYou can schedule regular routines (daily, weekly, monthly) that keep the system or your data in good condition, even without manual intervention.
- Resource efficiencyIt's easy to schedule scripts for off-peak hours, avoiding performance impacts during peak times.
- Flexibility: time-based, login-based, system startup, or event-based triggers allow automations highly adapted to your environment.
- error handlingYou can configure retries, log PowerShell output, send emails, or write specific events when something fails.
- SecurityBy running scripts with restricted user accounts, you reduce the risk of a script error causing serious system damage. Only use tasks with broader permissions when absolutely necessary.
For advanced automation in large networks, PowerShell offers even more possibilities: with well-designed scheduled tasks you can chain together complex workflows , orchestrate tasks across different machines, and automatically respond to specific events.
Practical examples of automation with PowerShell
Once you understand the framework, what truly makes the difference are the specific scripts you implement . Here are some common scenarios where PowerShell shines, both in individual teams and larger environments.
Managing Microsoft 365 with PowerShell
Within the Microsoft 365 ecosystem, PowerShell has become the go-to tool for managing users, licenses, and services in bulk . With the right modules, you can connect to your tenant and automate a significant portion of your daily tasks, such as migrating user profiles and Office . To begin, the classic MSOnline module is typically used (although nowadays the Microsoft Graph module and the modern Exchange Online module are more common). The basic workflow would be:
- Install the necessary modules (for example, from a PowerShell session with permissions to install modules):
Install-Module -Name PowerShellGet -Force -AllowClobber
Install-Module -Name MSOnline - Connect to the service using your Microsoft 365 administrator credentials:
Connect-MsolService
From there, you can automate tasks such as:
- Mass user registration from a CSV file, assigning passwords and profile properties.
- Changes in group membership based on rules (for example, moving users to specific security groups).
- Automatic deactivation of inactive accounts based on criteria such as the last password change date or login date.
- Generation of periodic reports regarding user activity, licenses in use, or security status.
These scripts can be launched manually from a console with appropriate permissions in Microsoft 365 or integrated into scheduled tasks on a management server. Although tenant management requires an account with high permissions in the cloud, the computer from which you run the script doesn't necessarily need a local administrator account , as long as it can install modules and connect to remote services.
Local maintenance automation
On conventional Windows machines, even with a standard account, you can create scripts to:
- Back up user folders through copies and synchronization to another drive or to a network location where you have access.
- Clean temporary files and bloatware in your profile paths, application caches, or logs that do not require administrator permissions.
- Record disk, CPU or memory usage From your account's perspective, generating reports in a directory where you can write.
- Review internal processes or user services that do not require elevated privileges to check their status.
These scripts, combined with the Task Scheduler running under your user account, allow you to set up a very handy basic maintenance and monitoring routine even when the IT department doesn't give you administrator access.
Remote automation with Splashtop and other systems
In remote work environments, tools like Splashtop add another interesting layer. These types of solutions provide secure remote access to computers and, in some cases, specific capabilities for:
- Launch command prompts or remote PowerShell consoles without needing to start a full desktop session.
- Run PowerShell scripts on multiple endpoints simultaneously, with audit controls and centralized scheduling.
- Apply policies, deploy patches or remediation scripts to groups of computers in an unattended manner.
Splashtop AEM, for example, is specifically designed to manage and automate tasks across large fleets of devices , seamlessly integrating PowerShell script execution within its platform. Depending on its configuration, you can leverage these capabilities even if your local account isn't an administrator, delegating some control to the remote management system.
PowerShell scripts for IIS, databases, and Web Deploy
On servers hosting web applications on IIS, Web Deploy version 2.1 includes a set of PowerShell scripts that greatly simplify preparing sites for deployment using Web Deploy . While initial server administrator privileges are typically required for setup, it's worthwhile to be familiar with these scripts because they are part of many automated deployment infrastructures.
The main scripts are:
- SetupSiteForPublish.ps1: creates or configures an IIS site, a non-administrator deployment user, and a publishing profile file (.publishsettings).
- CreateSqlDatabase.ps1: creates a SQL Server database, a login and a user with db_owner permissions, and adds the connection string to the publish file.
- CreateMySqlDatabase.ps1: does the same but for MySQL, creating a database and a user with permissions on it.
- AddDelegationRules.ps1: Configure delegation rules in IIS to allow Web Deploy to function correctly in delegated environments.
The SetupSiteForPublish script , for example, can instantly mount a site called WDeploySite on an available port (between 8080 and 8200), create an associated application pool, and generate a local non-administrator user (WDeploySiteuser) with permissions on the site's physical directory and the necessary permissions in IIS. All the information is saved in a .publishsettings file that can be used by tools like WebMatrix or Visual Studio.
Database scripts add SQL Server or MySQL connection strings to this profile , also creating specific logins and users with passwords (which can be generated automatically or defined manually in the script call). Although these tools were designed with privileged deployments in mind, their philosophy aligns with the idea of giving each application and process the minimum access necessary , clearly separating administrative and publishing accounts.
Best practices for security and performance in PowerShell scripts
Any automation strategy, especially when implemented without administrator privileges, must be based on a series of good security and performance practices to avoid problems in the medium term.
Some key tips are:
- Design scripts using the principle of least privilege: that each script only touches the strictly necessary resources, and that the account that runs it (standard user, service account, etc.) only has the essential permissions.
- Signing sensitive scripts and use execution policies that require signing at least for scripts downloaded from the Internet or shared on the company network.
- Protect credentials and sensitive informationavoiding storing them in plain text within scripts and resorting to secure storage, encrypted environment variables, or solutions for synchronize and encrypt copies in the cloud where applicable.
- Implement robust error handlingUse try/catch blocks, log errors, and, if possible, send alerts when something critical fails.
- Optimize performance: reuse functions and modules, minimize unnecessary loops, work with native cmdlets whenever possible, and test different approaches to reduce execution times.
- Monitor and audit scheduled tasks: Periodically review the Task Scheduler history, event logs, and log files generated by scripts to detect anomalous behavior or recurring failures.
- Always test in development or testing environments before implementing a new task or script in production, especially if it interacts with critical systems or sensitive data.
With all this in mind, a highly capable PowerShell automation ecosystem can be built, supported by scheduled tasks and remote tools, where only a small part of the infrastructure requires highly privileged accounts , and the rest operates with standard or very limited service users. By carefully planning execution contexts, script design, and permission management, it's perfectly feasible to automate a large part of the daily work in Windows and Microsoft 365 without constantly relying on the administrator account.


Passionate writer about the world of bytes and technology in general. I love sharing my knowledge through writing, and that's what I'll do on this blog, show you all the most interesting things about gadgets, software, hardware, tech trends, and more. My goal is to help you navigate the digital world in a simple and entertaining way.