- PowerShell and WSH allow you to create .lnk shortcuts with arguments, icons, and working directory.
- Identify Start Menu launcher parameters before deploying or packaging.
- With MSIX/AppX, use PSF to inject arguments and redirect paths without touching the binary.
- If a macro only runs .exe, replicate Target+Arguments or use a launcher.
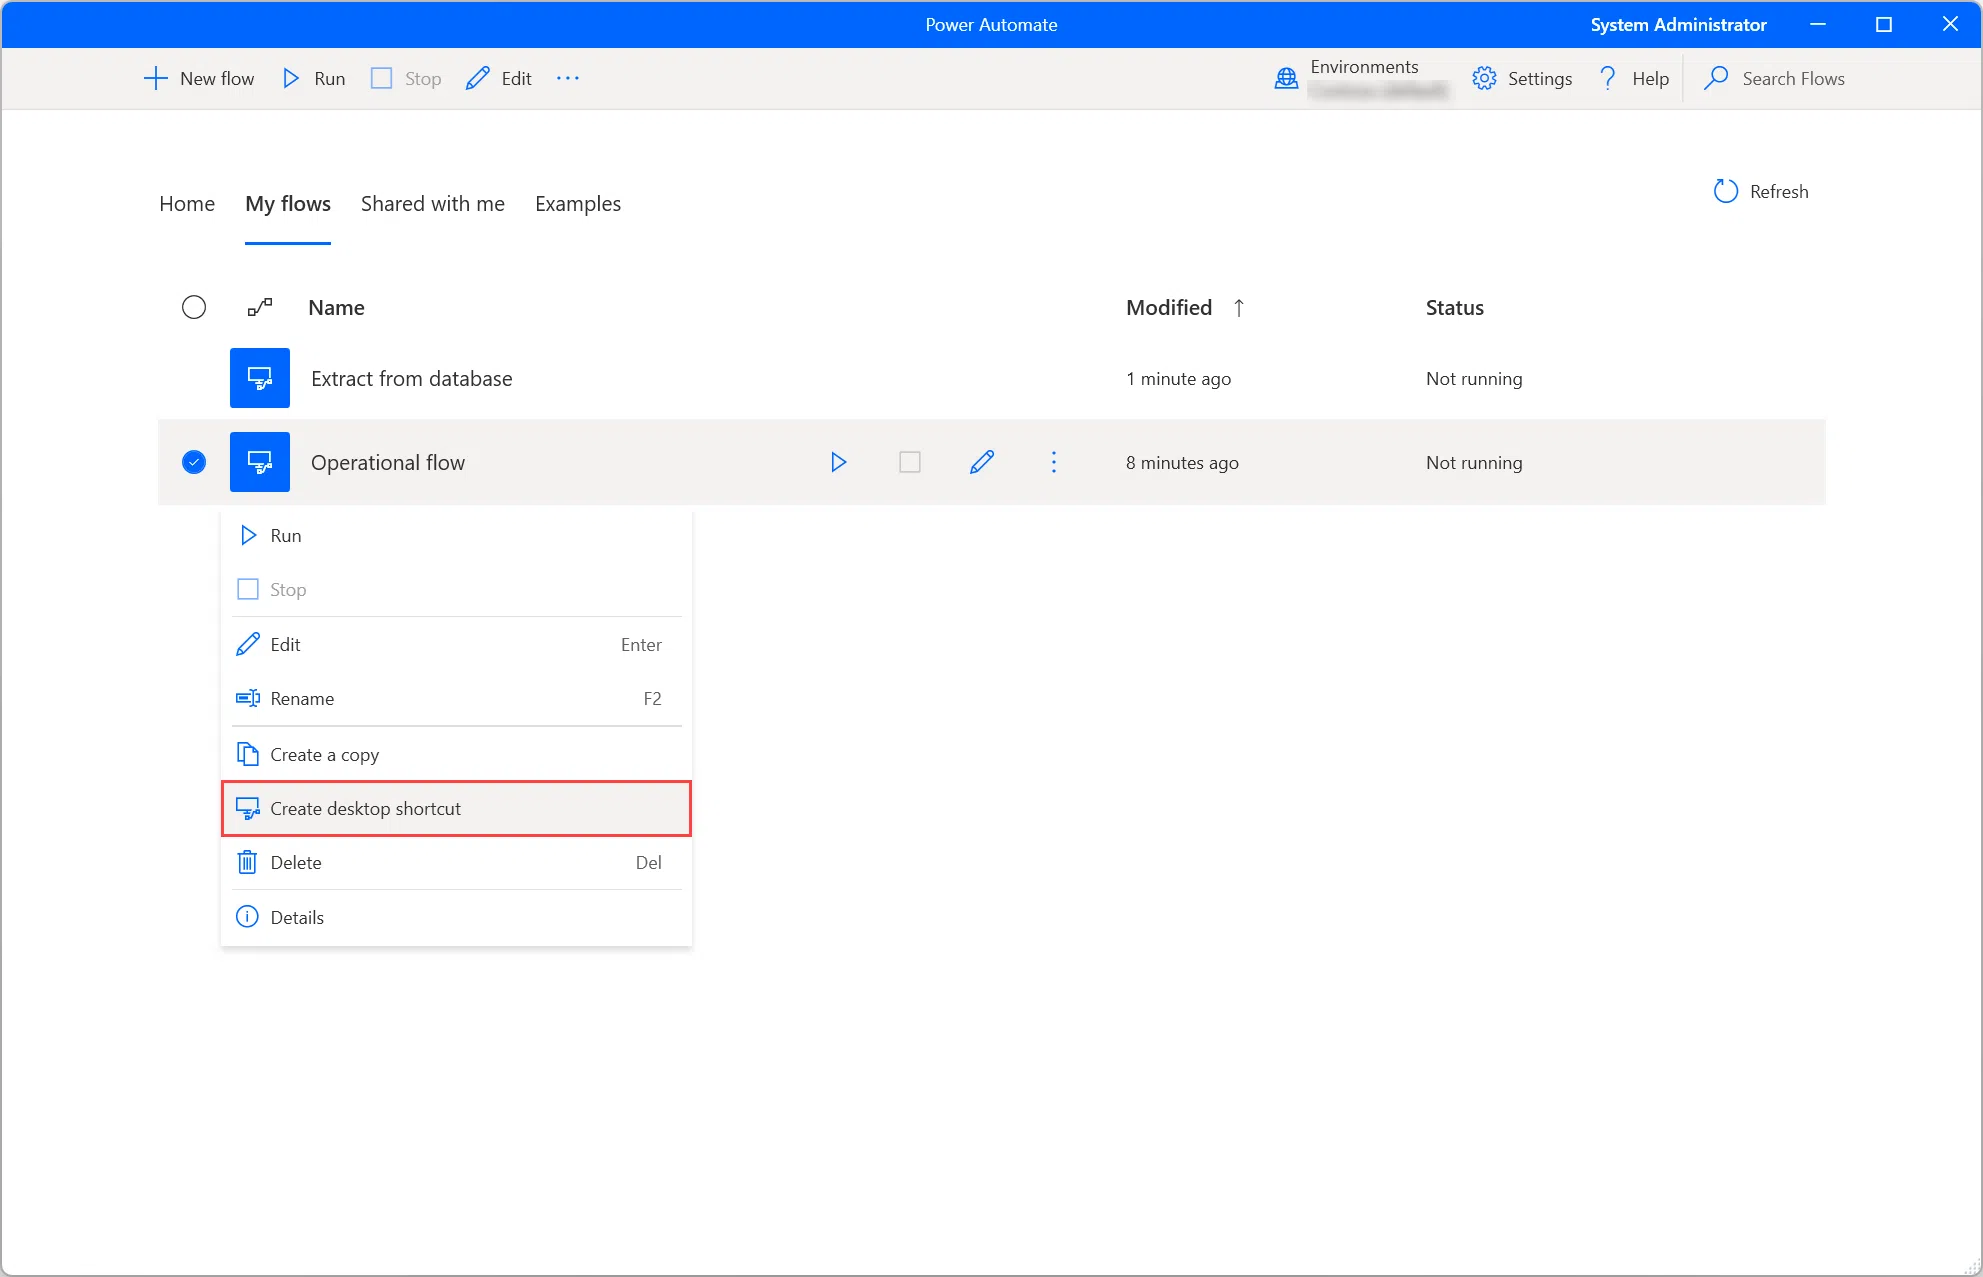
When working with shortcuts in Windows , it's not just about double-clicking: you often need the .lnk file to launch an executable with specific arguments, such as notepad.exe file.txt or switches like /EDev . This is key for automating, debugging, or ensuring that an app opens in the correct context.
In addition to manual creation via the interface, modern methods exist for generating and managing shortcuts with parameters using PowerShell or the Windows Script Host (WSH) COM engine. And if you're coming from packaged environments (MSIX/AppX) or encounter programs that "only launch from their shortcut," there are techniques for redirecting arguments, adjusting manifests, and packaging with PSF without breaking the user experience.
What does it mean to add parameters to an executable from a .lnk?
A shortcut (.lnk) is simply a file that points to a destination (TargetPath) and optionally includes arguments (Arguments) , a working directory (WorkingDirectory), an icon, keyboard shortcuts , and other metadata. These arguments are what you see when, for example, you run notepad.exe C:\Notes\task.txt or apply a modifier like /safe.
In enterprise settings, many Start Menu applications rely on a launcher that passes a specific parameter to the main executable. If that parameter is missing, the app might crash or start incorrectly . Therefore, it's important to identify exactly which shortcut is being used and with what arguments.
If you need to "clone" that shortcut or deploy it at scale, you can do so with a script that builds the .lnk file on the fly. This avoids distributing static files like Internet Explorer.lnk and instead gives you the flexibility to generate them on the fly on each machine.
It's also common to want to make the experience of an .lnk file accessible to tools that only accept .exe files. In that case, the key is to replicate the TargetPath + Arguments + WorkingDirectory of the shortcut, or to use a launcher that executes the .lnk file for you.
Create a shortcut with parameters from PowerShell (modern method)
PowerShell can use the WScript.Shell COM object to build .lnk files without relying on pre-existing files. This is a modern method, ideal for deployments and automation.
This example creates a shortcut on the public Desktop that runs a program with arguments and sets the icon, working directory, and window style. Note how TargetPath and Arguments are assigned :
$WshShell = New-Object -ComObject WScript.Shell
$Desktop   = [Environment]::GetFolderPath('CommonDesktopDirectory')
$LnkPath   = Join-Path $Desktop 'MiAplicacion.lnk'
$Shortcut  = $WshShell.CreateShortcut($LnkPath)

$Shortcut.TargetPath       = 'C:\\Rutas\\MiApp\\MiApp.exe'
$Shortcut.Arguments        = '/modo=admin /perfil=Default'
$Shortcut.WorkingDirectory = 'C:\\Rutas\\MiApp'
$Shortcut.IconLocation     = 'C:\\Rutas\\MiApp\\MiApp.exe,0'
$Shortcut.WindowStyle      = 1 # 1=Normal, 3=Maximizada, 7=Minimizada
$Shortcut.Hotkey           = 'CTRL+ALT+M'
$Shortcut.Save()
If you want to replicate the behavior of an existing shortcut (for example, that Internet Explorer.lnk you copied in your deployments), you can read its properties and generate another .lnk file with the same destination and arguments . While not strictly necessary in most cases, understanding which values a shortcut copies will prevent surprises.
Create a shortcut with WSH/VBScript (classic model)
Windows Script Host (WSH) allows you to run VBScript and JScript natively and exposes an object model that lets you create shortcuts . Although it's a "classic" approach, it still works in modern Windows systems because WSH has been integrated since Windows 98/2000 and is available in NT 4.0 via the Options Pack.
The logic is simple: you instantiate WScript.Shell, point to the Desktop folder, and use CreateShortcut to build the .lnk file. From there, you customize properties such as TargetPath, Arguments, IconLocation, WindowStyle, and Hotkey, and then save.
Basic example with parameters and visual options inspired by Microsoft support examples (re-expressed in VBScript/WSH):
Set WshShell = CreateObject("WScript.Shell")
Desktop = WshShell.SpecialFolders("Desktop")
Set Lnk = WshShell.CreateShortcut(Desktop & "\\EjemploWSH.lnk")

Lnk.TargetPath = "%windir%\\notepad.exe"
Lnk.Arguments = "C:\\Temp\\demo.txt"
Lnk.WorkingDirectory = "C:\\Temp"
Lnk.IconLocation = "C:\\miicono.ico"
Lnk.WindowStyle = 3 ' 3=Maximizada, 7=Minimizada, 4=Normal
Lnk.Hotkey = "ALT+CTRL+F"
Lnk.Save
WSH also allows you to create URL shortcuts. In that case, the shortcut has the .URL extension and the TargetPath points to the web address :
Set WshShell = CreateObject("WScript.Shell")
Desktop = WshShell.SpecialFolders("Desktop")
Set UrlLink = WshShell.CreateShortcut(Desktop & "\\SitioMicrosoft.URL")
UrlLink.TargetPath = "http://www.microsoft.com"
UrlLink.Save
If you're coming from Visual FoxPro, the idea is the same: WSH's COM automation exposes methods like CreateShortcut and equivalent properties, so you can easily transfer the pattern to your preferred language.

“My macro only launches .exe, but the app requires opening from its .lnk”
A real-world example: some games or tools "validate" their launch from the shortcut itself. If your macro program only runs .exe files , not .lnk files, you have several practical solutions.
Option 1: Replicate the shortcut's startup sequence. Open the .lnk file's properties and copy the Target , Arguments , and Home Folder values exactly . Then, configure your macro to call that .exe file with those arguments, ideally starting in the correct working directory. In most cases, the app's internal verification will be satisfied with these same parameters.
Option 2: Use a minimal launcher . You can create a small executable or script that invokes the shortcut. For example, using PowerShell:
Start-Process -FilePath "C:\\Ruta\\a\\MiAcceso.lnk"
Or with the START command of cmd.exe , which can open shortcuts if you pass it the correct path and an empty title in quotation marks:
cmd.exe /c start "" "C:\\Ruta\\a\\MiAcceso.lnk"
If you absolutely need an .exe, compile a stub (for example, in C#) that executes the .lnk or calls the .exe with the arguments stored in the shortcut. This tactic "converts" the shortcut into a macro-compatible callable without altering the startup logic.
How to identify if a Start menu launcher requires parameters
Before integrating an app into your deployments, it's advisable to check if its launchers in the Start menu depend on arguments . One working method for detecting this is as follows:
- Install the Windows application on a test computer.
- Open the Start menu and locate the application launcher.
- Run each associated launcher. If it starts without problems, it probably doesn't require any specific parameters.
- Uninstall the application from the test computer.
- Install it now using its traditional Win32 installer.
- Come back to Start menu, find the app and right click.
- Select More > Open file location.
- For each shortcut found, open Properties.
- In the countryside Target, examines whether arguments appear after the executable path.
- Write down these parameters to reuse in your integration or packaging.
With this information, you can exactly replicate the execution pattern (executable + arguments + startup folder) when creating your own shortcuts or building boot scripts.
Windows Apps (MSIX/AppX): Redirection, PSF, and Why They Sometimes “Don’t Start Right”
Packaged apps redirect resources to C:\\Program Files\\WindowsApps . If an application tries to write to that isolated container, it will encounter permission errors and may fail to perform tasks such as saving settings or creating temporary files.
To address this, the Package Support Framework (PSF) allows for the introduction of an intermediate launcher and redirection rules that adjust behavior without touching the original binary. At the operational level, the typical workflow goes through four stages:
- Staging the app in a local directory.
- Create the config.json from PSF and insert the relevant PSF binaries.
- Update AppxManifest for the launcher to be PSFLauncher.
- Repackage and sign the MSIX package.
This approach allows you to reconfigure the launcher, add arguments via PSF, and redirect working paths, all without modifying the application's original executable .
Tools needed for flow with PSF
To implement PSF and repackage the app you will need:
- Client of NuGet (nuget.exe).
- Package Support Framework (Microsoft.PackageSupportFramework).
- Windows 10 SDK (recent version) with utilities like makeappx y signtool.
- Sysinternals Process Monitor (optional, very useful for diagnosing file access and registration).
Download nuget.exe and place it, for example, in C:\PSF\nuget . Then, using elevated PowerShell privileges, install PSF via NuGet in a working folder:
Set-Location "C:\\PSF"
.\nuget\nuget.exe install Microsoft.PackageSupportFramework
For the Windows 10 SDK, during installation, select at least the following: signing tools for desktop apps, SDK for C++ UWP apps, and the SDK localization components. These components provide what's needed for packaging and signing.
App Staging: Unpacking MSIX
First, define variables for the package path, staging folder , architecture, and SDK version. An example configuration would be:
$AppPath = "C:\\PSF\\SourceApp\\PSFSampleApp.msix"        # Instalador MSIX
$StagingFolder = "C:\\PSF\\Staging\\PSFSampleApp"         # Carpeta de staging
$OSArchitecture = "x$((gcim Win32_Processor).AddressWidth)"     # x64 o x86
$Win10SDKVersion = "10.0.19041.0"                              # Versión del SDK
With the SDK installed, use makeappx to unpack the MSIX in the staging environment:
Set-Location "${env:ProgramFiles(x86)}\\Windows Kits\\10\\Bin\\$Win10SDKVersion\\$OSArchitecture"
.\makeappx.exe unpack /p "$AppPath" /d "$StagingFolder"
After this step, the package contents are placed in an editable folder. This allows you to add PSFLauncher , the runtime, and the JSON configuration file with the necessary arguments.
Create PSF config.json and insert binaries
In the staging directory, create a config.json file that describes each application within the package that requires configuration. The minimum requirements include id , executable , and arguments.
{
  "applications": [
    {
      "id": "",
      "executable": "",
      "arguments": ""
    }
  ]
}
Open the package's AppxManifest.xml file and locate the <Application> node. Take the value of its Executable attribute and use it in the executable field of config.json; also align the id with the application identifier in the manifest. If necessary, add workingdirectory pointing to the appropriate relative folder.
A representative example of config.json with specific arguments:
{
  "applications": [
    {
      "id": "PSFSample",
      "executable": "VFS/ProgramFilesX64/PS Sample App/PSFSample.exe",
      "arguments": "/bootfromsettingshortcut"
    }
  ]
}
From the PSF package downloaded via NuGet, copy the binaries for your architecture (x64/x86) to the root of the staging directory: PSFLauncher32/64.exe , PSFRuntime32/64.dll , and PSFRunDll32/64.exe . This equips the package with the PSF launcher and runtime .
Update AppxManifest to use PSFLauncher
Edit AppxManifest.xml and replace the Executable attribute of the <Application> node to point to PSFLauncher32.exe or PSFLauncher64.exe , as appropriate. The EntryPoint is usually kept as Windows.FullTrustApplication.
<Applications>
  <Application Executable="PSFLauncher32.exe" EntryPoint="Windows.FullTrustApplication">
    ...
  </Application>
</Applications>
With this, the actual startup of the app goes through PSFLauncher, which will read your config.json , inject arguments and apply file/folder redirections when necessary.
Repackage and sign the updated MSIX
Define variables for packaging and signing the final MSIX: output path, code signing certificate, and password. Ensure you have a valid certificate for signing.
$AppPath = "C:\\PSF\\SourceApp\\PSFSampleApp_Updated.msix"
$CodeSigningCert = "C:\\PSF\\Cert\\CodeSigningCertificate.pfx"
$CodeSigningPass = "<Password>"
$StagingFolder = "C:\\PSF\\Staging\\PSFSampleApp"
$OSArchitecture = "x$((gcim Win32_Processor).AddressWidth)"
$Win10SDKVersion = "10.0.19041.0"
Packaging from staging to a new MSIX:
Set-Location "${env:ProgramFiles(x86)}\\Windows Kits\\10\\Bin\\$Win10SDKVersion\\$OSArchitecture"
.\makeappx.exe pack /p "$AppPath" /d "$StagingFolder"
And sign the package using signtool.exe from the SDK:
Set-Location "${env:ProgramFiles(x86)}\\Windows Kits\\10\\Bin\\$Win10SDKVersion\\$OSArchitecture"
.\signtool.exe sign /v /fd sha256 /f $CodeSigningCert /p $CodeSigningPass $AppPath
You now have a PSF-packaged MSIX that runs the correct binary with the required arguments , and with redirects if the application needs them.
Manual method: create a shortcut with a parameter from the Explorer
If you prefer to do it manually, the graphical process is simple: right-click on the Desktop > New > Shortcut and, in the location field, enter the executable followed by the parameter, for example:
"C:\\Rutas\\MiApp\\MiApp.exe" /EDev
After naming it, open its Properties and adjust, if needed, the Home Folder , the icon (Shortcut tab > Change Icon), and the keyboard shortcut. This method is a quick way to validate arguments like /EDev without writing scripts.
Generating the .lnk “on the fly” in deployments: from copying to creating
If your package previously copied an “Internet Explorer.lnk” file and you now want the process to be “without content” (i.e., the .lnk file doesn't exist in the package and is created dynamically ), PowerShell is the preferred approach in modern environments.
Here 's a sample .ps1 script that you could integrate into your deployment tool:
$Shell = New-Object -ComObject WScript.Shell
$Shortcut = $Shell.CreateShortcut("$env:Public\\Desktop\\IE.lnk")
$Shortcut.TargetPath = "$env:ProgramFiles\\Internet Explorer\\iexplore.exe"
$Shortcut.Arguments = "https://intranet.empresa.local"
$Shortcut.WorkingDirectory = "$env:ProgramFiles\\Internet Explorer"
$Shortcut.IconLocation = "$env:ProgramFiles\\Internet Explorer\\iexplore.exe,0"
$Shortcut.Save()
This approach avoids distributing static files and allows you to adapt arguments, icons, and paths according to the team or organization's policy, all at runtime.
Good practices and quick tips
- Always check the working directory. Many apps assume relative paths, so if you don't set WorkingDirectory to the executable, you may get errors or abnormal behavior when loading configuration files.
- Escape paths and arguments with spaces using double quotes. In Shortcuts, the TargetPath is usually enclosed in quotes; arguments may also require them if they include spaces or special characters.
- If the shortcut uses environment variables (%windir%, %ProgramFiles%), respect them when creating the .lnk. This way, the shortcut will remain the same. portable between machines with different paths (e.g. x86 vs x64).
- For diagnostics on MSIX, rely on Process Monitor. You'll see what the app tries to open, where it fails due to permissions, and what redirection rules you need in PSF.
- Version your .ps1 scripts and document the arguments. A small README along with the script saves time when changing parameters like /profile, debug switches or special boot modes.
More practical WSH examples (inspired by classic documentation)
Variation focused on arguments: Open Visual FoxPro/Visual Studio with a configuration file, setting window style, icon, and startup folder:
Set WshShell = CreateObject("WScript.Shell")
Desktop = WshShell.SpecialFolders("Desktop")
Set S = WshShell.CreateShortcut(Desktop & "\\DevConfig.lnk")
S.WindowStyle = 7 ' Minimizada (0=Maximizada, 4=Normal)
S.IconLocation = "C:\\ruta\\builder.ico"
S.TargetPath = "C:\\Program Files\\Microsoft Visual Studio\\VFP98\\vfp6.exe"
S.Arguments = "-c \"C:\\Rutas\\config.fpw\""
S.WorkingDirectory = "C:\\"
S.Save
Shortcut to a corporate URL with the .URL extension. Useful for distributing access to internal or manual portals :
Set WshShell = CreateObject("WScript.Shell")
Desktop = WshShell.SpecialFolders("Desktop")
Set U = WshShell.CreateShortcut(Desktop & "\\PortalEmpresa.URL")
U.TargetPath = "https://intranet.empresa.local"
U.Save
When to choose each method
PowerShell: ideal for modern deployments, GPOs, Intune, SCCM, and automation tasks . It's the recommended method if you don't want to distribute pre-made .lnk files.
WSH/VBScript: perfect when inheriting older scripts or if you need to maintain compatibility with legacy environments . The WScript.Shell COM API is stable and very straightforward.
PSF with MSIX/AppX: Essential when the Start Menu launcher requires parameters or when a packaged app needs redirects to function correctly. Allows you to adjust behavior without modifying the original binary.
Manual method: useful for quick tests, creating an ad-hoc shortcut with a parameter (such as /EDev ) or demonstrating feasibility before automating it with scripts.
Whether you're looking to add parameters to an executable from its shortcut, generate the .lnk file "on the fly" with PowerShell, or even deal with MSIX packages that require PSF, here's the complete repertoire: identifying arguments in the Start menu, creating shortcuts with WSH/PowerShell, bypassing limitations of tools that only launch .exe files, and repackaging apps with PSF so that everything starts up as the user expects.

Passionate writer about the world of bytes and technology in general. I love sharing my knowledge through writing, and that's what I'll do on this blog, show you all the most interesting things about gadgets, software, hardware, tech trends, and more. My goal is to help you navigate the digital world in a simple and entertaining way.