- Visual Studio and VS Code offer native Git integration, making it easy to manage repositories and branches.
- Both editors allow you to resolve conflicts, view changes, and synchronize with providers such as GitHub or Azure DevOps.
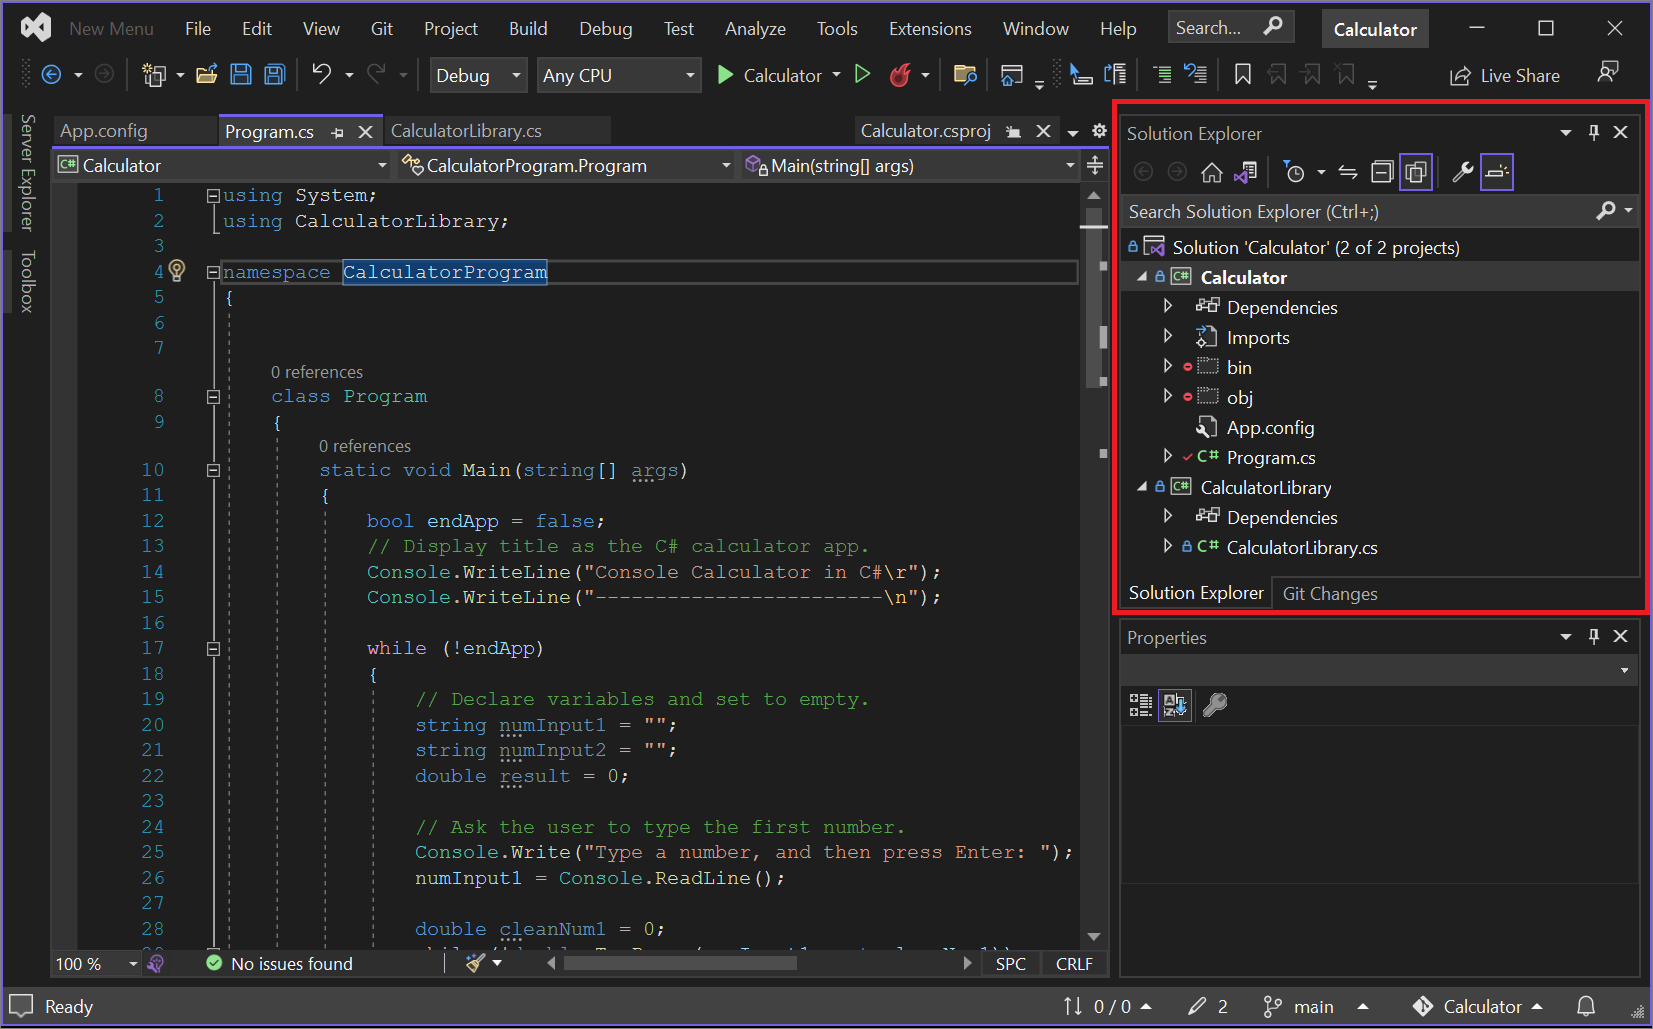
- The configuration is highly customizable and can be extended with extensions and productivity tools.

If you are a developer or you are simply interested in working efficiently with your code projects, you have surely heard about Go and its integration into the most popular editors, such as Visual Studio y Visual Studio CodeVersion control has gone from being an option to a real necessity for any development team, but do you really know how far you can go by managing your repositories, branches, and collaborations from the editor itself? In this article, we'll tell you, from scratch and in detail, how to get the most out of Git within the Visual Studio family, whether you're in Windows as in other systems, working alone or in a team.
Let's delve into how create, clone, and manage repositories, how to integrate the main external repository providers (GitHub, Azure DevOps, GitLab), how to resolve conflicts, customize Git options in the IDE and a good handful of Tricks so your workflow is agile, secure, and tailored to you. Whether you're new to these environments or have been here for years, here's a comprehensive, up-to-date guide packed with practical, step-by-step advice in clear language.
Why use Git built into Visual Studio and Visual Studio Code?
The version control system Go is, today, the de facto standard for maintaining a safe, coordinated and efficient history of any development project, whether individual or collaborative. The best part is that Visual Studio (both in its editions and in Visual Studio Code, its "little brother" and lighter) has a very powerful native Git integration, which allows you to completely forget about the line of commands if you prefer.
When working with Git from these environments, you can:
- Create new repositories, both local and remote, with a couple of clicks.
- Clone existing projects from GitHub, GitLab, Azure DevOps, or any other supported provider.
- Manage branches, commit, and sync changes without leaving the editor.
- Resolve conflicts visually and simple, without getting lost among strange commands.
- Configure and customize your experience to the fullest with Git according to your needs.
Visual Studio It stands out for having one of the more complete and visual interfaces to handle Git, specially optimized to work with repositories on GitHub and Azure DevOps. For its part, Visual Studio Code It is ideal if you are looking for something lightweight and cross-platform, with dozens of extensions that expand the native possibilities.
Getting Started: Prerequisites and Installation
Before you jump into working with Git, make sure you have:
- Git installed on your systemYou can download the version for your operating system from git-scm.comVisual Studio usually detects it automatically, but in some cases you'll need to specify the path manually.
- Visual Studio or Visual Studio Code installed. Git integration is included in the latest versions of both editors.
- (Optional) An account on GitHub, GitLab, or Azure DevOps If you're going to be working with remote repositories. It's not essential for a local repository, but it's highly recommended if you want to enjoy synchronization and collaboration.
Once everything is installed, you can start using Git in your projects from the editor itself. We'll detail the steps in the following sections.
Creating and cloning repositories in Visual Studio
Visual Studio makes it very easy for you to create a new repository from scratch or clone an existing one. The first thing is to decide if you are going to work locally (on your team) or remotely (cloud repositories, whether GitHub, GitLab, or Azure DevOps).
How to create a new repository from Visual Studio
- Open Visual Studio and select Create a new project.
- go to the menu Go and choose Create Git repository.
- A dialog box will open where you can choose:
- GitHub as a remote target (the usual, especially in Visual Studio 2022 and later).
- Azure DevOps if you work in business environments.
- Local only if you want to keep the repository exclusively on your machine.
- You can set the name, visibility (public, private or internal) and select a template.
.gitignoreto avoid uploading unwanted files. - Click on Create and push to create the repository and, if applicable, upload the project to the cloud.
In modern versions of Visual Studio, the process is virtually identical for creating repositories in GitHub or Azure DevOpsThe assistant will step by step guide and allows you to log into your account if you haven't already.
Clone an external repository on your computer
To work with a project that already exists on GitHub, GitLab, or some other provider, you only need the Repository URL:
- Open Visual Studio and select Clone repository from the Git menu.
- Paste the project URL (you can copy it to the clipboard from the repository's own website, where the button appears Code o Clone).
- Choose the folder on your computer where you want to save the local copy.
- Visual Studio will download all the content and open it directly, loading the main solution if it detects it (
.sln).
You can also open existing local repositories or switch between them conveniently from the Git menu.
Working with repositories in Visual Studio Code
If you prefer Visual Studio Code, the process is very similar, although the interface is somewhat more minimalist.
Create a new repository with Visual Studio Code
You can start a repository directly from the editor or using the terminal integrated:
- Open the project folder in VS Code.
- Go to the tab Source control (fork icon) in the left sidebar.
- Click on Start repository. A folder will be created
.gitin your project. - You can check that it has been created correctly by running
ls -lain the terminal to see the hidden directory.git.
Cloning repositories in Visual Studio Code
- Select option Clone repository (either from the sidebar or using Ctrl + Shift + P and typing “Git: Clone”).
- Paste the URL of your GitHub, GitLab, Azure DevOps, or any other remote repository.
- Choose the local directory where you want to clone the content.
- VS Code will ask you if you want to open the cloned folder directly.
This allows you to get started in seconds with any public or private project you have access to.
Managing Files and Changes: The Basic Git Cycle
When working with Git, the basic flow is to add, modify, or delete files, record changes in a c and finally push These changes will be transferred to the remote repository, if there is one. Both Visual Studio and VS Code simplify and visualize this cycle, saving you from having to remember commands.
File categories in Git
- Untracked Files (U): They have been added to the repository folder but Git doesn't yet control them. They usually appear with a letter U or highlighted somewhere in the interface.
- New files (A): Added to the staging area, ready to be confirmed.
- Modified files (M): They already exist in the repository and have been changed.
In the source code control panels, you can select which files to add to the next commit, view differences (diffs) between versions, and undo changes if necessary.
How to commit and push from Visual Studio
- Make the desired changes to the files.
- Open the window of Git Changes from the side or top menu.
- Select the files you want to add to the commit using the “+” button or right-click.
- Write a descriptive message for the commit.
- Click on RSVP to save locally.
- When you have several commits or want to sync your changes with the remote repository, press Push o Synchronize.
In VS Code, the process is very similar from the section SourceControl. You can use shortcuts like Ctrl + Enter to quickly confirm or press the icons for “stage”, commit and push.
Visual indicators in Visual Studio Code
VS Code uses visual cues in the code margin to show the status of lines:
- Blue bars: lines modified since the last commit.
- Green bars: lines added.
- Red triangles or marks: lines deleted.
Additionally, you can double-click any modified file to see a diff view comparing current and previous version.
Branch management and collaborative workflow
One of the biggest advantages of Git is its powerful branching system, which allows you to work on different development lines without overriding changes. Both Visual Studio and VS Code offer easy ways to create, change, and manage branches.
Create and switch branches in Visual Studio
- From the window of Git Changes or Git repository You can see your current branch and switch between existing ones.
- To create a new branch, simply type the name, choose which branch you want to base it on, and select the option to switch automatically. The equivalent command would be
git checkout -b nombre-rama. - You can base your branch on any other branch (local or remote) and manage the history from the branch view.
Visual Studio displays the active branch both at the top of the window and in the status bar.
Branch Management in Visual Studio Code
In the lower left corner of the editor, you'll see the name of the branch you're working on. By clicking there, you can:
- Switch to another branch.
- Create a new branch.
- Delete, rename, or merge local branches.
All of this is done through contextual menus and in a visual manner.
Synchronization, collaboration and Merge Requests
Working with remote repositories involves keeping your local copy synchronized with the "official" version and, often, collaborating as a team through pull requests o merge requests, according to the supplier.
Push and pull changes
- When you do a c, changes are only saved to your local repository. You have to push to transfer them to the remote.
- To update your repository with changes from other peers, use pull (download and apply the new commits) or fetch (just download them without applying them).
- Visual Studio and VS Code contain dedicated buttons for these actions, making synchronization much easier.
Merge Requests and Pull Requests
- On platforms like GitLab or GitHub, major changes are integrated into the main branch using a Merge Request o pull request.
- You can create an MR directly on the vendor's website after pushing, indicating the source and destination branches, title, reviewers, and a description of the changes.
- Visual Studio and VS Code allow you to initiate and track the status of these requests, although some advanced operations (such as assigning reviewers or merging) are often best done from the web interface.
Conflict resolution and comparison tools
In any collaborative workflow, it is common to encounter merger conflictsThey occur when two developers modify the same lines and Git can't decide which one to use. Both Visual Studio and VS Code make it extremely easy to detect and resolve these conflicts.
How to detect and resolve conflicts in Visual Studio
- When a conflict occurs, Visual Studio clearly indicates this in the Git Repository window and in the changes section.
- When you open the conflicting file, you will see tags like
<<<<<<< HEAD ... ======= ... >>>>>>> rama, but Visual Studio displays a gold information bar at the top that allows you to access the visual fusion editor. - This editor is three-dimensional: You can compare current changes, incoming changes, and the final merge result, easily choosing which changes to keep.
- When you're done, just confirm the result to complete the solution.
Visual Studio Code, although more basic by default, also allows visual conflict resolution and can expand its options through extensions.
Advanced Git Configuration and Customization in Visual Studio
If you want to take version control to the next level, both Visual Studio and VS Code allow you to adjust Git parameters to adapt to your workflow and specific needs.
Most important configuration options
- Name and email: You can set them globally or per project from the Git configuration menu, and they will be the ones that appear in each commit.
- Managing remote branches: It is recommended to have the option to delete obsolete remote branches enabled when fetching (
fetch.prune(in True). - Merge Policy (Rebase/Combine): You can choose whether branches are merged using traditional merge or rebase, both globally and per repository.
- Cryptographic network provider: You can choose between OpenSSL and the Windows Secure Channel (SChannel) to manage certificates and secure connections.
- Credential Manager: You can choose between GCM for Windows, GCM Core, or leave the default settings.
- Compare and merge tools: You can use Visual Studio as the default comparer/merger or define an external one.
- .gitignore and gitattributes: Both files can be easily edited from the advanced options to control which files are uploaded and how specific attributes are handled.
Visual Studio also offers specific configurations such as:
- Default location of cloned repositories.
- Options on closing open solutions when opening another repository.
- Automatic loading of the solution if there is only one in the repository.
- Allow automatic branch extraction with double click.
- Download author images from Gravatar (to see photos in history).
- Allow push with –force-with-lease to safely overwrite changes.
Passionate writer about the world of bytes and technology in general. I love sharing my knowledge through writing, and that's what I'll do on this blog, show you all the most interesting things about gadgets, software, hardware, tech trends, and more. My goal is to help you navigate the digital world in a simple and entertaining way.