- Use a microfiber cloth, isopropyl alcohol on surfaces, and no liquids in the capsule.
- Grills and foams: soapy water and dry thoroughly; avoid heat and harsh chemicals.
- Speakers: damp cloth, grille adhesive; do not touch or blow on the tweeters.
- Maintenance: case, silica gel and more frequent cleaning in shared use.
If you work, play, or study with your computer, keeping your microphone and speakers in good shape isn't a whim: it's key to crystal-clear sound and a longer-lasting computer. Taking care of them reduces noise, avoid failures and keeps germs off your devices that you touch and bring close to your mouth frequently. Here's a proven, safe method to leave both like new with Cleaning and disinfection techniques that respect electronics.
In this guide, you'll see step-by-step procedures and specific recommendations for different types of microphones (dynamic, condenser, lavalier, and headworn), as well as how to clean PC speakers. We also include hygiene guidelines, recommended materials, warnings you should know, and maintenance habits that extend the life of the equipmentEverything is compiled and rewritten with advice from manufacturers and experts so you can apply it with confidence.
Before you start: types of microphones and risks to avoid
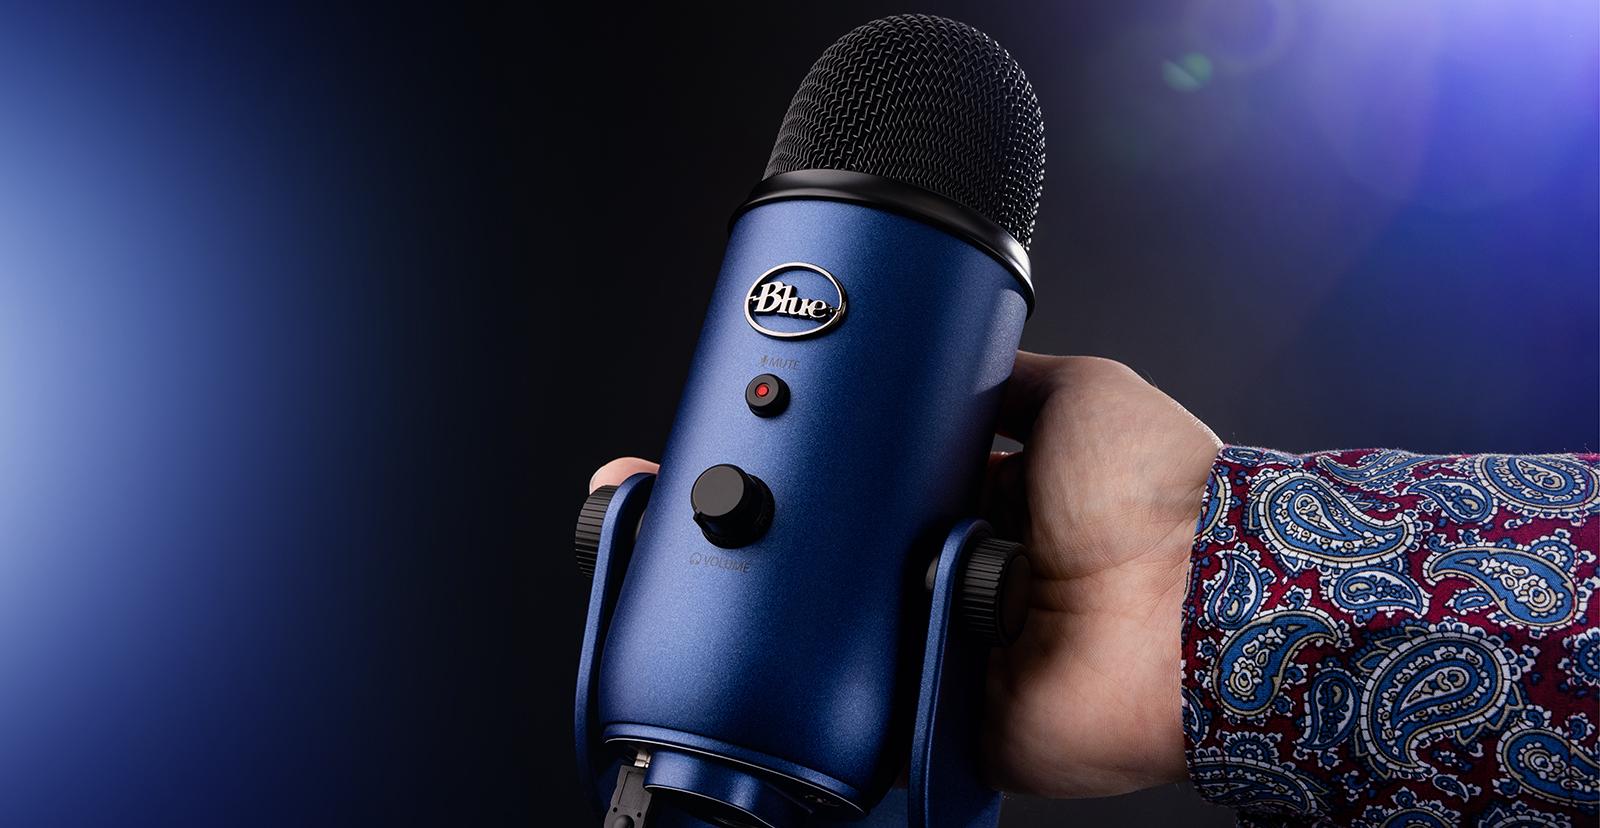
Not all microphones are cleaned the same. Knowing their "personality" will save you from scares. dynamic microphones They are robust and tolerate intensive use better, so cleaning them is relatively simple. On the other hand, condenser microphones They are very sensitive (especially the diaphragm and capsule), so they require soft hands and zero direct moisture. ribbon microphones They are the most delicate; avoid liquid cleaners because can damage the fragile inner belt.
How often should you clean?
The frequency depends on how much and where you use the equipment. In clean environments (e.g., a study or personal desk), monthly cleaning may be sufficient, while in intensive or shared use, it's a good idea to increase the frequency. As a guide: After each use if shared, weekly if intensive, and monthly if personal..
- Intensive use (podcast, live shows, live sound): at least once a week.
- Shared microphones (events, interviews): after each use.
- Personal use in a controlled environment: monthly cleaning.
Materials and tools that work
Have on hand a microfiber cloth, 70% or higher isopropyl alcohol, cotton swabs, compressed air, a soft-bristled brush, distilled water, antibacterial wipes, disposable gloves, and, if necessary, a screwdriver to remove vents or covers. Very important: Never immerse a microphone in water or spray liquids directly onto it..
Preparation and safety: essential preliminary steps
If your microphone is wireless or has a removable capsule, turn off the power before touching anything. Turn off the transmitter, remove the battery, and replace the battery compartment cover to protect the contacts while you clean. These gestures make little difference, but prevent shorts, corrosion and moisture damage.
While cleaning the surface, keep the grille and windscreen in place if you don't need to remove them, so the capsule isn't exposed to accidental splashes. In any case, always use a soft cloth with the smallest possible amount of product; soaking the surface is a quick path to failure.
Products tested by professional manufacturers are safe, with nuances: water with mild soap (diluted dish soap is best), Clorox-type disinfectant wipes, and Lysol disinfectant spray can be used sparingly. Be careful with microphones with nickel finishes, where certain sprays are not recommended so as not to damage the finish.
With isopropyl alcohol, there's a double warning: it works well for disinfecting, but it can lift paint off some handles. It doesn't affect performance, but it does affect aesthetics, so if you're concerned, test first in an inconspicuous area. Also, avoid alcohol touching membranes or capsules.
When cleaning, do not direct the liquid toward the capsule; if possible, hold the microphone vertically so that any excess liquid is directed away from the components. It is also a good idea Avoid grille edges, buttons, switches, and joints, where moisture could seep in. When you're done, pat dry (don't rub) and check the battery compartment for any remaining moisture.
If your model allows you to unscrew the wireless capsule, check for any moisture and dry it carefully. Do not clean the inside of the battery compartment with liquids. And remember hand hygiene: when installing batteries for someone else, wear gloves or wash them before and after; is the easiest way to avoid recontaminating the equipment.
Dynamic Microphones: Step-by-Step Cleaning
Start by removing the metal grille if it's removable. Most dynamic grilles allow you to unscrew it without tools. This way, you can access the dirt and debris accumulated in the mesh, which is where more saliva and dust they get trapped.
Soak the rack in warm water with a mild soap and scrub with a soft bristle brushRinse with distilled water and let it air dry completely. Avoid direct heat, which can deform the internal foam.
If it has a foam windscreen, remove it and wash it with soapy water as well. Wring it out without twisting and let it air dry completely. Haste is bad advice: use time, not heat. It's the safest way to maintain the elasticity of the foam.
Clean the microphone body with a microfiber cloth lightly moistened with isopropyl alcohol. Wipe over the handle, rings, connector, and any other frequently touched areas. Don't spray directly; apply the product to the cloth. If there is dust in the capsule area, remove it with a soft cloth. compressed air in short bursts.
Condenser Microphones: Extra Measures of Delicacy
With capacitors, the golden rule is clear: zero moisture on the diaphragm and capsuleDo not use water or liquids in these areas. If you can remove the outer grille and windscreen, clean them as you would on dynamic models and let them dry completely before reassembling.
For dust on the body and around the grille, use a soft-bristled brush or compressed air very carefully. The chassis can be cleaned with a microfiber cloth slightly moistened with isopropyl alcohol, making sure that no drop leaks into the electronics.
Lavalier and headsets (miniature and subminiature)
These microphones are easy to clean but meticulous. Remove the grilles, covers, and foam protectors to allow water to circulate and evaporate completely. Wash with demineralized water and a damp cloth, without using detergents. Then, let them dry for 72 hours before using them again.
If you need it, some manufacturers allow moderate thermal disinfection: one hour at 60 °C in an oven can inactivate certain germs, knowing that this process slightly ages the microphone. Evaluate whether it's worth it and always follow the manufacturer's guidelines.
To disinfect surfaces (earphones, clips, arms, grills and adapters), wipe with a moderately dampened cloth with a mixture of isopropyl alcohol and water. Helpful tip: Pure isopropyl alcohol evaporates too quickly; about 20% water works. There enough to be effective.
You can also resort to UV-C radiation To disinfect, always protect the membrane with a suitable cover. UVGI disinfection works by line of sight: expose all sides and repeat if necessary. Avoid direct UV-C exposure to the unprotected capsule.
Safe disinfection: what to use and how to apply it
To disinfect, the isopropyl alcohol (≥ 70%) It's a safe bet for external surfaces. Apply it with a cloth or cotton swab, never directly to the microphone. Prioritize high-touch areas: the grille, handle, buttons, and switches.
Alcohol-based antibacterial wipes are another option, as long as they don't contain harsh chemicals like bleach. Wipe gently and avoid getting moisture in through joints and crevices. After disinfecting, let it dry. air dry completely before using.
Critical rule: keep alcohol and liquids away from the capsule membrane. For lavaliers or headsets, disinfect the surface, not the transducer. The balance is between eliminating germs without compromising the integrity of the microphone.
Foam Windscreens: Thorough Cleaning and Patience
Remove the foam windscreen and wash it with warm, soapy water. Rinse well, wring gently, and let it air dry. For true sanitation, time is best: 72 hours of drying allows residual germs to die.
It's not recommended to apply isopropyl alcohol or harsh chemicals to the foam, as it can degrade and harden. If you use UV-C, apply it judiciously and ensure even exposure, although it's more practical with foam. clean well and let dry.
Maintenance habits that extend the life of your microphone
Store the microphones in their case when not in use, adds Silica gel in the case to control ambient humidity and mount a pop filter or windscreen to reduce the impact of saliva and dust, and apply maintenance habits that complement the maintenance of the equipment.
Avoid blowing into the microphone to “test” it, do not expose it to extreme temperatures or high humidity, and it banishes abrasive materials when cleaning. These are small gestures that prevent very expensive breakdowns.
PC Speakers: Safe Cleaning Without Damaging Components
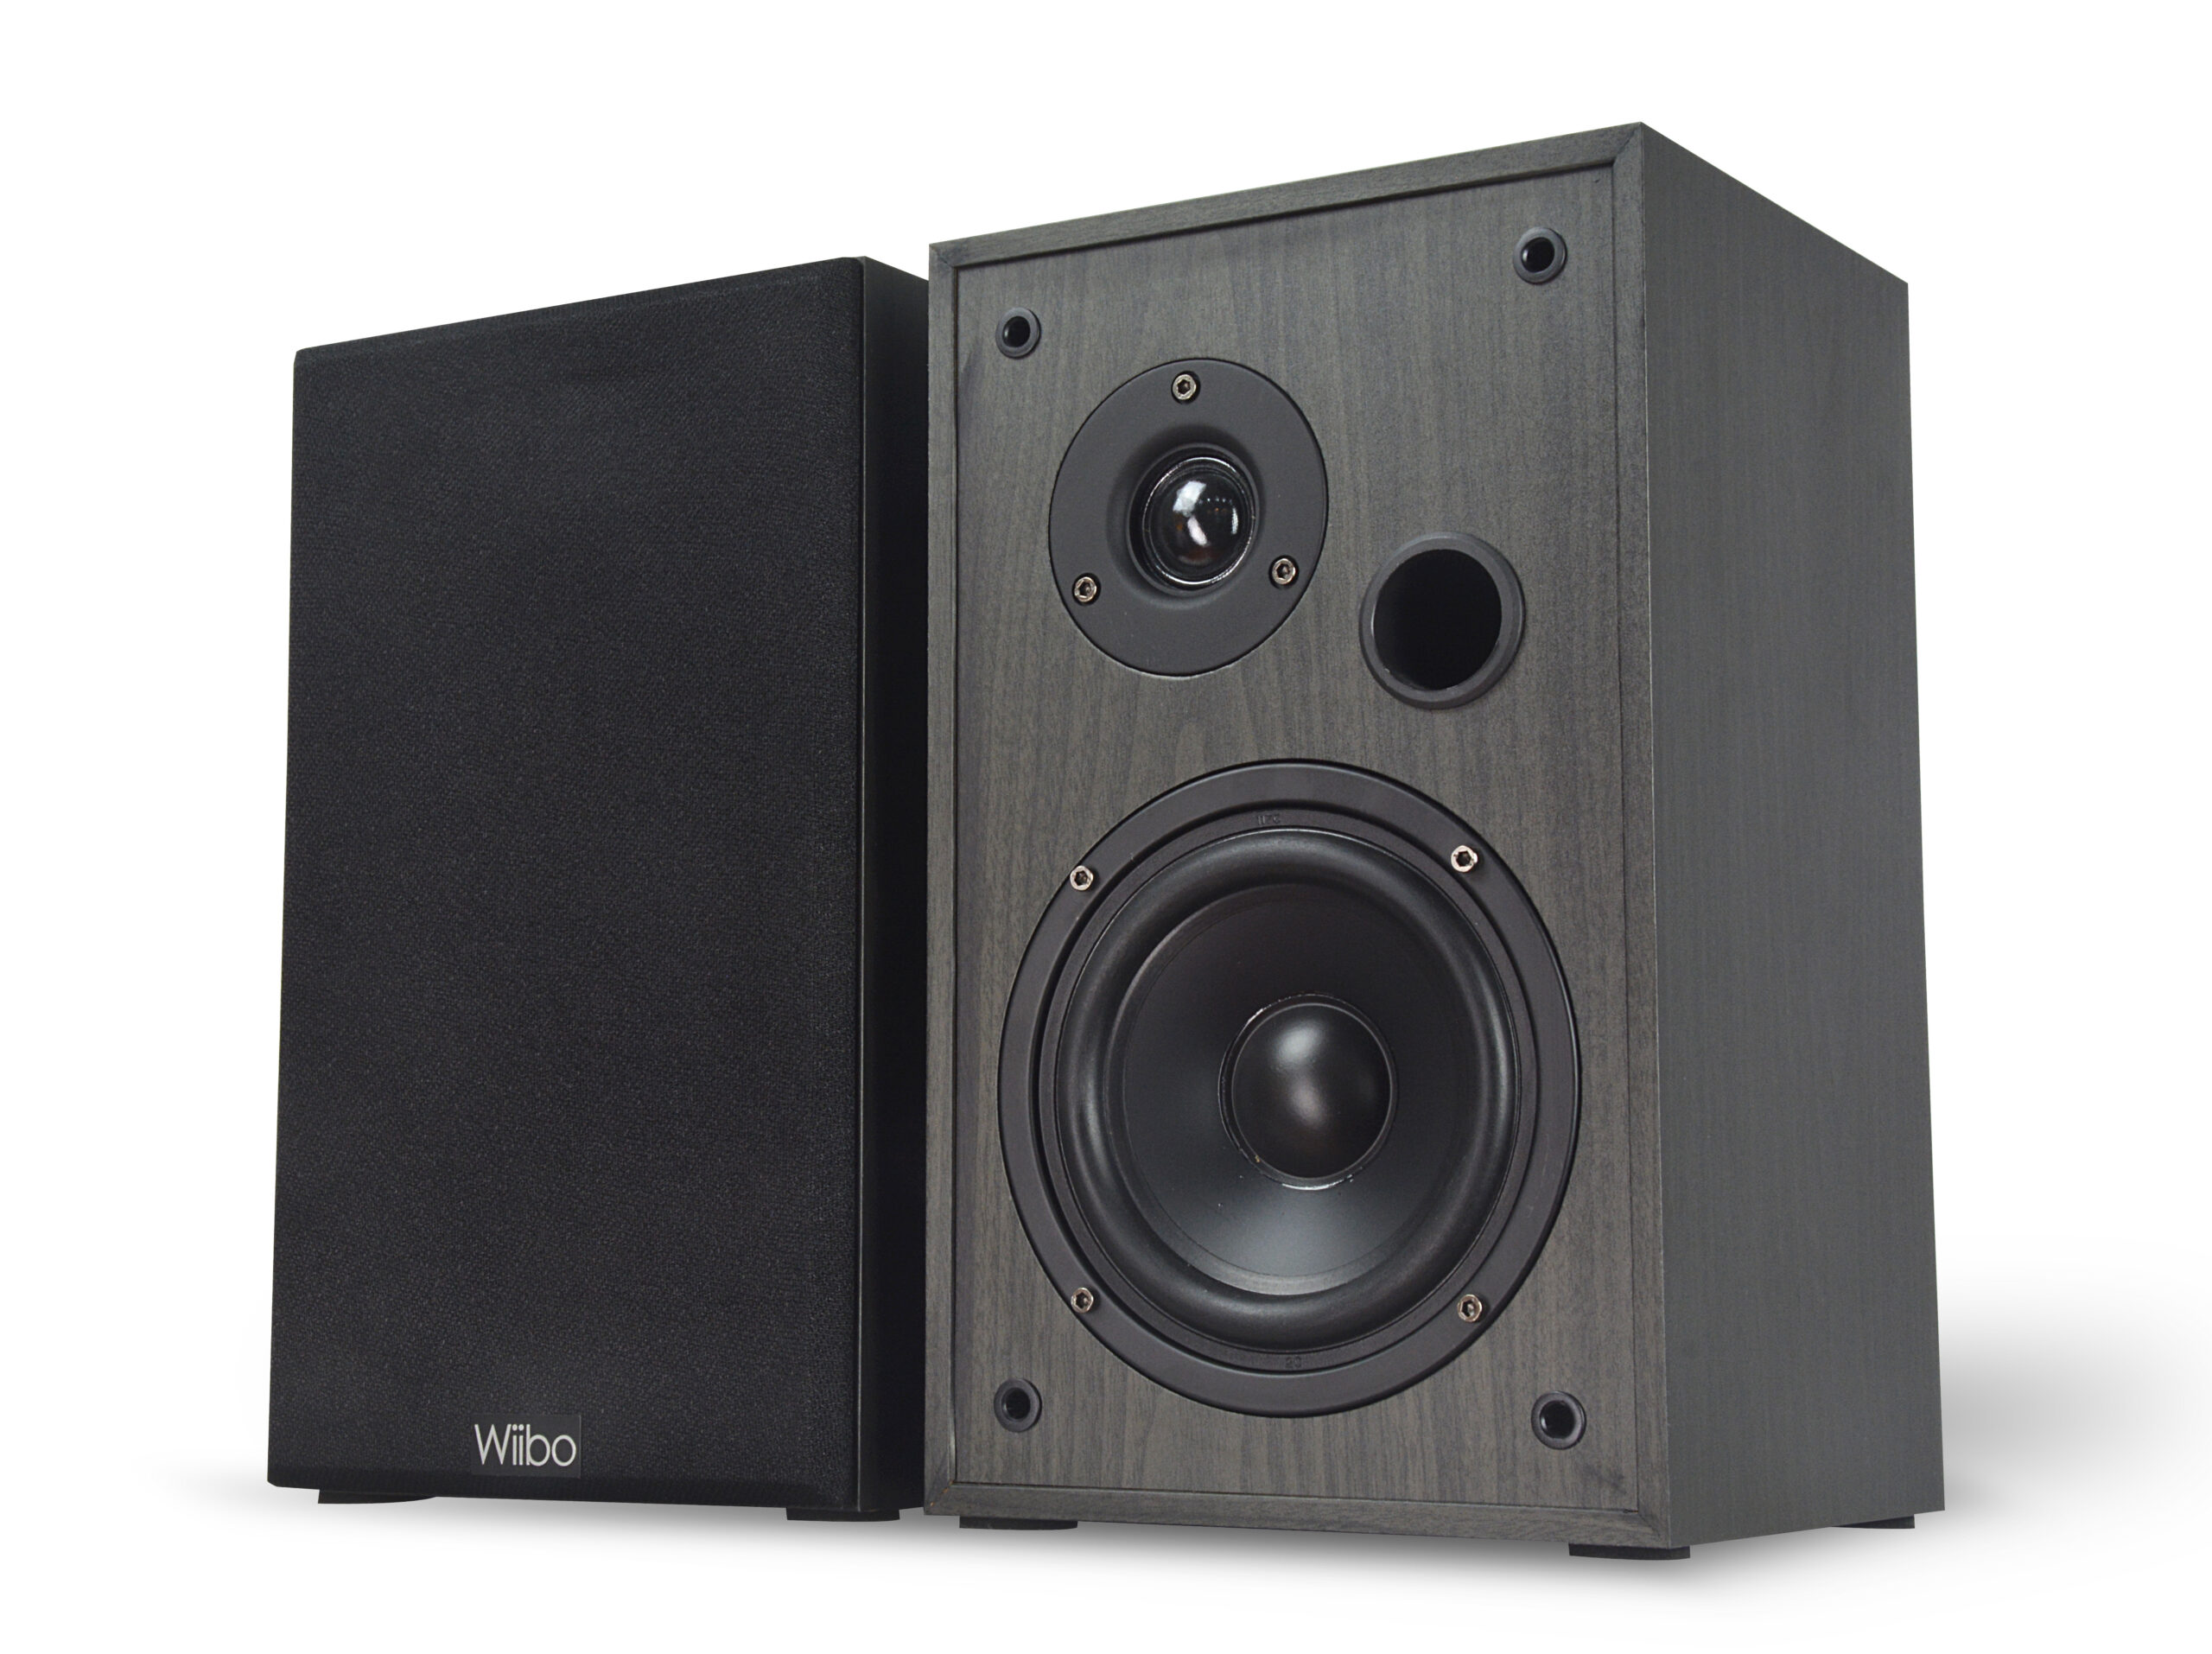
For the casing, use a microfiber cloth slightly dampened with water. This is sufficient for dust and fingerprints. If your speaker has a removable grille and it's dusty, remove it (if possible) and use a adhesive tool such as a lint roller or adhesive strips to trap dust without pushing dirt in. If you notice sound problems after cleaning, you can check how Install an audio device in Windows to rule out configuration errors.
The speaker membrane is cleaned with a slightly damp cloth or a very soft brush, without pressure. These surfaces are sensitive; the goal is to lift the dust, not rub it. Things are different with the tweeter: due to its delicacy, it's better to use a soft brush. do not touch or blowA light veil of dust will not affect the sound.
Headphones and connectors: PC allies that also accumulate dirt
For over-ear headphones, remove the ear cushions if possible and clean with a microfiber cloth. The connectors benefit from light compressed air to expel dust and lint. Keep water away from technical elements.
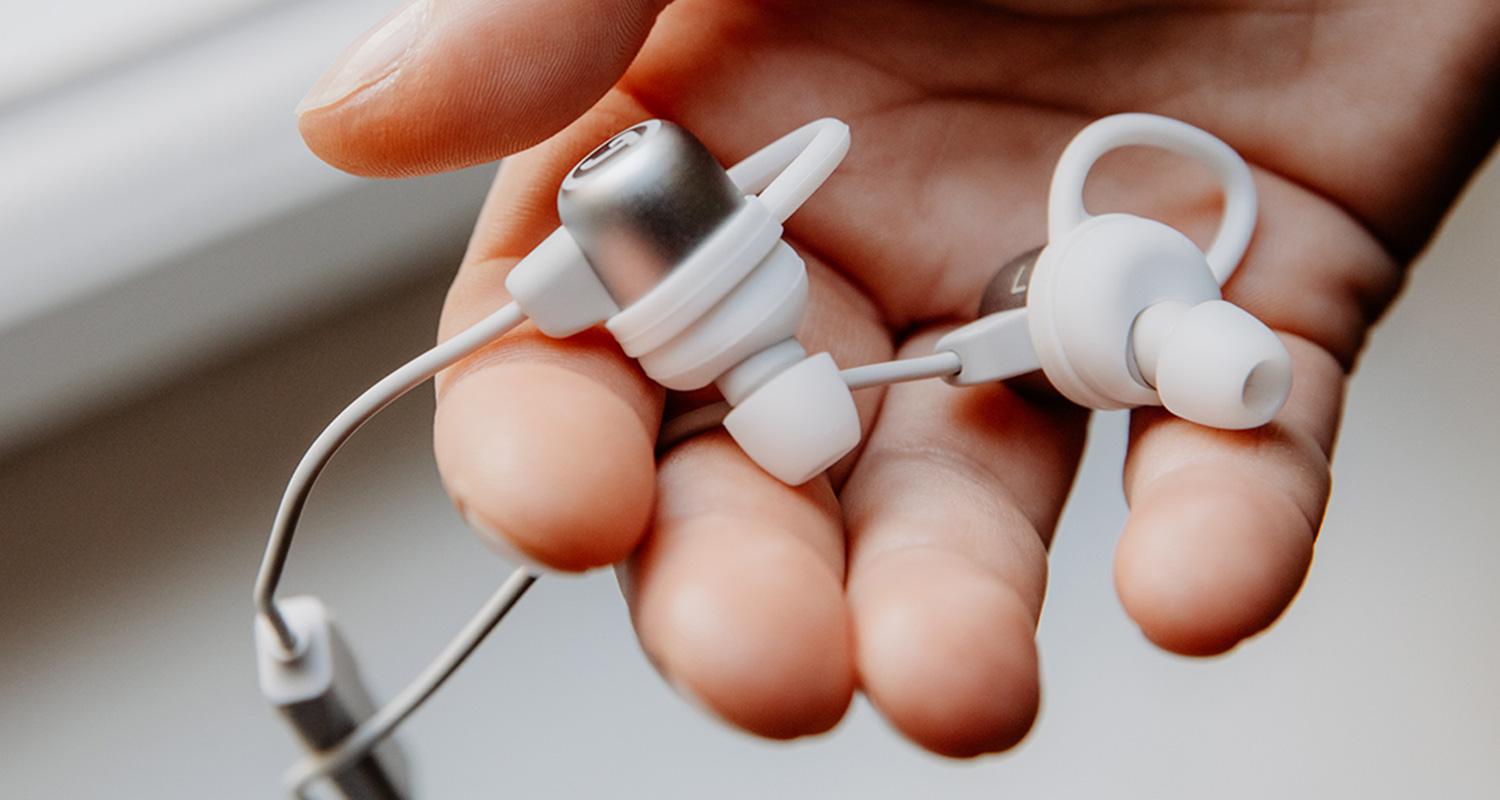
For in-ear headphones, clean the silicone tips with cotton swabs and, if available, appropriate cleaning tablets. You can soak only the silicone (never the transducer) in water and dry thoroughly before reassembling. Remember that the cerumen It is a secretion used to clean the ear, but it should be removed periodically for hygiene and a good seal.
Handheld Microphones for Karaoke and Chats: Quick Routine
If you use shared handheld microphones (meetings, karaoke, presentations), remove the grille and clean it with warm soapy water, dry completely, and reassemble. The body can be cleaned with a damp cloth and disinfected with isopropyl alcohol. Do not use it until it is completely dry.
Cables: cleaning without damaging the cover
Cables accumulate sweat and debris. Clean them by gently rubbing with a drop of oil (olive or coconut), or with warm water and well-wrung soap. Avoid splashing connectors or microphones. Let it dry for at least 72 hours if even the slightest trace of moisture remains.
Disinfecting them with isopropyl alcohol or other harsh chemicals is not recommended, as the coating may become brittle. If you need a little extra, UV-C inactivates germs without affecting the cable, always respecting the line of sight and the safety regulations of the UV equipment.
Projectors and other equipment on your desktop
If you use a projector in your workspace, clean the casing with a slightly damp cloth, the lens with soft brush and, if applicable, the filter with water, drying it completely before reinstalling. Check your model's manual: each manufacturer has specific instructions that should be followed.
Key reminders to avoid making typical mistakes
Do not spray cleaners directly onto the equipment, always apply them to the clothAvoid heat to speed up drying (it can deform foams and seals). When using alcohol, keep away from the membrane/capsule: disinfect surfaces, not the transducer.
After disinfecting, let everything air dry completely before using. On shared equipment, incorporate hand hygiene (gloves or washing) when changing batteries or plugs. This "last mile" makes all the difference. real hygiene of the whole.
If you follow these guidelines, your PC microphone and speakers will perform better, accumulate less dirt, and last longer without a service call. With simple tools, the right products, and a little patience, You'll have cleaner audio and longer-lasting equipment..

Passionate writer about the world of bytes and technology in general. I love sharing my knowledge through writing, and that's what I'll do on this blog, show you all the most interesting things about gadgets, software, hardware, tech trends, and more. My goal is to help you navigate the digital world in a simple and entertaining way.