- The best order for setting limits is: in the game, in the drivers and, if necessary, with RTSS, adjusting the synchronization to avoid tearing.
- With VRR (FreeSync/G-Sync), it's advisable to cap just below the ceiling of the range or use G-Sync with V-Sync depending on how you feel and your equipment.
- RTSS allows on-the-fly adjustments and per-game profiles; NVIDIA/AMD drivers offer global and per-application limits with great stability.
Limiting FPS isn't just for tweaks: it can be the difference between an enjoyable gaming session and a festival of stuttering, screen tearing, and fans running at full blast. Controlling the frame rate improves consistency, reduces power consumption, and mitigates artifacts that appear when the GPU is working at speeds your monitor can't keep up with.
If you've ever felt you'd prefer a locked 60 FPS to a rollercoaster fluctuating between 60 and 90, you're not alone. Stability often feels smoother than peak frame rate , and these days you have many ways to achieve that peak: from the game itself, to NVIDIA and AMD drivers , to tools like RivaTuner Statistics Server (RTSS) or specific settings in Steam . There are also important nuances on Linux with DXVK, MangoHud, libstrangle, or GameScope, especially if you're obsessed with minimizing input lag.
Why would you want to limit FPS?
The idea that "more FPS is better" doesn't always hold true in practice. There are three main reasons to limit FPS: perceived smoothness, preventing screen tearing, and saving battery power . A frame rate that fluctuates uncontrollably creates very annoying stuttering; setting a cap reduces this variability and makes the game feel more consistent.
Finally, there's the efficiency aspect. If your monitor is 60Hz, there's no point in the GPU spitting out 300 FPS. The extra frames are wasted and only increase power consumption, temperature, and noise . In laptops , this waste translates into shorter battery life and louder fans.
Refresh rate, VRR and synchronization: the essentials
The screen imposes the physical limit: 60 Hz displays up to 60 images per second, 144 Hz up to 144, and so on. If you generate images above its refresh rate , you'll see little benefit and may even cause screen tearing . Below that, the smoothness drops. That's why it's best to balance FPS and Hz.
This is where variable refresh rate (VRR) technologies, such as AMD FreeSync or NVIDIA G-Sync (and G-Sync Compatible), come in. VRR dynamically synchronizes each frame with the panel's refresh rate , keeping the image smooth at both low and high FPS, within a specific operating range.
Do you need to limit the frame rate if you have VRR? It depends. Some users recommend setting a cap just below the maximum VRR range (for example, 2-3 FPS less than 144) to stay within the range and avoid microstutter or flicker . Others prefer to enable G-Sync alongside the game's V-Sync and forget about the additional limit . Both approaches work; try them on your system to see which feels best.
Regarding classic V-Sync: it eliminates screen tearing, but can add noticeable latency. Use it as a backup plan if you don't have VRR or if the game doesn't offer other alternatives. NVIDIA offers variations like Fast Sync, designed to minimize tearing with less lag at high frame rates, and options like half refresh rate for stable 30 FPS environments.
Methods to limit FPS in Windows
In Windows, you have several recommended paths. The general order of preference is: game, drivers, and lastly, external software . Each has its advantages and disadvantages.
1) From within the game itself
It's the ideal alternative when available. The game engine controls the game loop, and by internally limiting it, it does so precisely and efficiently . Its biggest drawback is obvious: not all titles include this option, and you have to configure them one by one. It also doesn't replace adaptive sync if you want to eliminate screen tearing.
2) With the graphics card drivers
If the game doesn't offer a limiter or you want to apply a global policy, drivers are your best bet. Drivers manage the GPU's rendering queue and can impose a cap very close to the hardware 's logic , with consistent results and low resource consumption.
In NVIDIA, open the Control Panel and go to 3D Settings. The Maximum Frame Rate option allows you to set a global or per-program limit . It's simple, effective, and stable, although changing the value may require exiting the game to apply the adjustment.
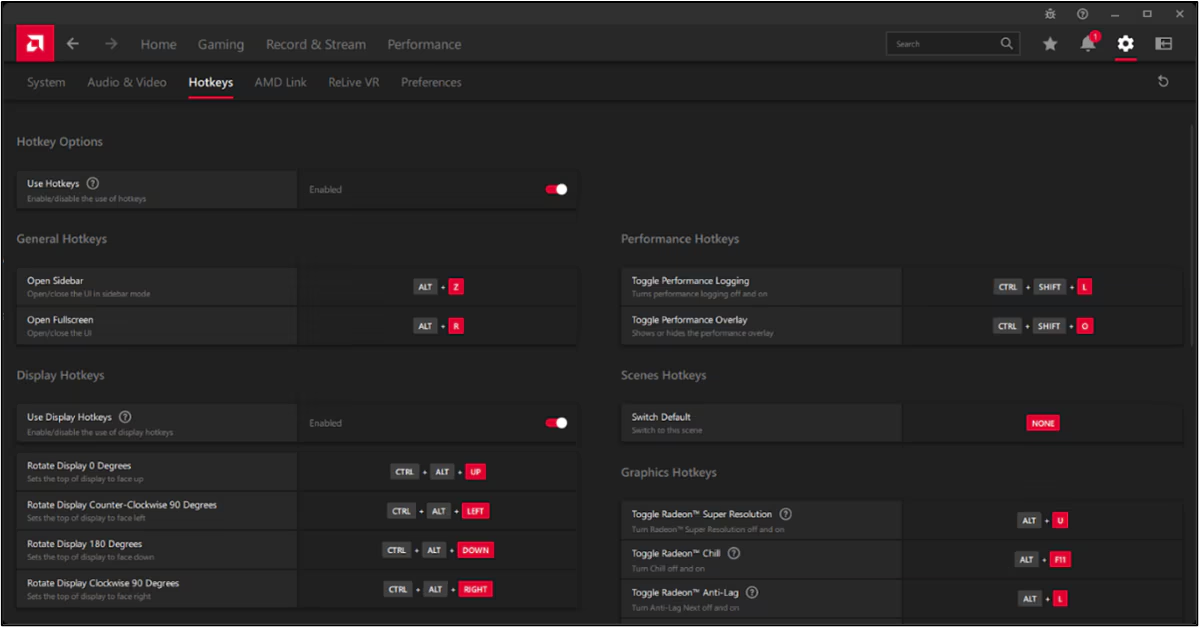
With AMD, the key tool is Adrenalin. Radeon Chill lets you set minimum and maximum thresholds , modulating the load according to your activity and working very well with FreeSync within the VRR range. Previously, there was FRTC; now Chill fulfills this role with greater flexibility. For other settings and tips , check out guides to improve gaming performance.
Keep in mind that no limiter "creates" performance: if your system doesn't reach the minimum specified limit—check it with GPU benchmarks —it won't magically do so. The upper limit prevents overloading the GPU; the lower limit is simply a target that the system will aim for if possible.
3) External Software: RivaTuner Statistics Server (RTSS)
RTSS is the community's Swiss Army knife for monitoring and limiting FPS. It comes bundled with MSI Afterburner and offers fine-tuning per-game or global control , with options to launch with Windows, create profiles, and display the OSD. The key to limiting FPS is the Framerate limit.
One advantage of RTSS is that you can adjust the cap on the fly and see the effect instantly. Additionally, Stealth mode helps prevent some games from detecting the injection and avoids conflicts. This is useful for sensitive titles or UWP apps.
Regarding input lag: with RTSS, you might notice a slight increase similar to that seen with driver settings. In practice, the difference between the game, the driver, and RTSS is small if the synchronization is configured correctly. However, some users report issues with capture software like OBS ; test and adjust if you're using both simultaneously.
Practical combinations and recommended settings
If you use NVIDIA and want a rock-solid 60 FPS, there's a popular recipe that works very well in many titles. The combination of RTSS and NVIDIA Profile Inspector allows you to fine-tune stability with plenty of headroom.
- RTSS: Framerate limit at 60.
- NVIDIA Profile Inspector: Frame Rate Limiter V3 at 61 (always 1 FPS more than RTSS).
- V-Sync: Fast Sync.
- Tear Control: Adaptive.
That extra 1 FPS in the driver's limiter balances frame rates above the RTSS cap. The result is usually very stable delivery with low apparent latency , especially if your GPU can easily handle it.
For those seeking a very solid 30 FPS (perhaps on a laptop, playing demanding games, or for a console-like experience), another typical combination is the following. Visual stability and consistent pacing are prioritized :
- RTSS: Framerate limit at 30.
- NVIDIA Profile Inspector: Frame Rate Limiter V3 at 31.
- V-Sync: half refresh rate.
- Tear Control: Adaptive.
You can apply both configurations as game-specific profiles, both in RTSS and in the panel/Inspector itself. Creating profiles per title prevents a global setting from negatively impacting another game with different needs.
V-Sync, Fast Sync, G-Sync and FreeSync: how to fit them together
If you don't have VRR, V-Sync remains the most direct tool against screen tearing, at the cost of latency. NVIDIA's Fast Sync reduces this impact when you're running at much higher refresh rates , though it's not a universal solution.
With G-Sync or FreeSync displays, adaptive sync keeps frame alignment within its range. Many gamers recommend capping the frame rate 2-3 FPS below the maximum range to ensure you never go outside of it and avoid micro-stuttering. Others prefer to use G-Sync in conjunction with the game's V-Sync and not add any limiters, with equally excellent results.
In any case, avoid combining too many limits at once (game + driver + RTSS + V-Sync) without a clear goal. The more elements you put in the chain, the greater the risk of double-tailing or unexpected latency . Start simple and add only what's necessary.
Steam: limit from launch parameters
Valve's store offers a very handy shortcut. In the game's properties, you have the launch parameters option. You can add +fps_max 60 to cap the frame rate at 60 FPS (replace 60 with your target). It's quick, convenient, and doesn't require any external tools.
Linux: Options and Input Lag
On Linux, there are several effective methods. DXVK includes its own limiter, MangoHud allows you to set a limit with an overlay, and libstrangle adds external control . GameScope is also a powerful alternative if you have it configured.
If you hate input lag, prioritize the game's built-in limiter when available. Otherwise, try the DXVK or MangoHud limiter first , as they usually integrate well with the pipeline. Libstrangle and GameScope are also valid tools; the perceived latency will depend on your combination of compositor, graphics environment, and drivers.
In general, the lag differences between well-configured methods are small. Adaptive synchronization, avoiding double queues, and not forcing V-Sync unnecessarily have a greater impact than the chosen limiter.
Setup and Troubleshooting Tips
Start with the method closest to the game and only move on to more advanced options if you lack control or the option isn't available. Recommended order: game → drivers → RTSS . Avoid overlapping three limits if one or two will do the trick.
If you use RTSS and notice a game complaining about injections, enable Stealth mode. This reduces the likelihood of conflicts with anti-cheat software or apps that detect overlays . At most, create profiles per game and adjust them on a case-by-case basis.
Are you streaming with OBS? Try not to chain too many overlays (RTSS OSD, overlays from other programs). If you're having problems, try disabling the RTSS OSD and leaving only the limiter active, or move the FPS counter to MangoHud on Linux.
On VRR monitors, if you notice flickering near the upper end of the range, lower the maximum frame rate by 2-3 FPS. This margin helps keep you within the variable refresh rate range and smooths out frame delivery.
Importance of the screen and the FPS target
Choose the maximum refresh rate based on your monitor and your computer's actual performance. 60 Hz requires a stable 60 FPS; 144 Hz offers the benefit of 120-144 FPS if you can maintain that . If the game experiences significant frame rate fluctuations, you might prefer to cap it at a lower but more consistent value.
In competitive games, some players prefer to keep the FPS as high as possible on fast monitors (144/240 Hz). The perception of lower latency when rendering well above the refresh rate is real , even though you're only seeing a fraction of those frames. If you notice an advantage, go for it; if the fluctuation bothers you, set a high but stable limit.
For modest or laptop computers, capping the frame rate at 30 FPS with clean pacing can improve the experience in demanding games. Stability and visual consistency are worth more than sporadic spikes that disrupt the flow.
RTSS and MSI Afterburner: useful shortcuts
From MSI Afterburner, you can open RTSS and configure hotkeys to enable or disable the framerate limiter on the fly. Look for "Framerate limiter compatibility properties" and assign Toggle/Enable/Disable as desired. It's incredibly convenient for comparing framerate performance without leaving the game.
In RTSS, adjust the Framerate limit to your desired value and leave "Start with Windows" enabled if you want it to always be running. If you don't want to see overlays, disable "Show On-Screen Display ." Remember that RTSS also works with UWP games.
If you're worried about penalties, limiting FPS and using a basic overlay shouldn't trigger problems with known anti-cheat systems. In any case, use Stealth and avoid invasive features in games with strict policies.
Energy saving and acoustic comfort
Limiting FPS reduces the load on the GPU, and consequently, its power consumption, temperature, and noise. The difference is especially noticeable in games that your system runs smoothly . Additionally, the VRM experiences less stress, and the chassis runs cooler.
If you want to take it a step further, you can apply slight downclocking or undervolting to the GPU and adjust the fan curve. Combined with an FPS cap, this will make your PC cooler and quieter , ideal for long gaming sessions or laptops. Also, check the fan speed if you notice the noise isn't decreasing.
Profiles by game and best practices
Each title may require a different approach: some perform better with an internal limiter, others require a driver or RTSS. Save separate profiles and document the reason for each adjustment (VRR, 60/100/141 fps target, medium V-Sync, etc.). This will prevent you from breaking settings that were already working for you.
When you switch monitors, check the refresh rate limits. Going from 60 to 144 Hz requires reassessing your limit, your V-Sync settings, and your VRR strategy. A simple adjustment of 2-3 FPS can eliminate annoying flicker or micro-stuttering that you didn't have before.
Finally, remember that driver versions matter. Keeping your NVIDIA or AMD drivers up to date ensures that the limit options work correctly and with the latest optimizations.
If you're interested in a fast-paced experience on Steam without tweaking anything else, launch parameters are your friend. A simple +fps_max 60 does the trick in a second , and you can adjust it for each game depending on your goal and screen size.
The most important thing is that the game feels comfortable: no lag, no screen tearing, and with the mouse responding instantly. With the right combination—game, driver or RTSS, and synchronization—you have everything you need to achieve this on Windows and Linux.


Passionate writer about the world of bytes and technology in general. I love sharing my knowledge through writing, and that's what I'll do on this blog, show you all the most interesting things about gadgets, software, hardware, tech trends, and more. My goal is to help you navigate the digital world in a simple and entertaining way.