- Windows 11 recognizes most MIDI controllers USB to drivers class; install the manufacturer's only if it provides clear improvements.
- El Device administrator and the Services tab in Devices and Printers are key to resolving erratic detections.
- Configuring the device in the DAW (inputs, mappings and ports) is just as important as installing the driver.
- Clean reinstalls and cross-testing rule out conflicts and separate software problems from bugs. hardware.

If you work with MIDI controllers and keyboards, connect everything in Windows 11 can be a walk or an odyssey, depending on the day. The good news is that Windows 11 recognizes most USB MIDI devices without additional drivers., and when it doesn't, there are a handful of reliable steps that make things right.
In this guide you will find a complete walkthrough: connection types (USB and classic MIDI), detection in the system, updating and reinstalling drivers, configuration in your DAW and Tricks for when something resists. We integrate procedures tested by Microsoft support and real users, as well as a glimpse into how Windows handles MIDI internally. so that you understand why certain solutions work.
What you need and types of MIDI connection
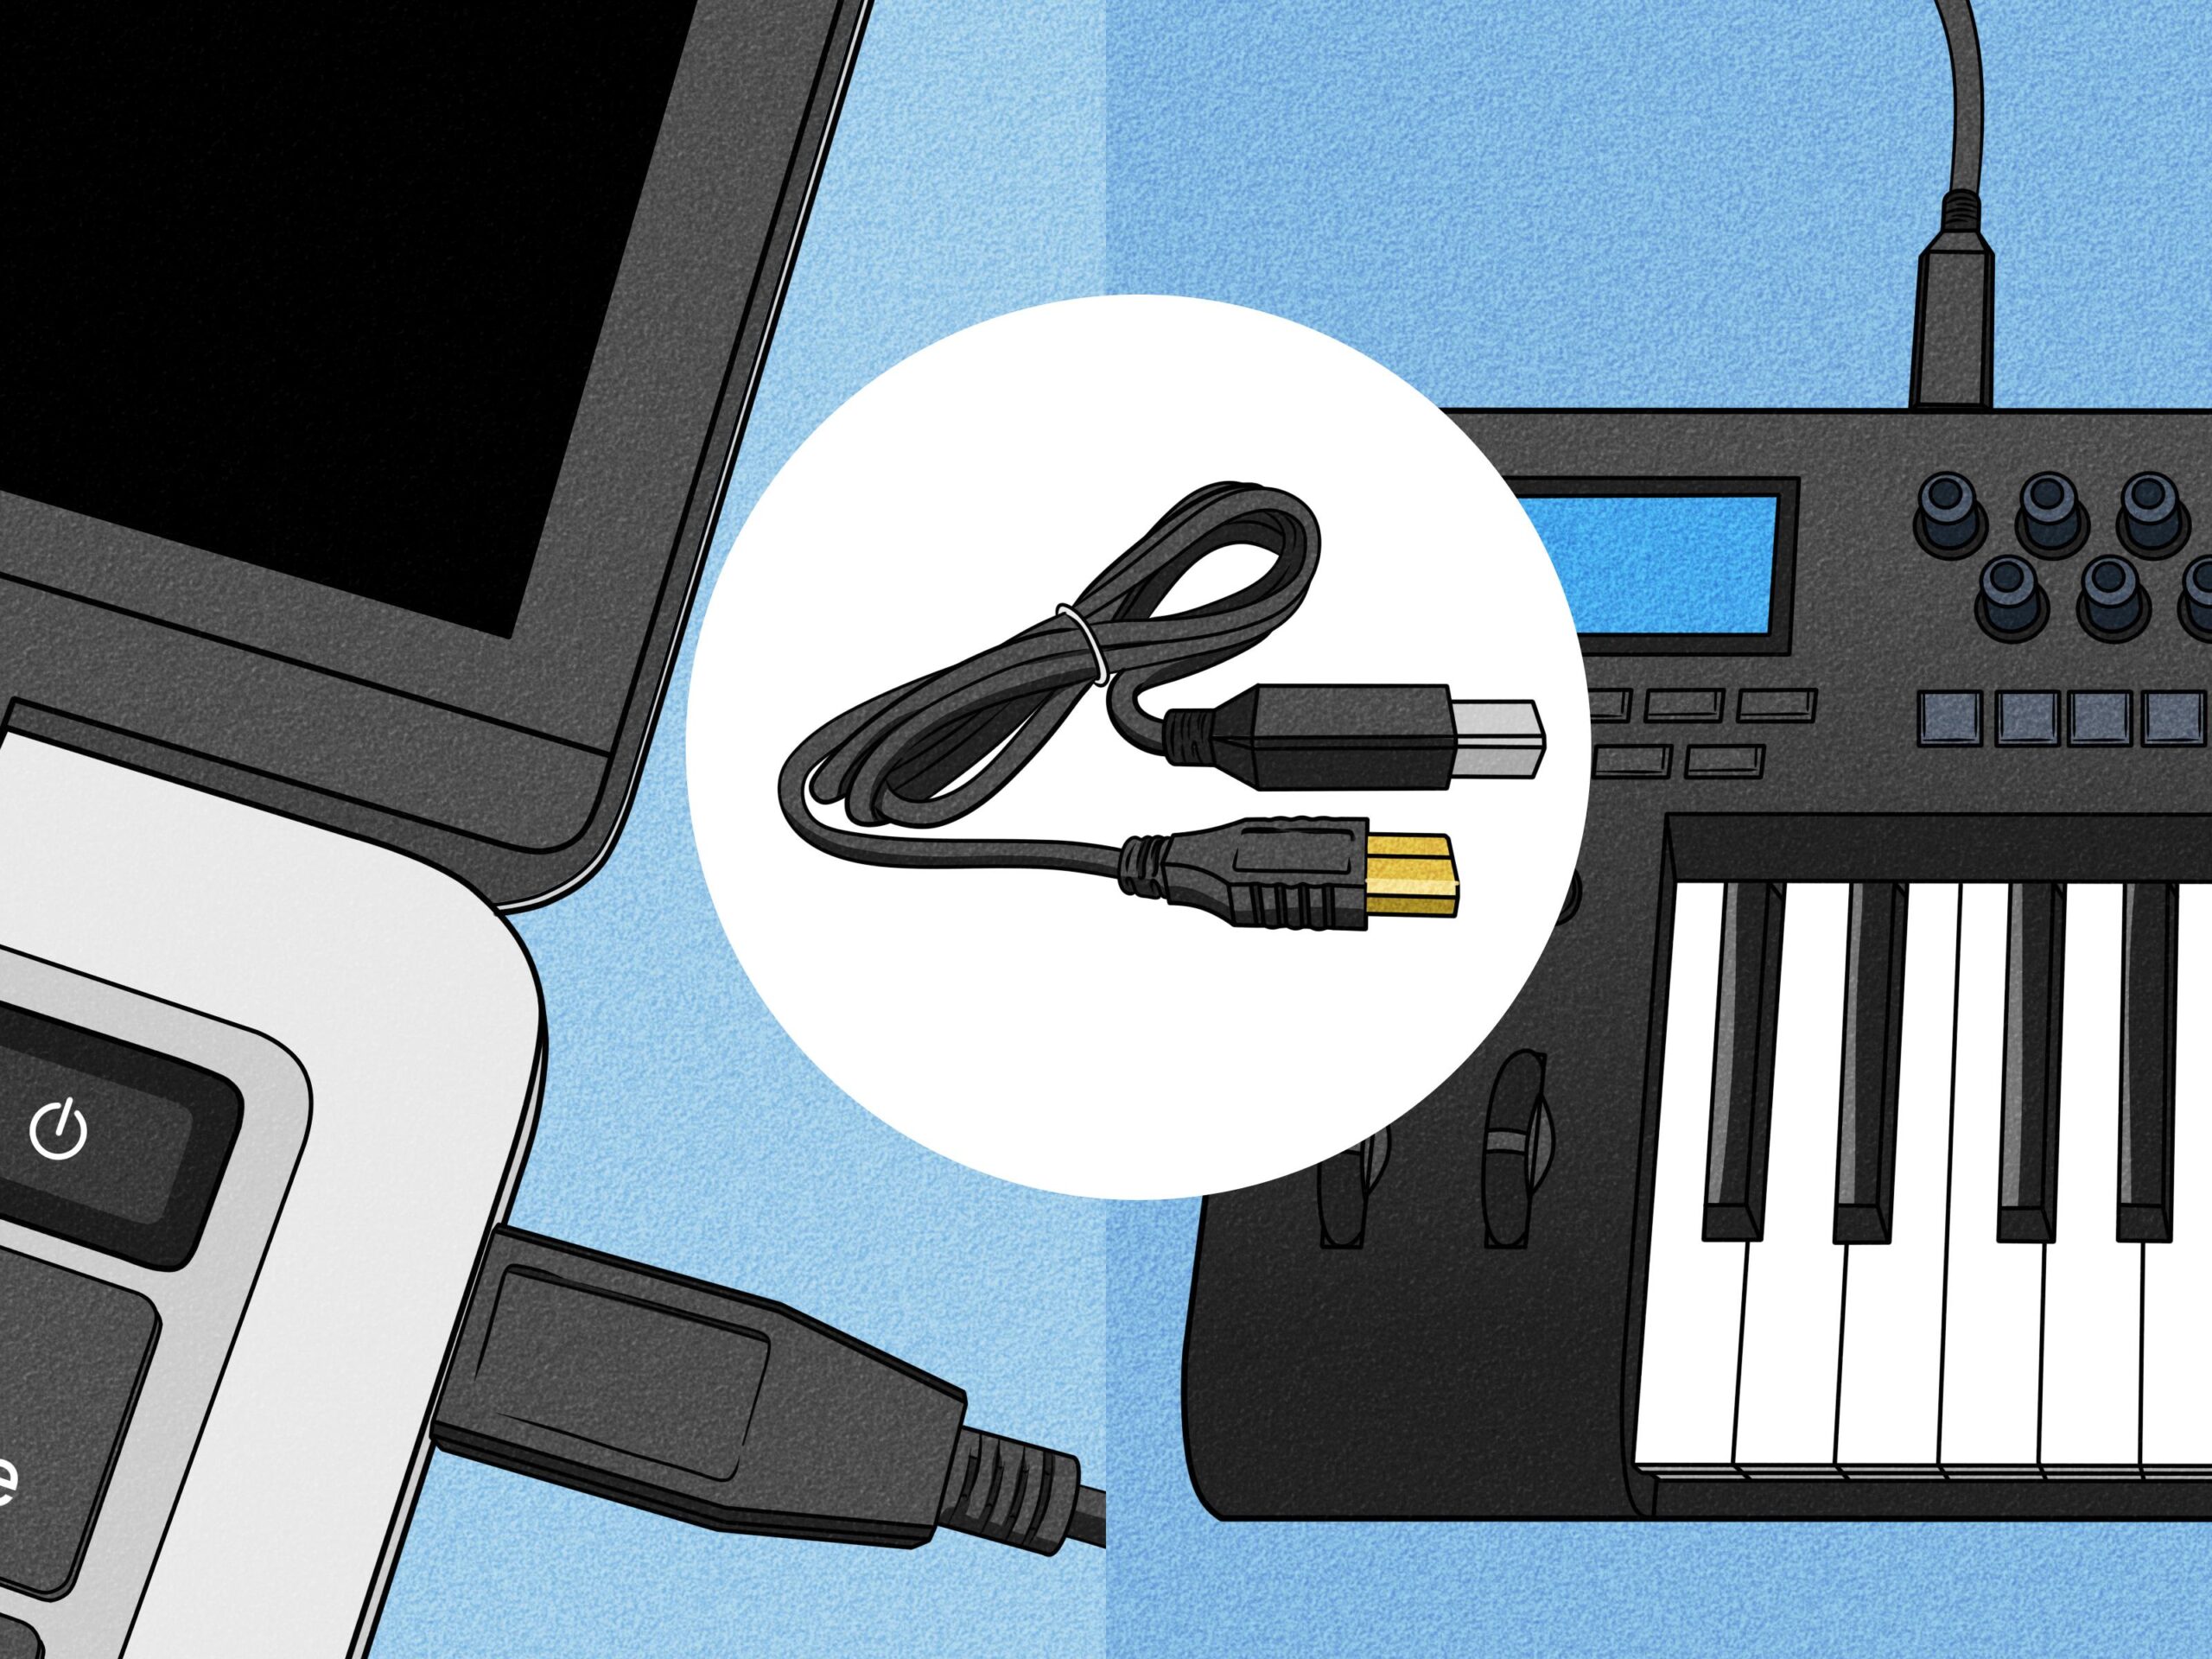
The vast majority of current keyboards and control surfaces include a USB type B port (the square one on printers). That USB Type B can vary to mini‑USB, micro‑USB or USB‑C in modern models, but the idea is the same: a simple USB cable that goes from the controller to the PC.
Many computers also come with round 5-pin connectors labeled MIDI IN and MIDI OUT. To send data from the keyboard to the computer you are interested in the MIDI OUT of the keyboard, and on the other end you will need a USB‑MIDI interface or a sound card with MIDI input.
Which one should you choose? If your device offers USB, this is the direct and quick way to go. Classic MIDI is still great when you already have an interface with MIDI ports or need to integrate it into a multi-device studio., but for a first assembly the USB simplifies your life.
Take care of the wiring: use cables in good condition, not excessively long, and, if possible, with ferrites to reduce noise. Cheap or damaged USB cables are a common suspect when Windows “doesn’t see” your MIDI. and they can make you waste time in a foolish way.
Quick USB setup vs. classic MIDI
USB connection: Plug the USB B into the controller and the USB A or USB‑C into the PC, depending on the available port. En portable recent models with only USB-C, use a C-to-B cable or a reliable adapter to avoid false contacts and cuts.
5-pin MIDI connection: You have two options. The first is a USB-MIDI interface cable (5-pin to USB) that converts the signal to USB data for your computer; the second is to connect directly to the MIDI IN of a sound card that already has this port. In both cases, the MIDI OUT end of your keyboard must go to the MIDI IN of the receiver (interface or card), and vice versa if you need MIDI return.
If your computer doesn't have a USB port and you're leaning toward a USB-MIDI interface cable, choose one from a trusted brand. Very basic adapters sometimes produce latency, ghost notes, or lost messages., something that is very noticeable in live performances or delicate recordings.
To avoid surprises, plug it in first and wait for Windows to install the generic driver. When the system finishes “preparing the device”, you can open your DAW and check if it receives a signal. without headaches.
Check that Windows 11 detects it
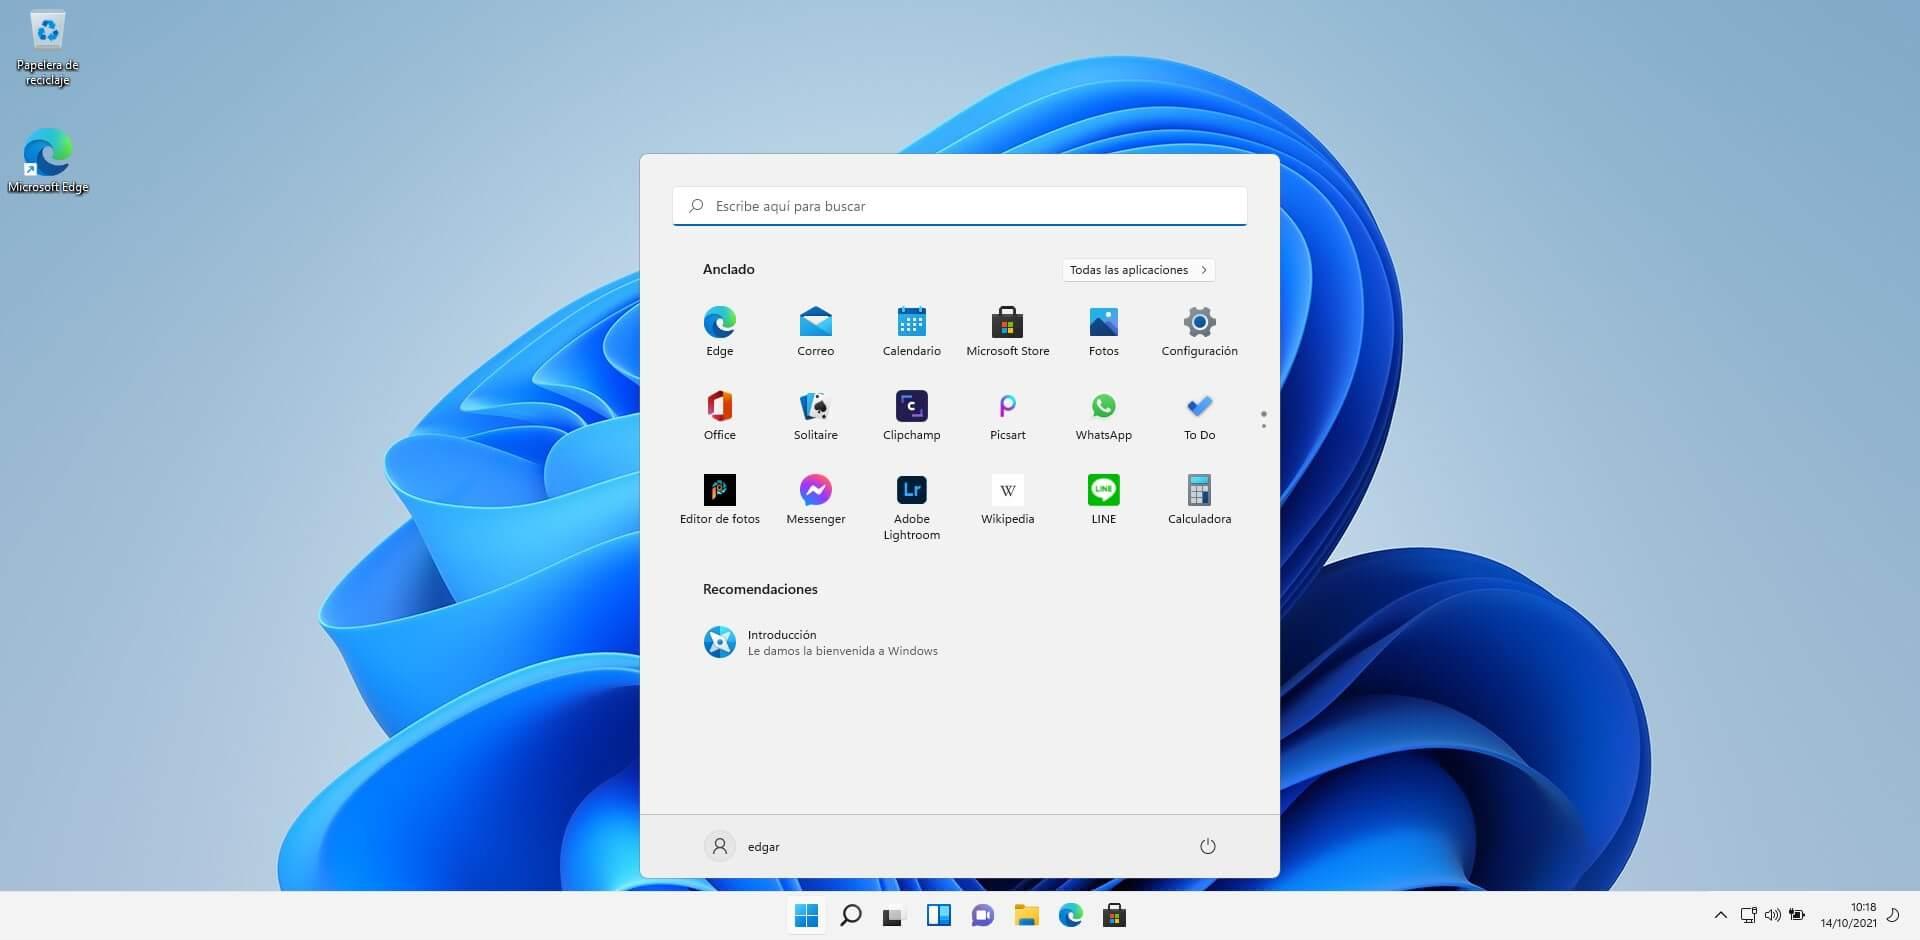
First, a quick look in Device Manager: Press Win + X and enter Device Manager. Look under Audio inputs and outputs and Sound, video and game controllers to see if your controller is listed by name or as a MIDI device. It may also be listed under Universal Serial Bus controllers if the system detects it as generic USB before loading your MIDI class.
If it doesn't appear in those categories, check Universal Serial Bus Controllers again to see if there's a device with a warning. Sometimes Windows “sees” it at the level USB but does not assign the correct driver yet, and that is where we must intervene.
Another useful place to start is Control Panel > Devices and Printers: Locate your MIDI icon, right-click, select Properties, and then select the Services tab. Here's a handy trick documented by Microsoft support: uncheck all services, accept, restart, and then recheck them. This action forces Windows to re-bind services associated with the device and fixes stuck registries. which sometimes prevent correct detection.
Try different ports. Some devices work better on USB 2.0, others on USB 3.x. Avoid passive hubs for the first setup and connect directly to the equipment; if you use a hub, it's better to use a powered one to ensure stable current.
Update, reinstall, or choose the correct driver
In many cases, the class driver that comes with Windows 11 is sufficient; but if the manufacturer offers a specific driver or firmware, install it. Always download from the official website of the device, install, reboot and reconnect. for the system to complete the setup.
To update from within Windows, go back to Device Manager, locate the device under Audio inputs and outputs or Sound, video and game controllers, right-click and select Update driver. You can choose Search automatically for drivers or Search my computer for drivers and then Let me pick from a list. if you need to force an already present compatible driver.
If none of this works, a “clean” reinstall usually resolves conflicts: in Device Manager, right-click the device (do this on all visible instances, both in sound and USB if they appear duplicated). When the system asks you to restart, choose No until you have removed all. Next, disconnect the USB cables from your controllers, restart your PC, and when you return to the desktop, plug them in one by one. This technique has revived devices like the Nektar Impact and Akai Fire when they refused to be recognized in the DAW.
One final step of elimination: connect your controller to another computer. If it works on the second computer the first time, the problem is with the configuration or drivers on the first PC.; if both fail, check the wiring, firmware, or contact the manufacturer's support.

Configure your MIDI device in Windows 11 and your DAW
With the controller already detected, it is time to check that MIDI messages are arriving. A lightweight and very useful utility is MIDI‑OX; for audio editing, Audacity It shows you in real time if notes, CCs, etc. are being received. If you press a key and see activity, the computer-controller path is fine.
Open your workstation (Ableton Live, FL Studio, Cubase, Studio One, Reaper, etc.) and go to Preferences > MIDI. Activate your device as an input and, if applicable, as a control surfaceIn some DAWs, you’ll see options like “Track,” “Remote,” or “Control Surface”: check what you need to play instruments, map knobs, or use templates.
If your DAW doesn’t list the device, close any applications that may be “grabbing” it (WebMIDI browsers, utilities, another DAW) and restart the DAW. In Windows, a MIDI device sometimes gets occupied by another app and is not shared., which causes it to not appear or give errors when initializing.
For verification without installing anything, you can use a MIDI test page at Google Chrome, which supports Web MIDI. If the web detects your device and the notes light up, the basic flow works., and you would only have to fine-tune settings within the DAW.
Troubleshooting: A Checklist That Works
- Physical connections: try another USB cable and another port on the PC (2.0 and 3.x), remove intermediate hubs and, if you use one, make sure it is powered. 50% of the "it's not detected" errors are fixed by changing the cable or port., that simple.
- Services and rebinding: From Control Panel > Devices and Printers > Properties > Services, uncheck, restart, and recheck. This action forces Windows to reconfigure internal device associations and often fixes corrupted registries. after failed updates or installations.
- Drivers: First, try Update Driver in Device Manager. If the manufacturer offers drivers/firmware for Windows 11, install them. After installing, always reboot before testing in the DAW for the system to complete device registration.
- Complete reinstall: Uninstall all related instances, do not reboot until finished, unplug USB, reboot, and reconnect in order. This process “cleans up” driver collisions and duplicate entries that accumulate when changing ports or after connection interruptions.
- Cross-check: Test on another computer. If it works there, the problem is software/configuration on your machine.; if not, you may need to check the hardware, bus power, or contact the manufacturer's support.
Tips for FL Studio, Ableton, Cubase and more
- FL Studio: In Options > MIDI, enable your controller in the input list and, if it has script or preset, select it to be mapped automatically. If it doesn't appear, repeat the reinstallation from Device Manager and restart FL with the controller already connected.
- Ableton Live: In Preferences > Link/MIDI, activate Track and Remote in the corresponding input. For control surfaces, choose the model from the drop-down list and assign the correct port.If you experience latency, check your audio buffer and avoid low-quality USB MIDI interfaces.
- Cubase/Studio One/Reaper: Find the MIDI/External Devices panel, add the device and select its input port. These DAWs usually remember the port by name, so switching USB ports on the PC sometimes results in a “lost device” error.; please reselect the correct port.
- Mapping and testing: Create an instrument track, select your controller as input, and play. If you see activity in the MIDI meter but no sound, check that an instrument is loaded and monitoring is active. on the corresponding track.
For the curious: how Windows handles MIDI internally
Windows organizes audio/MIDI into driver layers. For MIDI, there's a port class driver and hardware-specific miniport drivers. Both are “coupled” forming a filter that captures or reproduces MIDI sequences, and thus the system offers a common interface to applications.
The port driver exposes the IPortMidi interface to the miniport. Through methods such as Notify and RegisterServiceGroup, the miniport communicates events and interrupts. so that the system can dispatch the necessary service routines. This architecture allows the same system "skeleton" to communicate with different devices.
Since Windows XP, IPortMidi and IPortDMus were unified internally. The apps Older people don't notice any difference because the key methods are preserved., and that explains why so many modern drivers are “class‑compliant” and work without installing anything.
What do you take away from this as a user? A MIDI class-compliant device usually works with the native Windows 11 driver. If a manufacturer publishes their own miniport/driver, it is usually to add advanced features, templates or improve stability. in specific configurations.
Good practices to forget about scares
Keep Windows 11 and your DAW up to date: many fixes improve device detection and prevent crashes. Also update your controller firmware if recommended by the manufacturer., following the indicated process and without disconnecting during the update.
Avoid plugging and unplugging like crazy: If you're changing ports, close the DAW, unplug it, plug it into the new port, and wait for Windows to finish installing. It's the fastest way to avoid ending up with multiple "ghost" instances of the same device. in the system.
If you use multiple controllers, name them in your DAW and, if possible, pin the USB ports to the same physical order on your computer or a powered hub. Port consistency saves you hours of “why isn’t it listed now?” every time you open a project.
And remember: hardware rules. A decent cable, a stable port, and a good power supply are worth a thousand clicks. in menus if the underlying problem is electrical or connection related.
With all of the above, you should be able to install, recognize, and configure a USB MIDI controller on Windows 11 without any problems. Between clear connections, detection in Device Manager, up-to-date drivers, a reinstallation when it's time, and the configuration in your DAW, you have 99% of the scenarios covered, and the remaining 1% usually fall through with cross-testing on another computer or with the help of manufacturer support.

Passionate writer about the world of bytes and technology in general. I love sharing my knowledge through writing, and that's what I'll do on this blog, show you all the most interesting things about gadgets, software, hardware, tech trends, and more. My goal is to help you navigate the digital world in a simple and entertaining way.