- Confirm compatibility and prepare USB (≥16 GB), Internet and backup before starting.
- Download the official installer from the App Store, Software Update. Bus Terminal or pkg.
- En MacFormat in GUID+ Mac OS Extended and use createinstallmedia; Windows, GPT + TransMac.
- Boot from USB according to your chip (Intel (or Apple Silicon) and adjust the security if necessary.
Creating macOS installation media is one of those tasks that's good to have on hand for emergencies, clean installations, or to deploy the system on multiple computers without always depending on the network. With a USB drive Boot well preparedYou can reinstall, update, or even change the version of macOS with greater control and speed.
In this comprehensive guide, we've gathered and rewritten all the key information from the top-ranked pages on the subject, with clear steps for downloading the official installer, converting a USB drive into a bootable installer from both Mac and Windows, and booting your computer to install the system. You'll also see compatibility warnings and tips to solve the most common errors.
What is macOS installation media and when is it worth using?
An installation medium (or bootable installer) is a USB drive or external disk that contains the complete system files, capable of starting the Mac from that medium and installing macOS. It is especially useful for clean facilities, recovering computers that won't boot properly, deploying the same version on multiple computers, or when your internet connection is limited.
Before you begin, consider whether you really need this method. If you simply want to update or reinstall on top of your current system, Software Update or macOS Recovery might suffice. The bootable installer makes sense if you wish forma tear, change to a specific version, maintain a technical support “kit”, or you cannot download from the computer to be reinstalled.
Beware of version compatibility: Macs cannot boot from an installer that is older than the macOS they were supplied with from the factory. If your team came with CatalinaFor example, it won't boot from a High Sierra USB drive. Also, if the installer isn't compatible, the installation might fail, or you'll see an icon of a circle with a line through it.
In some places you will see references to "bootable installer" or "executable installer", which mean the same thing in this context: an external medium from which the Mac can start and run the installation. The idea is to have a self-booting support with the complete system files.
Requirements, compatibility and preparation
The bare minimum is a 16 GB or larger USB drive (32 GB is better for extra space), a Mac with administrator privileges, and an internet connection. Network connection is key because the installer may need to download model-specific firmware and data; if you encounter any problems, consult connection problems on macOS.
First of all, make a backup. You can use Time Machine, iCloud Drive, or your favorite cloud service to save your files and apps. Formatting or reinstalling will involve deleting data.So don't skip this step if you don't want any surprises.
Check which macOS versions are compatible with your computer from the "About This Mac" menu or the official Apple website. If the Mac where you're going to download the installer is the one you'll use to create the USB drive, it should have macOS Mojave 10.14 or later. This makes it easier to download the full installer. and the correct creation of the rippable medium.
If you're interested in a specific version, check compatibility by model. For example, macOS Big Sur is compatible with, among others, MacBook models from 2015 onward, MacBook Air from 2013 onward, MacBook Pro from late 2013 onward, Mac mini from 2014 onward, iMac from 2014 onward, iMac Pro from 2017 onward, and Mac Pro from 2013 onward. This list changes depending on the version chosen.So always confirm for your specific case.
En portableConnect the charger to avoid running out of battery during installation. And if the installer tries to download itself using Software Update, Safari, or another method, it will still ask for your permission to continue. Say yes to the download when prompted. and avoid closing the lid or interrupting the process.

Ways to download the full macOS installer
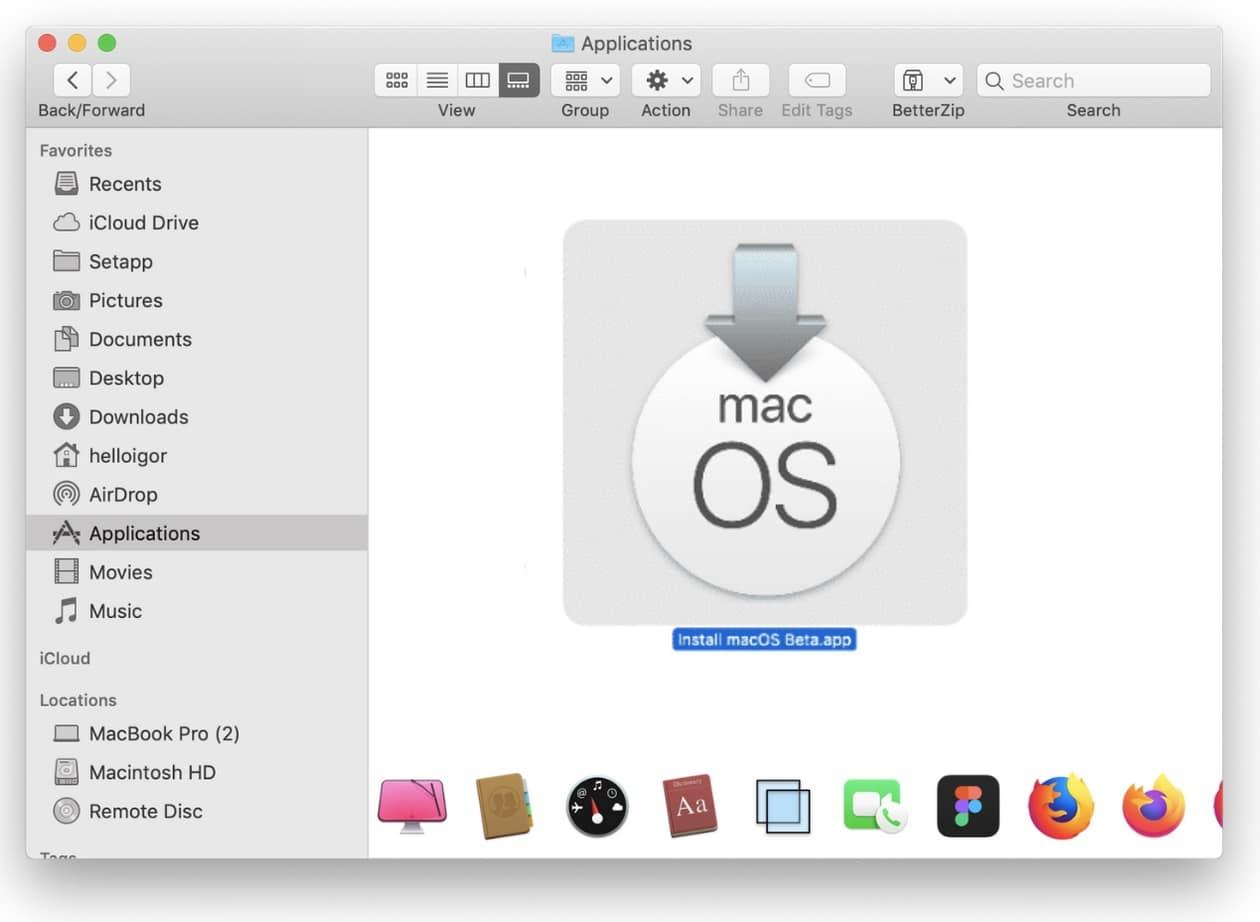
There are multiple ways to obtain the official macOS installer. The important thing is that, when finished, the file is placed in the Applications folder with the name “Install macOS”. The installer usually opens as soon as the download is complete. automatically; close it if you're not going to install it immediately to keep it in Applications.
- App StoreOpen the App Store and search for the macOS version you need. Tap View, then tap Get to start the download. If the button is grayed out Or you might see a warning that this version is not compatible with your device; check the compatibility or try using the official links from Safari.
- Software updateIn System Preferences (or System Settings), go to Software Update. This panel only shows updates compatible with your Mac; if it says it's up to date, there's nothing else available for your model. This method saves storage and it is the easiest to update or reinstall over the current version.
- .dmg file + InstallAssistant.pkgSome older versions or specific options are obtained as a disk image (.dmg). Download the .dmg file, open it, run the .pkg file inside, and the macOS installer will be installed in Applications. This approach is useful for earlier versions. (for example, Sierra, El Capitan, etc.) or when you are looking for an InstallAssistant.pkg package for Big Sur.
- Terminal (software update)On macOS Catalina 10.15 or later, open Terminal (Applications > Utilities) and run the command to download the full installer for an exact version:
softwareupdate --fetch-full-installer --full-installer-version <número>. If it says “update not found”Try listing the available ones first withsoftwareupdate --list-full-installers. - Third party toolsThere are utilities like DownloadFullInstaller (to locate installers) or automatic solutions that download and prepare the bootable media in a couple of clicks. EaseUS Partition Master for Mac, for exampleIt includes a macOS installer creator that downloads the correct version, formats the USB drive correctly, and gets it ready without using Terminal. Use them judiciously and, if possible, always prioritize official sources.

Create a bootable USB drive from a Mac (official method)
With the installer in the Applications folder, prepare the USB drive using Disk Utility and use the createinstallmedia command to make it bootable. It is the method supported by Apple. and it works from recent versions to some older ones with slight variations.
Format the driveConnect the USB drive and open Disk Utility (Applications > Utilities). Select the device, click Erase, and choose "Mac OS Extended (Journaled)" or "OS X Extended (Journaled)" as the format and "GUID Partition Map" as the scheme. Assign a simple name (for example, MyVolume) to reference it later in Terminal.
Create the installer with createinstallmediaOpen Terminal and run the command corresponding to your version. Typical examples (replace MyVolume with the actual name of the USB drive): for macOS Sequoia:
sudo /Applications/Install\ macOS\ Sequoia.app/Contents/Resources/createinstallmedia --volume /Volumes/MyVolume
For Ventura, the command would be: sudo /Applications/Install\ macOS\ Ventura.app/Contents/Resources/createinstallmedia --volume /Volumes/MyVolume. For Big Sur: sudo /Applications/Install\ macOS\ Big\ Sur.app/Contents/Resources/createinstallmedia --volume /Volumes/MyVolume.
Enter your password when prompted (you will not see any characters when typing) and confirm the deletion of the volume by typing Y if prompted. It is normal for Terminal to request access to files on the removable volumeAccept and let it finish. When it's done, the volume will take the installer's name.
If you're creating a very old installer like OS X Yosemite, you might encounter a command with an additional parameter, similar to: sudo /Applications/Instalar\ OS\ X\ Yosemite.app/Contents/Resources/createinstallmedia --volume /Volumes/Untitled --applicationpath /Applications/Instalar\ OS\ X\ Yosemite.app --nointeraction. This classic format is used in older versions and usually requires that the unit be named “Untitled”.
Create the macOS installer from Windows
If you don't have a working Mac, you can prepare a bootable USB drive from Windows with the help of specialized tools. A typical workflow uses TransMac (paid with 15-day trial) to restore BaseSystem.dmg onto the USB in GPT format.
- PreparationsYou need a USB drive of at least 16 GB, and the .dmg file for the macOS version you're going to use (for example, High Sierra). Some .dmg files come from Apple and others from third parties; their internal folders may vary. If your .dmg file does not have the same structureYou can extract BaseSystem.dmg using 7-Zip or a similar utility.
- Convert USB to GPTOpen the disk management utility or use diskpart to clean the drive and create a GUID partition table (GPT). This step prevents startup problems on modern Macs.
- Extract BaseSystem.dmgUsing TransMac and/or 7-Zip, locate and extract BaseSystem.dmg from the main macOS .dmg file. It is the fundamental piece which is copied to the USB to make it bootable.
- Restore BaseSystem.dmg to USBIn TransMac, format the USB drive for macOS and restore BaseSystem.dmg to the drive. When finished, you will have the bootable installer skeleton. It works well on Windows 10/11 systems. if you follow the tool's instructions.
- Boot your Mac from the USB driveConnect the USB drive to the target Mac and follow the boot instructions in the next section. If you see the message “A software update is required to use this startup disk,” follow the corresponding update guide. Remember that a Mac will not boot from an older version. the one it came with from the factory.
Boot your Mac from the USB drive and install macOS.
The startup mode changes depending on the type of chip in your Mac. On Mac with Apple SiliconTurn off the computer, hold down the power button until you see the startup options, choose the USB installer and press Continue.
On a Mac with an Intel processor, shut down the computer, connect the USB drive, and turn it on while holding down Option (Alt) to display the startup disks. Select the installer drive and press Enter. Then choose your language and click Install macOS to follow the wizard.
Models with a T2 security chip may block external booting. In that case, enter Recovery mode (Command + R) and open the Boot Security Utility from the menu bar (Utility > Boot Security Utility). Enables booting from external media or temporarily reduces security in Apple Silicon from the recovery options.
Ensure you have internet access throughout the entire process so the installer can obtain firmware and model data. If the chosen version is not compatible with your Mac, the installation may not progress or you may see a circle with a line through it. If this happens, revert to a compatible version or consult a doctor. How to downgrade from macOS or use Software Update to reinstall the latest supported version.
For completely clean installations, erase the target disk with Disk Utility before installing: GUID scheme and APFS format (or Mac OS Extended depending on the version). Do not interrupt the processIt may take several minutes or hours depending on the equipment and your drive.
Reinstall, update, or download from macOS Recovery and Software Update
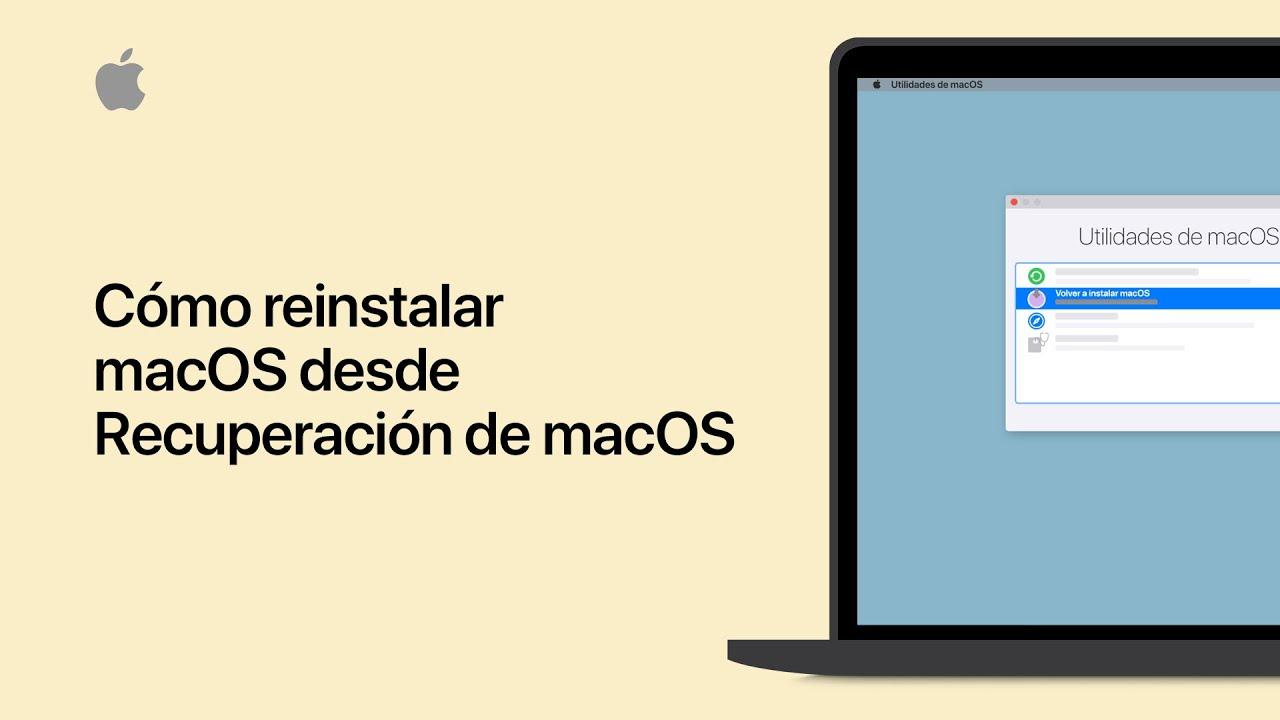
If you'd rather not create a USB drive, there are official alternatives. With your computer powered off, boot into macOS Recovery (Command + R on Intel, or hold the power button on Apple Silicon) and choose Reinstall macOS. This method downloads and installs the appropriate version. for your team with less prior preparation.
If the current system starts up, go to System Preferences/Settings > Software Update. This utility only offers updates compatible with your Mac; if it indicates that it's up to date, no further versions are available for that model. It's the fastest way to improve and patch. without using USB.
To download a full installer from Terminal without going through the App Store, use the following on Catalina or later: softwareupdate --fetch-full-installer --full-installer-version <número>And if you're unsure of the exact numbering, list the options with softwareupdate --list-full-installers. Let the download finish without closing Terminal and check in Applications that “Install macOS” appeared.
Practical tips and troubleshooting
Compatibility above allIf the Get from App Store button is grayed out, or you see messages indicating that the version isn't compatible with your computer, confirm your Mac model and the target version. An incompatible installer may fail to launch or crash at startup.
Sufficient free spaceBig Sur takes up around 13 GB; allow more than 20 GB to avoid download and installation problems. On a USB drive, 16 GB is the minimum and 32 GB is preferable. If you're running short, free up some space. with manual cleaning or reliable tools; if you need help, consult free up space on macOS.
Safari and official linksIf opening a link to a version in the App Store doesn't work in your usual browser, try Safari. Apple sometimes channels these downloads through Software Update. Grant permission for the download when prompted. and maintain the connection.
Terminal and errorsIf Terminal responds "no update found," that version is not available for that Mac. Here's a list of what you can download with softwareupdate --list-full-installers. Run Terminal with administrator privileges and check the exact path to the “Install macOS” app.
External boot lockedOn Intel systems with a T2 chip, enable "Allow booting from external or removable media" in the Boot Security Utility (from Recovery). On Apple Silicon, you can temporarily reduce security. Remember to restore high security once the installation is complete.
Windows and TransMacIf you're using Windows, make sure to convert the USB drive to GPT before restoring BaseSystem.dmg, and use the latest version of the tool. If the .dmg file structure differs, extract BaseSystem using 7-Zip. Avoid unofficial sources when it is possible.
Assistance and automationIf you prefer to avoid the line of commandsThere are utilities that automate the creation of the installer by downloading it from Apple and preparing the USB drive with a single click. Additionally, 24/7 technical support services for popular software suites can guide you if you get stuck. Always choose reliable options and check permissions before continuing.
With all of the above, you can download the official installer, create a bootable USB drive on macOS or even Windows, and complete the installation on Macs with Intel or Apple Silicon. If you follow the compatibility steps, GUID format, and createinstallmediaYou'll have a reliable way to install, update, or recover macOS whenever you need to.
Passionate writer about the world of bytes and technology in general. I love sharing my knowledge through writing, and that's what I'll do on this blog, show you all the most interesting things about gadgets, software, hardware, tech trends, and more. My goal is to help you navigate the digital world in a simple and entertaining way.