- GIMP It does not include global presets by default, but you can automate tasks using batch processing plugins such as BIMP and David's Batch Processor.
- DBP allows you to easily resize, reformat, and rename large sets of images in both Windows as in Linux.
- BIMP offers a more advanced system of chained actions, with resizing, watermarking, color correction, pattern renaming, and reusable sets.
- The combination of GIMP, batch plugins, and external tools such as scripts or Darktable allows for highly automated workflows for editing large volumes of images.
If you regularly work with photographs or digital images, sooner or later you'll run into the same problem: you have dozens or even hundreds of files that need the exact same adjustments . Scaling, rotating, color correcting, adding a watermark, changing the format… doing it one by one in GIMP is a real chore, especially if you're coming from programs like Photoshop and miss its one-click actions or presets.
The good news is that, although GIMP doesn't come with a built-in global style system like a "photographic preset," it does allow you to create powerful automated workflows and batch processing capabilities thanks to plugins like BIMP and David's Batch Processor (DBP) , as well as scripts and other add-ons. Let's take a look, in simple terms and using plain English, at how to use these tools to free up your hands while GIMP does the heavy lifting.
Does GIMP have one-click presets and styles like other editors?
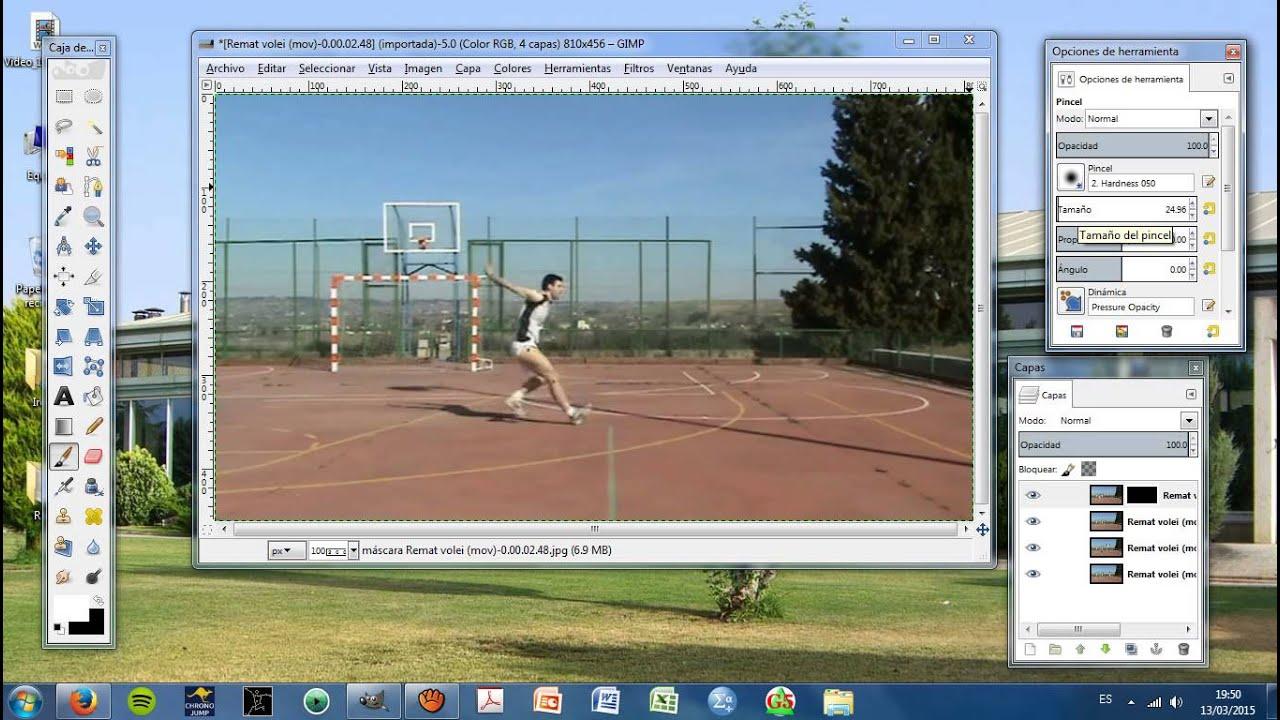
In GIMP, many filters and color tools (levels, brightness-contrast, curves, saturation, etc.) include their own presets . This means you can save a set of values for a specific tool and reuse it later on any image.
What's missing natively is a "global preset" system where, with a single click, changes to brightness, contrast, saturation, focus, and any other parameter are applied simultaneously, as if it were a complete photographic style. This is more similar to Lightroom styles or some commercial plugins, and GIMP doesn't integrate it directly into its core.
Even so, the community has been filling that gap. Through batch processing plugins and the scripting system, it's possible to chain several operations and save them as a reusable set of actions . This way, you get quite close to the "one preset – many changes" experience without having to abandon open-source software.
If you need the program to automatically calculate the best exposure or correction for each image based on criteria such as luminance percentiles or histogram distribution, GIMP itself doesn't offer an advanced "batch-by-batch auto-processing" module. However, by combining automatic functions (auto-levels, auto-balance) with batch processing or using dedicated tools like Darktable , you can get very close to that fully automated workflow.
Batch processing in GIMP: options and working philosophy
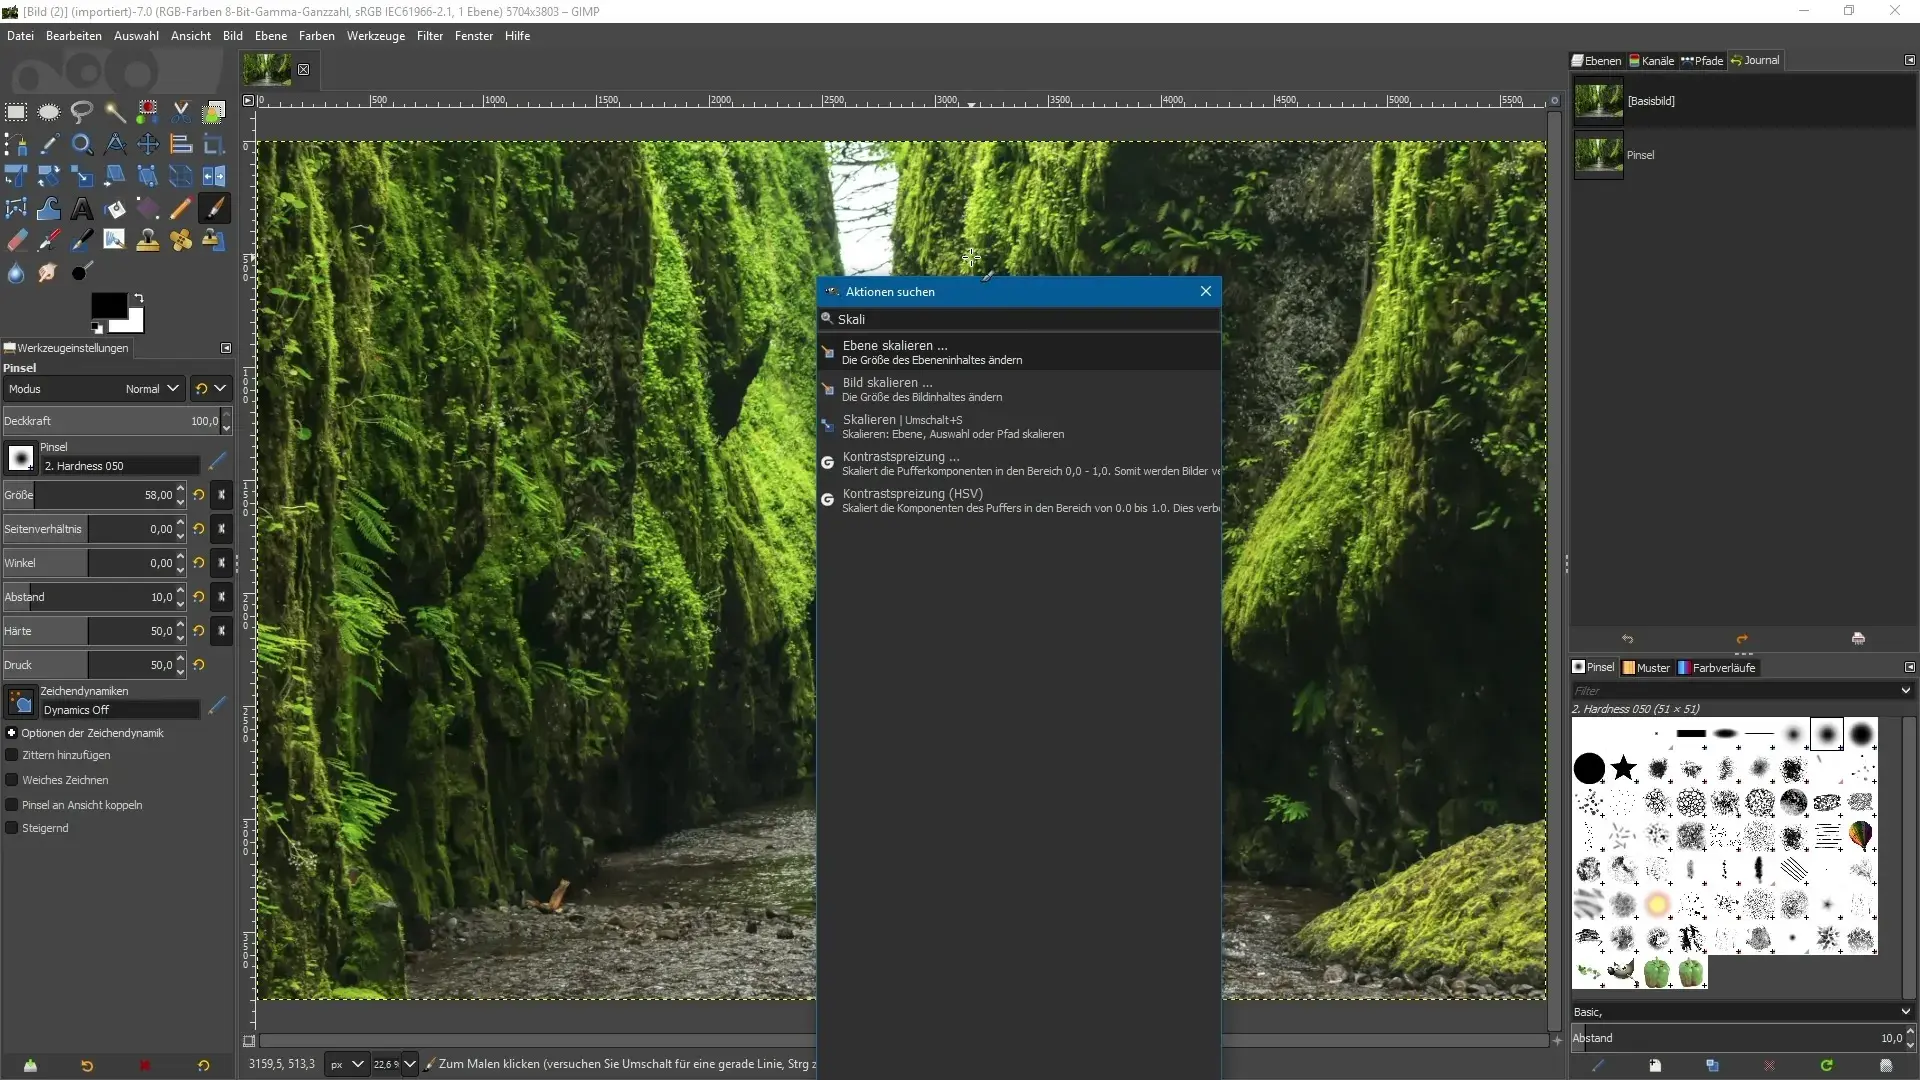
By default, GIMP doesn't offer a convenient batch editing menu, but it does allow batch image processing using external plugins . In practice, you have three main approaches to automating tasks:
On the one hand, you can use graphical plugins geared towards non-technical users , such as BIMP and David's Batch Processor (DBP) , which add a convenient dialog box where you choose files, define actions and run the batch without touching code.
On the other hand, if you're keen to delve a little deeper, GIMP supports scripts in various languages (Script-Fu, Python-Fu, etc.) . With these, you can create your own "global presets" that call several GIMP operations with specific parameters and apply them sequentially to an entire folder.
And if we're talking about advanced exposure automation or corrections based on statistical parameters, there are specialized programs like Darktable or command -line tools like ImageMagick . They're perfect complements for when GIMP falls short in terms of intelligent automatic adjustments.
The key idea is clear: GIMP isn't just a manual editor . With the right extensions, it becomes a Swiss Army knife for mass-processing classroom photos, travel reports, scan files, or blog photos, saving a massive amount of time.
DBP Plugin: David's Batch Processor for GIMP
One of the first popular plugins for this was David's Batch Processor (DBP) . It's a simple yet very practical plugin, designed for those who want a straightforward dialog box with the most frequent operations without the hassle of scripts.
DBP is especially useful in educational settings or for users who manage large collections of photos from digital cameras . Imagine a school trip or a classroom project where you end up with hundreds of photos of enormous resolution and file size: processing them one by one is simply not feasible.
With DBP you can load a set of files, define resizing, choose the output format, assign new names, and start processing while you do something else. It's not as visually rich as some modern plugins, but it's still a very useful tool.
Furthermore, although DBP originated as a plugin for GIMP, some variants can be used as an external application for bulk image editing , expanding the possibilities if you want to integrate it into more complex workflows or system scripts.
Installing DBP in GIMP for Windows
DBP is not included in the standard GIMP installation, so the first step is to download the corresponding file and copy it to the program's plugins folder . On Windows, the process is usually as follows:
First , download the compressed package, typically dbp-1.1.8.zip (or the latest version available on the author's official website). After extracting it to a temporary folder, you'll get the executable dbp.exe , which is the plugin itself, ready to use.
Next, in GIMP, you should locate the exact path where the plugins are installed . From the menu, go to Edit > Preferences , find the Folders > Plugins section , and in the right panel you will see the actual path, something like C:\Program Files\GIMP-2.0\lib\gimp\2.0\plug-ins.
With that path identified, copy the dbp.exe file to that plugins folder and restart GIMP so it detects the plugin . When the program restarts, the new batch processing entry associated with DBP will appear in the Filters or Extensions menu.
In many portable versions of GIMP designed for courses or educational institutions, DBP is already included by default , saving you the installation process. However, if you're using a different version, repeating these steps is usually enough to get it working.
Installing and compiling DBP on Ubuntu and other Linux distributions
Typically, you download a package like dbpSrc-1-1-9.tgz from the author's website, save it to your home folder, and extract it using the standard "Extract Here" option . The result is a folder containing the source code, for example, dbp-1.1.9 , which includes everything needed to compile the plugin.
Before starting the build, you need a C++ compiler (g++) and the GIMP development libraries . On Debian/Ubuntu-based distributions, you can use the Synaptic Package Manager or the console to install the g++ package and the libgimp2.0-dev metapackage.
Once you have everything, open a terminal and navigate to the code folder using ` cd dbp-1.1.9` . From there, run `make` to compile and, if all goes well, run `make install` to permanently install the plugin in GIMP's directory. Closing the terminal and restarting GIMP should then display the new batch processing menu.
The procedure may vary slightly depending on the distribution, but the general idea remains the same: download the source code, install the compiler and libraries, compile, and register the plugin in GIMP . It's a bit more technical, but it allows you to take advantage of DBP in Linux environments without major issues.
Batch image conversion with DBP step by step
Once DBP is installed, you'll see an entry in the GIMP menu similar to Filters > Batch Process or Extensions > Batch Processing . Selecting it opens the main David's Batch Processor dialog box with several tabs.
The typical use case is a very common one: you have a folder full of photos of a specific area (for example Asturias) , all with the same dimensions, and you want to create smaller and lighter versions for the web or to give to students.
The first thing is to prepare the material: you extract the contents of a compressed file like gallery.zip into a folder called gallery , where all the original photos are stored, perhaps at 800×533 pixels or even much higher resolutions if they come from the camera.
Next, open GIMP and go to the DBP menu. The dialog box is organized into tabs, the first being Input . From there, using the Add Files button , select all the images in the gallery folder (you can use Shift + click to select them all at once).
When you confirm with Open , you'll see the list of uploaded files in the Input tab. If you make a mistake or an unwanted photo is included, you can remove specific items with "Remove files" or clear everything with "Clear List".
The next step is usually to configure image resizing in the Resize tab . Here you activate the Enable checkbox and choose between two modes: Relative or Absolute , depending on whether you want proportional scaling or a fixed size.
Relative mode is very useful when you want to reduce all photos, for example, to 50% of their current size. Enabling Keep Aspect ensures that the aspect ratio remains unchanged, and you can specify the X and Y scale with values like 0,50.
If you need specific sizes, Absolute mode lets you specify a width and height in pixels. DBP will then resize all images to those dimensions, maintaining the aspect ratio or not, depending on the settings.
In the Rename tab, you decide what the new files will be called. By default, DBP usually saves the results in the same folder as the source ( "same as source" ), which requires renaming or adding prefixes/suffixes to avoid overwriting the original images.
For example, in the Add Prefix field you can type something like tmb_ so that the thumbnails are named tmb_originalname.jpg . You can also choose a different destination folder with Select Dir and let it keep the original names for convenience.
The Output tab controls the final format. From the Format dropdown menu , you choose, for example, JPG if you want to optimize for web or general use, and with the Quality slider, you adjust the balance between file size and visual fidelity (a quality around 80% is usually sufficient for camera photos without the compression being too noticeable).
Before launching the full process, you have the option to click on Test to see the effect on a single image and ensure the parameters are as expected. Once you're satisfied, simply click Start and let DBP work its magic.
In a matter of seconds or minutes, depending on the number of images, the new files will appear in the destination folder with the defined resizing, format, and name . And you'll have saved yourself a lot of time repeating the same operations manually.
BIMP: Batch Image Manipulation Plugin, the modern “all-in-one”
With the latest versions of GIMP (from the 2.8.x branch onwards), many users began using another tool that, for many, has replaced DBP: the BIMP (Batch Image Manipulation Plugin) . In some installations, it comes pre-installed or is very easy to add.
BIMP offers a very user-friendly interface and a much broader and more flexible list of predefined actions than DBP. It not only allows you to resize, but also to crop, flip, adjust color, add watermarks, convert formats, rename with advanced patterns, and apply almost any GIMP procedure as part of a batch.
The best part is that all these actions are combined into a kind of "to-do list" that you can save as a set . This way you create your own pseudo-presets: a set of steps that you constantly repeat (for example, preparing images for a blog) and that you can load and apply to any new batch of photos without having to redo the process each time.
In the context of schools, institutes, or projects that generate a lot of images, BIMP is a perfect fit. You don't need to be a scripting expert : simply add operations using the Add button, configure parameters, and save that "set" for reuse.
How to install BIMP and activate it in GIMP
To use BIMP, you need to have GIMP installed beforehand . On Windows, it's important to select the option to support 32-bit plugins during GIMP installation, as some BIMP packages are still distributed in that format.
Once you have GIMP running, download the BIMP installer from its official website or from the repository that distributes it for your system. This installer usually detects the GIMP installation path and places the plugin files in the correct folder , making the process quite straightforward.
After completing the BIMP installation, launch or restart GIMP, and you'll see a new option appear in the File menu , usually named Batch Image Manipulation or something similar. This provides access to the entire batch processing interface.
On Linux, depending on the distribution, you can find BIMP packaged in the repositories or download a pre-compiled version. In some cases, you'll need to manually copy the plugin file to the GIMP plugins folder, just like with DBP, but the philosophy is the same: install, restart, and you're good to go.
Batch image processing with BIMP: basic workflow
The BIMP workflow focuses on three main blocks: image selection, action definition, and output selection . Once you get used to it, preparing batches takes just a couple of minutes.
After opening GIMP, access the Batch Image Manipulation option in the menu. In the Batch Image Manipulation window, the first thing you'll do is add the images you want to process using the dedicated button.
The selection is very flexible: you can add individual files, entire folders, or even all the images you already have open in GIMP . This is convenient when you've manually reviewed a few images and then want to apply a common action to that subset.
Once you've chosen the fonts, you also specify the output folder where the results will be saved . It's best to use a different directory than the original if you don't want to overwrite the source files, although BIMP also has renaming options to avoid overwriting problems.
At the top of the window, you'll see an area where the actions you add will be listed . To begin, click the Add button (the icon with the "+" symbol), and a menu with the available operations will appear.
Typical actions in BIMP: resize, crop, rotate, and more
Among the most frequently used tasks is resizing . When you select the resize option, a dialog box opens where you can choose reduction by percentage or by absolute dimensions, very similar to any GIMP scaling tool.
For example, if you want all photos to be reduced to 90% of their current width , you adjust that value and check the box to preserve the aspect ratio. When you confirm with OK, the action appears in the list area as a configured block.
In addition to scaling, BIMP allows you to crop, flip, rotate, and perform color corrections such as brightness, contrast, saturation, and even subtle sharpening and blurring. This combination is very useful, for example, for straightening scanned photos from books and adjusting their size for a digital file.
Another highly requested feature is adding watermarks , both as text and as images. You can write the signature text, choose the font, size, opacity, and position, or select an image (the typical "watermark logo") to automatically insert it in a corner of all your photos.
There are also plenty of options for changing format and compression . You can convert from PNG to JPG, adjust the quality to reduce file size and optimize web loading, or convert a set of large images into smaller versions without losing too much visual detail.
And if the predefined actions aren't enough, BIMP includes an "Other GIMP procedure" section that gives you access to a huge number of GIMP's internal procedures. In practice, this means you can invoke almost any GIMP filter or setting within the batch file , making BIMP an incredibly powerful tool.
Renaming files and advanced patterns in BIMP
In addition to modifying the content of images, BIMP stands out for its intelligent renaming system , especially useful when you are going to generate many variations of the same set of photos.
By adding the renaming action with a pattern, a box opens where you can define the output name with combinations of fixed text and "magic characters" that BIMP will automatically replace.
For example, the token $$ represents the full name of the original file , as it is on disk, making it easy to keep track of which image comes from which without having to rewrite it by hand.
The ## symbol is replaced by an incrementing number that starts at 1 and increases with each processed image. This way you can generate series like photo-processed-1.jpg, photo-processed-2.jpg, ... without worrying about duplicates.
There is also the @@ token , which corresponds to the date and time at the time of processing . This is very useful if you want filenames to reflect when the final version was generated, either to keep track of it or to follow a strict archiving scheme.
By combining descriptive text with these special characters, you can create consistent and highly informative names without having to rename them manually afterward. And, of course, it's possible to combine this renaming with formatting and compression changes in the same batch.
Creating, saving, and reusing action sets in BIMP
One of BIMP's greatest advantages over other solutions is its ability to save entire sets of tasks as reusable "sets ." In practice, this is very similar to the concept of a preset or chained action.
Imagine your typical recipe for blog images: scale to 40%, add a watermark with your logo , reduce the file size to a reasonable level, and convert to JPG format with decent quality. Instead of setting all this up each time, you do it all once in BIMP.
Once you've added all the tasks to the window (Resize, Watermark, Change format, Rename, etc.), use the "Save this set…" option to save the configuration with a identifiable name. From there, you can load it later with "Load set…" and apply it to any new group of images in seconds.
This set system not only saves you time, but also guarantees consistency in image processing . All photos from the same section of your website, a course, or a documentary collection will be processed with the same parameters, which makes a big difference in the final result.
If your criteria change at any point (for example, if you decide to use a different watermark or change the output resolution), simply adjust the set and save it again . From then on, all your new batches will effortlessly adapt to the new standard.
Other forms of bulk editing: scripts, Bash, and external tools
Although BIMP and DBP cover most needs, some users prefer to further automate the process using system-level scripts . This is the case for those who end up creating Bash scripts to add watermarks or convert formats without even opening GIMP.
This approach typically combines GIMP, ImageMagick, and other command-line utilities . For example, you might have a script that iterates through a folder, applies an image as a watermark in a corner, optimizes compression, and saves the copies to another folder, all from the terminal.
On the other hand, for smarter exposure and color adjustments, there are specific applications such as Darktable , which offers a "Lighttable" module designed precisely to batch process many photographs with automatic parameters based on histogram analysis, luminance percentiles and other advanced criteria.
If your priority is for each photo to receive an automatically calculated exposure adjustment (for example, matching the average brightness or bringing a certain range of pixels to a specific level), it might be worthwhile to develop the batch in Darktable first and then fine-tune details in GIMP or BIMP for things like watermarks and resizing.
In any case, the important thing is to understand that GIMP is not isolated : it integrates well into workflows with other free tools, and you can combine it with your own scripts to achieve almost total automation if you wish.
With all these pieces on the table, it becomes quite easy to set up a system where, whenever you have a folder full of photos, you just have to launch a BIMP preset or script, and let the computer take care of everything while you focus on the really creative stuff.


Passionate writer about the world of bytes and technology in general. I love sharing my knowledge through writing, and that's what I'll do on this blog, show you all the most interesting things about gadgets, software, hardware, tech trends, and more. My goal is to help you navigate the digital world in a simple and entertaining way.