If you've ever tried to record vocals or guitar and felt a slight delay in the sound reaching your ears, you know how frustrating it is. This phenomenon, technically known as latency, can throw any musician off their rhythm and turn a creative session into a real nightmare. It's not a catastrophic failure of your equipment, but rather an unavoidable consequence of the digital processing that occurs every time sound travels through your computer.
Understanding how this "latency" works is the first step to mastering your home studio. Whether you're a podcaster, streamer, or music producer, learning to manage those milliseconds of waiting time will make all the difference between a mediocre recording and one with a professional finish. Let's break down step by step what happens in your audio chain and how you can optimize each link so that the sound flows smoothly.

What exactly is audio latency?
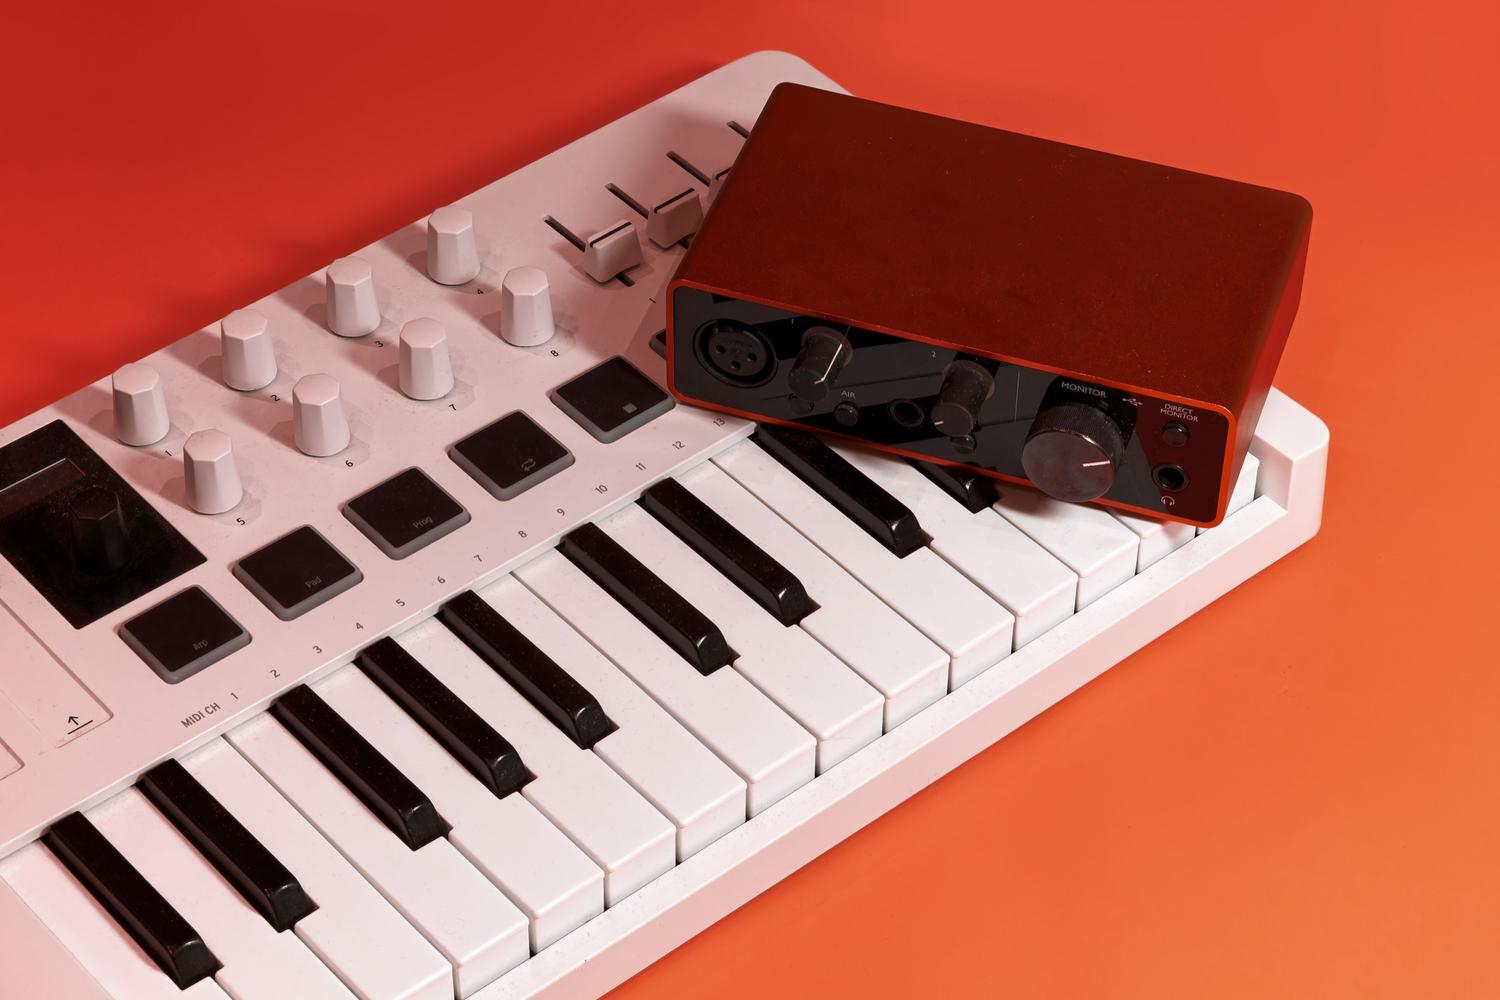
To be clear, latency is the time that elapses from when a sound signal is created until it is heard or recorded. It is measured in milliseconds (ms) and is the result of the entire journey the audio takes. Imagine the sound as a postal package: first it passes through the microphone, then through the interface's preamp, it is converted from analog to digital, travels through the USB cable, is processed by the DAW, and finally is converted back to analog to come out through your headphones. Each of these stops adds a small fraction of time to the overall process.
The human brain is quite remarkable and can compensate for very short delays. Generally, if the latency is less than 10 ms , it's practically imperceptible. However, when we exceed that threshold, we begin to notice an annoying echo. For a singer, this is especially critical, as it can cause them to lose synchronization with the track or stumble over their own words due to the delayed playback.

The culprits behind the delay: Buffer, Sample Rate, and Drivers
The core of the problem is usually the buffer. The buffer is like a "bucket" of RAM where audio snippets are temporarily stored before being processed. If the bucket is very large, the computer has plenty of time to work and there won't be any dropouts, but the waiting time will be longer. If the bucket is too small, latency drops dramatically , but the processor (CPU) has to work much harder, which can cause those annoying pops or clicks in the audio.
- Sample Rate: Increasing the refresh rate (for example, from 44.1 kHz to 96 kHz) can reduce latency because the system processes more samples per second. However, this It puts much more stress on the CPUTherefore, a balance must be found.
- ASIO drivers: In Windows, the native drivers are not designed for professional audio. ASIO drivers Operating system intermediaries are bypassed to create a direct path between the interface and the software, achieving a much more efficient communication and fast.
- ASIO4ALL: It's a lifesaver for those who don't have an external interface and use the PC's integrated sound card, as it emulates ASIO behavior for minimize lag on generic plates.

Practical strategies to reduce latency
To optimize your workflow, it's best to adjust your settings according to the task you're performing. Recording a vocal track is not the same as mixing a full song. When recording, try lowering the buffer size to the minimum possible (for example, 64 or 128 samples) until you start noticing unusual noises; at that point, increase it slightly. This will give you the fastest possible response.
However, during mixing, you can use a much larger buffer size (512 or 1024 samples). At this stage, you don't need real-time response; you just need the computer to be able to process dozens of plugins and effects without crashing. Additionally, it's advisable to close any resource-intensive background applications and configure the Windows power plan to "High performance" to prevent the processor from slowing down.

Hardware solutions and direct monitoring
If you want to completely eliminate latency issues while recording, the solution is direct monitoring . Many audio interfaces have a button or knob that allows you to send the microphone signal directly to your headphones before it goes through the computer. By bypassing the DAW's processing, latency is virtually zero. It's the safest option for artists to feel comfortable, although the drawback is that you won't hear the software's effects in real time.
For those who need effects (like reverb) while recording without experiencing latency, there are interfaces with integrated DSP . These devices have their own internal processor that calculates the effects within the interface itself, freeing the PC from that task and reducing latency to imperceptible levels, often below 3 ms . Also, if your budget allows, Thunderbolt connections are considerably faster than traditional USB, offering near-instantaneous data transfer.

Configuration in the most popular DAWs
Each software has its own way of accessing audio settings, but the logic is the same. In Ableton Live, it's managed from Preferences > Audio; in FL Studio, through the audio settings panel where you access the ASIO panel. In Logic Pro or Pro Tools, the setting is found in the device settings or playback engine, where you can modify the input and output buffer sizes to find the sweet spot for your system.
If you notice problems even with a low buffer size, check that your cables are in good condition and that there is no electrical interference. A stable power supply or the use of a UPS can prevent unwanted noise and stabilize your interface's performance . Always remember to keep your drivers updated by downloading them directly from the manufacturer's website, as updates often optimize system resource management.
The key to a smooth studio experience lies in balancing your computer's power with buffer settings and the use of optimized drivers like ASIO. While recording prioritizes minimal latency through direct monitoring or hardware with DSP, mixing focuses on system stability by increasing processing headroom. Keeping hardware up-to-date and optimizing the operating system allows technology to cease being an obstacle and instead become an invisible tool that enhances musical creativity.


Passionate writer about the world of bytes and technology in general. I love sharing my knowledge through writing, and that's what I'll do on this blog, show you all the most interesting things about gadgets, software, hardware, tech trends, and more. My goal is to help you navigate the digital world in a simple and entertaining way.